
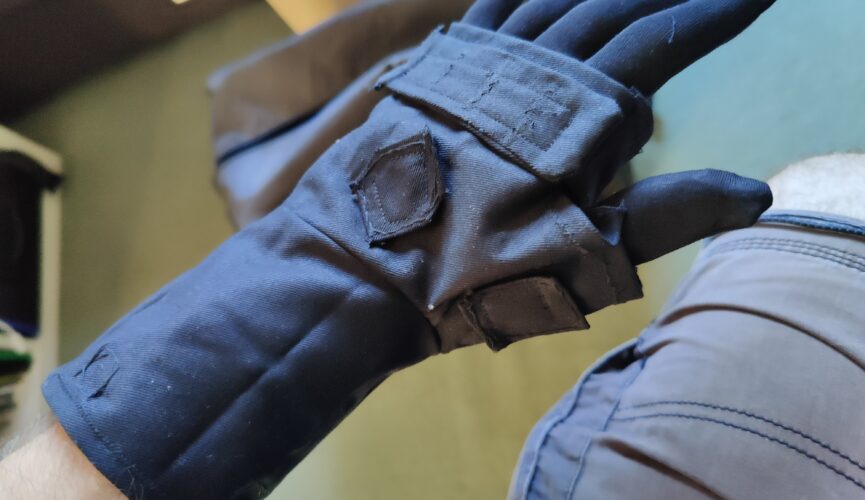
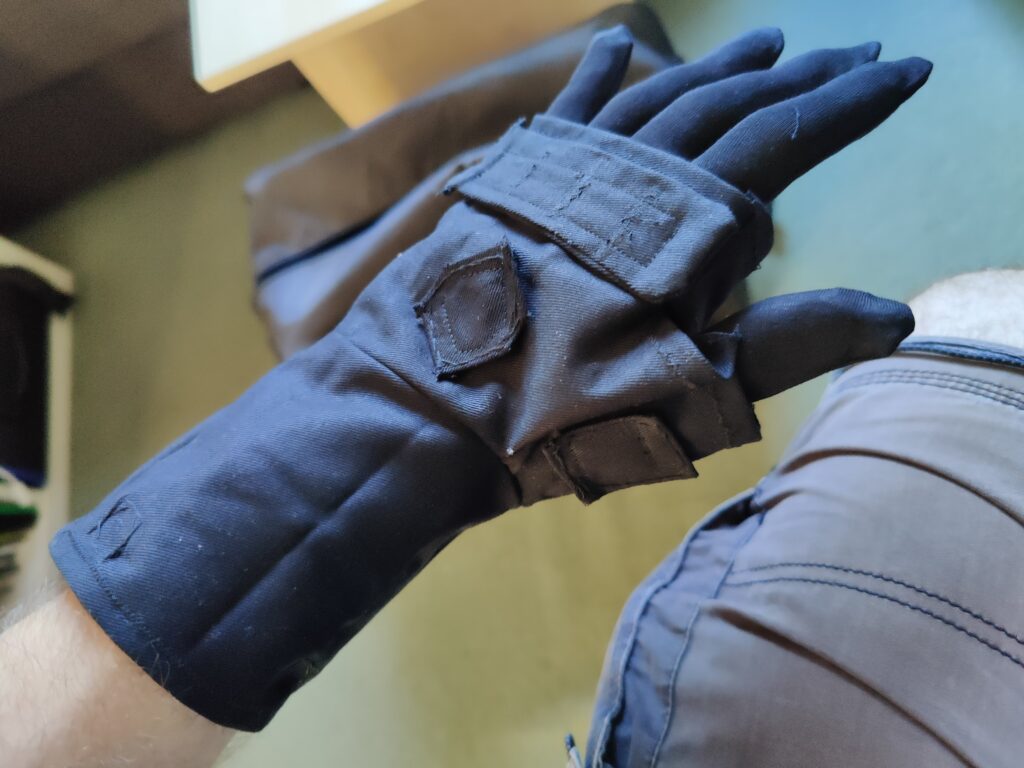
Gloves can be complicated, and my clothing design and manufacturing skills are limited. I had to work within what I could feasibly achieve, and having made a variation on an infinity gauntlet before (don’t ask) I decided to go with the approach I took last time: Use a standard glove to sew fingers onto, then sew that glove inside a wrap-around for the palm, which would essentially be a tube with an extra bit on the side for the thumb.
The wrap-around would consist of two layers:
- An inner base layer, onto which the dice mounts would be glued and the circuit would be mounted (with hand sewing)
- An outer layer, consisting of the actual visual design, with holes through which the mounts would protrude.
My approach to coming up with a pattern is very geometric, essentially approximate with a boxy design and hope the fabric’s tendency to curve will round it out. It’s also easier to think of a polyhedral net of flat faces rather than a more complex curved topology. The first step was, of course, to get measurements.
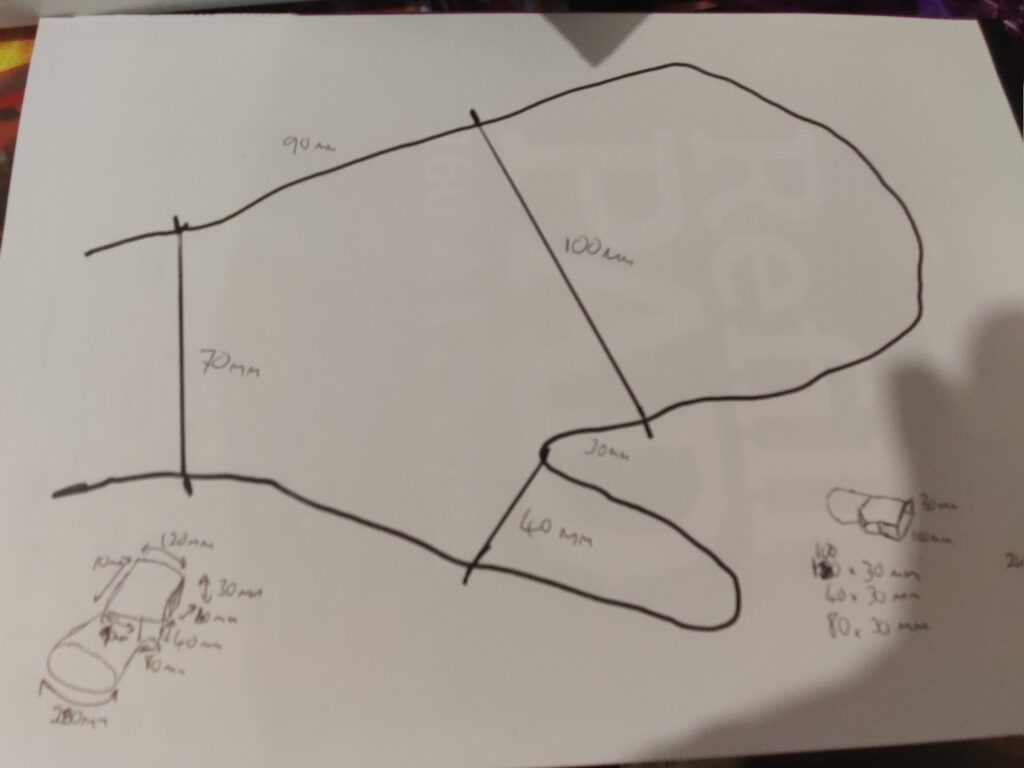
Pretty simple, trace around my left hand and use a ruler to roughly measure the notable lengths. Mark off where my knuckles and wrist were (roughly). Add a bit for ease of putting on/taking off, then create cardboard templates.
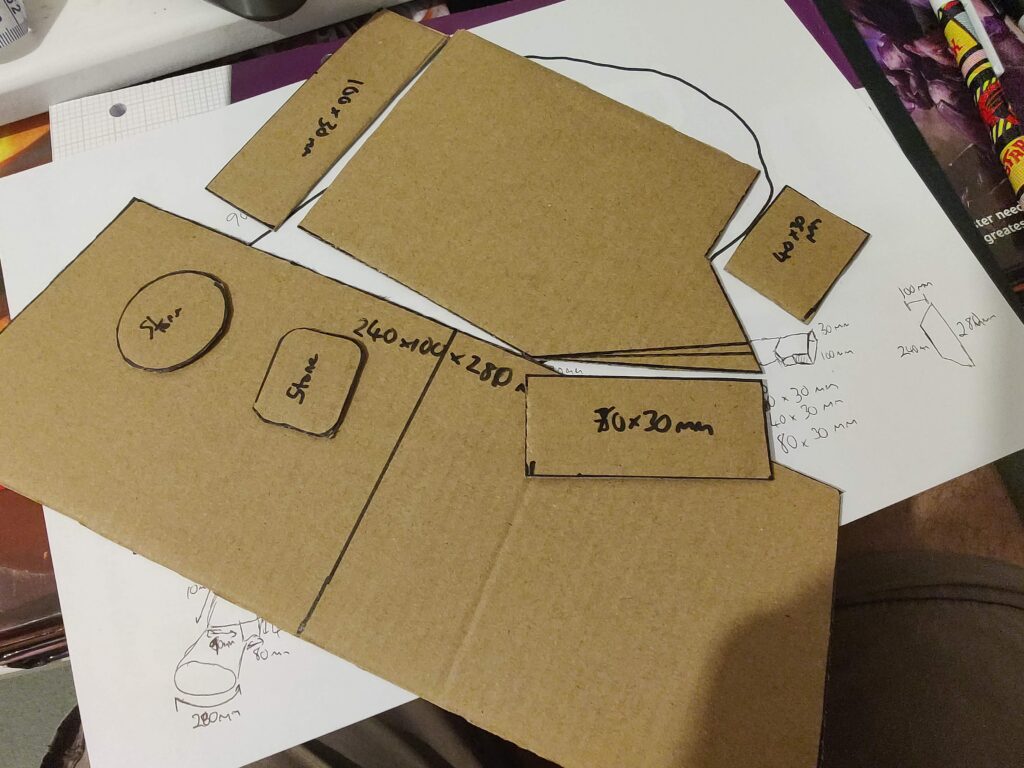
I also intended to add patches for the dice mounts, so I could be more exact when eventually attaching them.

I transferred the templates to black cotton using chalk, which is a rather inaccurate method. I later got some wax pencils which worked a lot better.
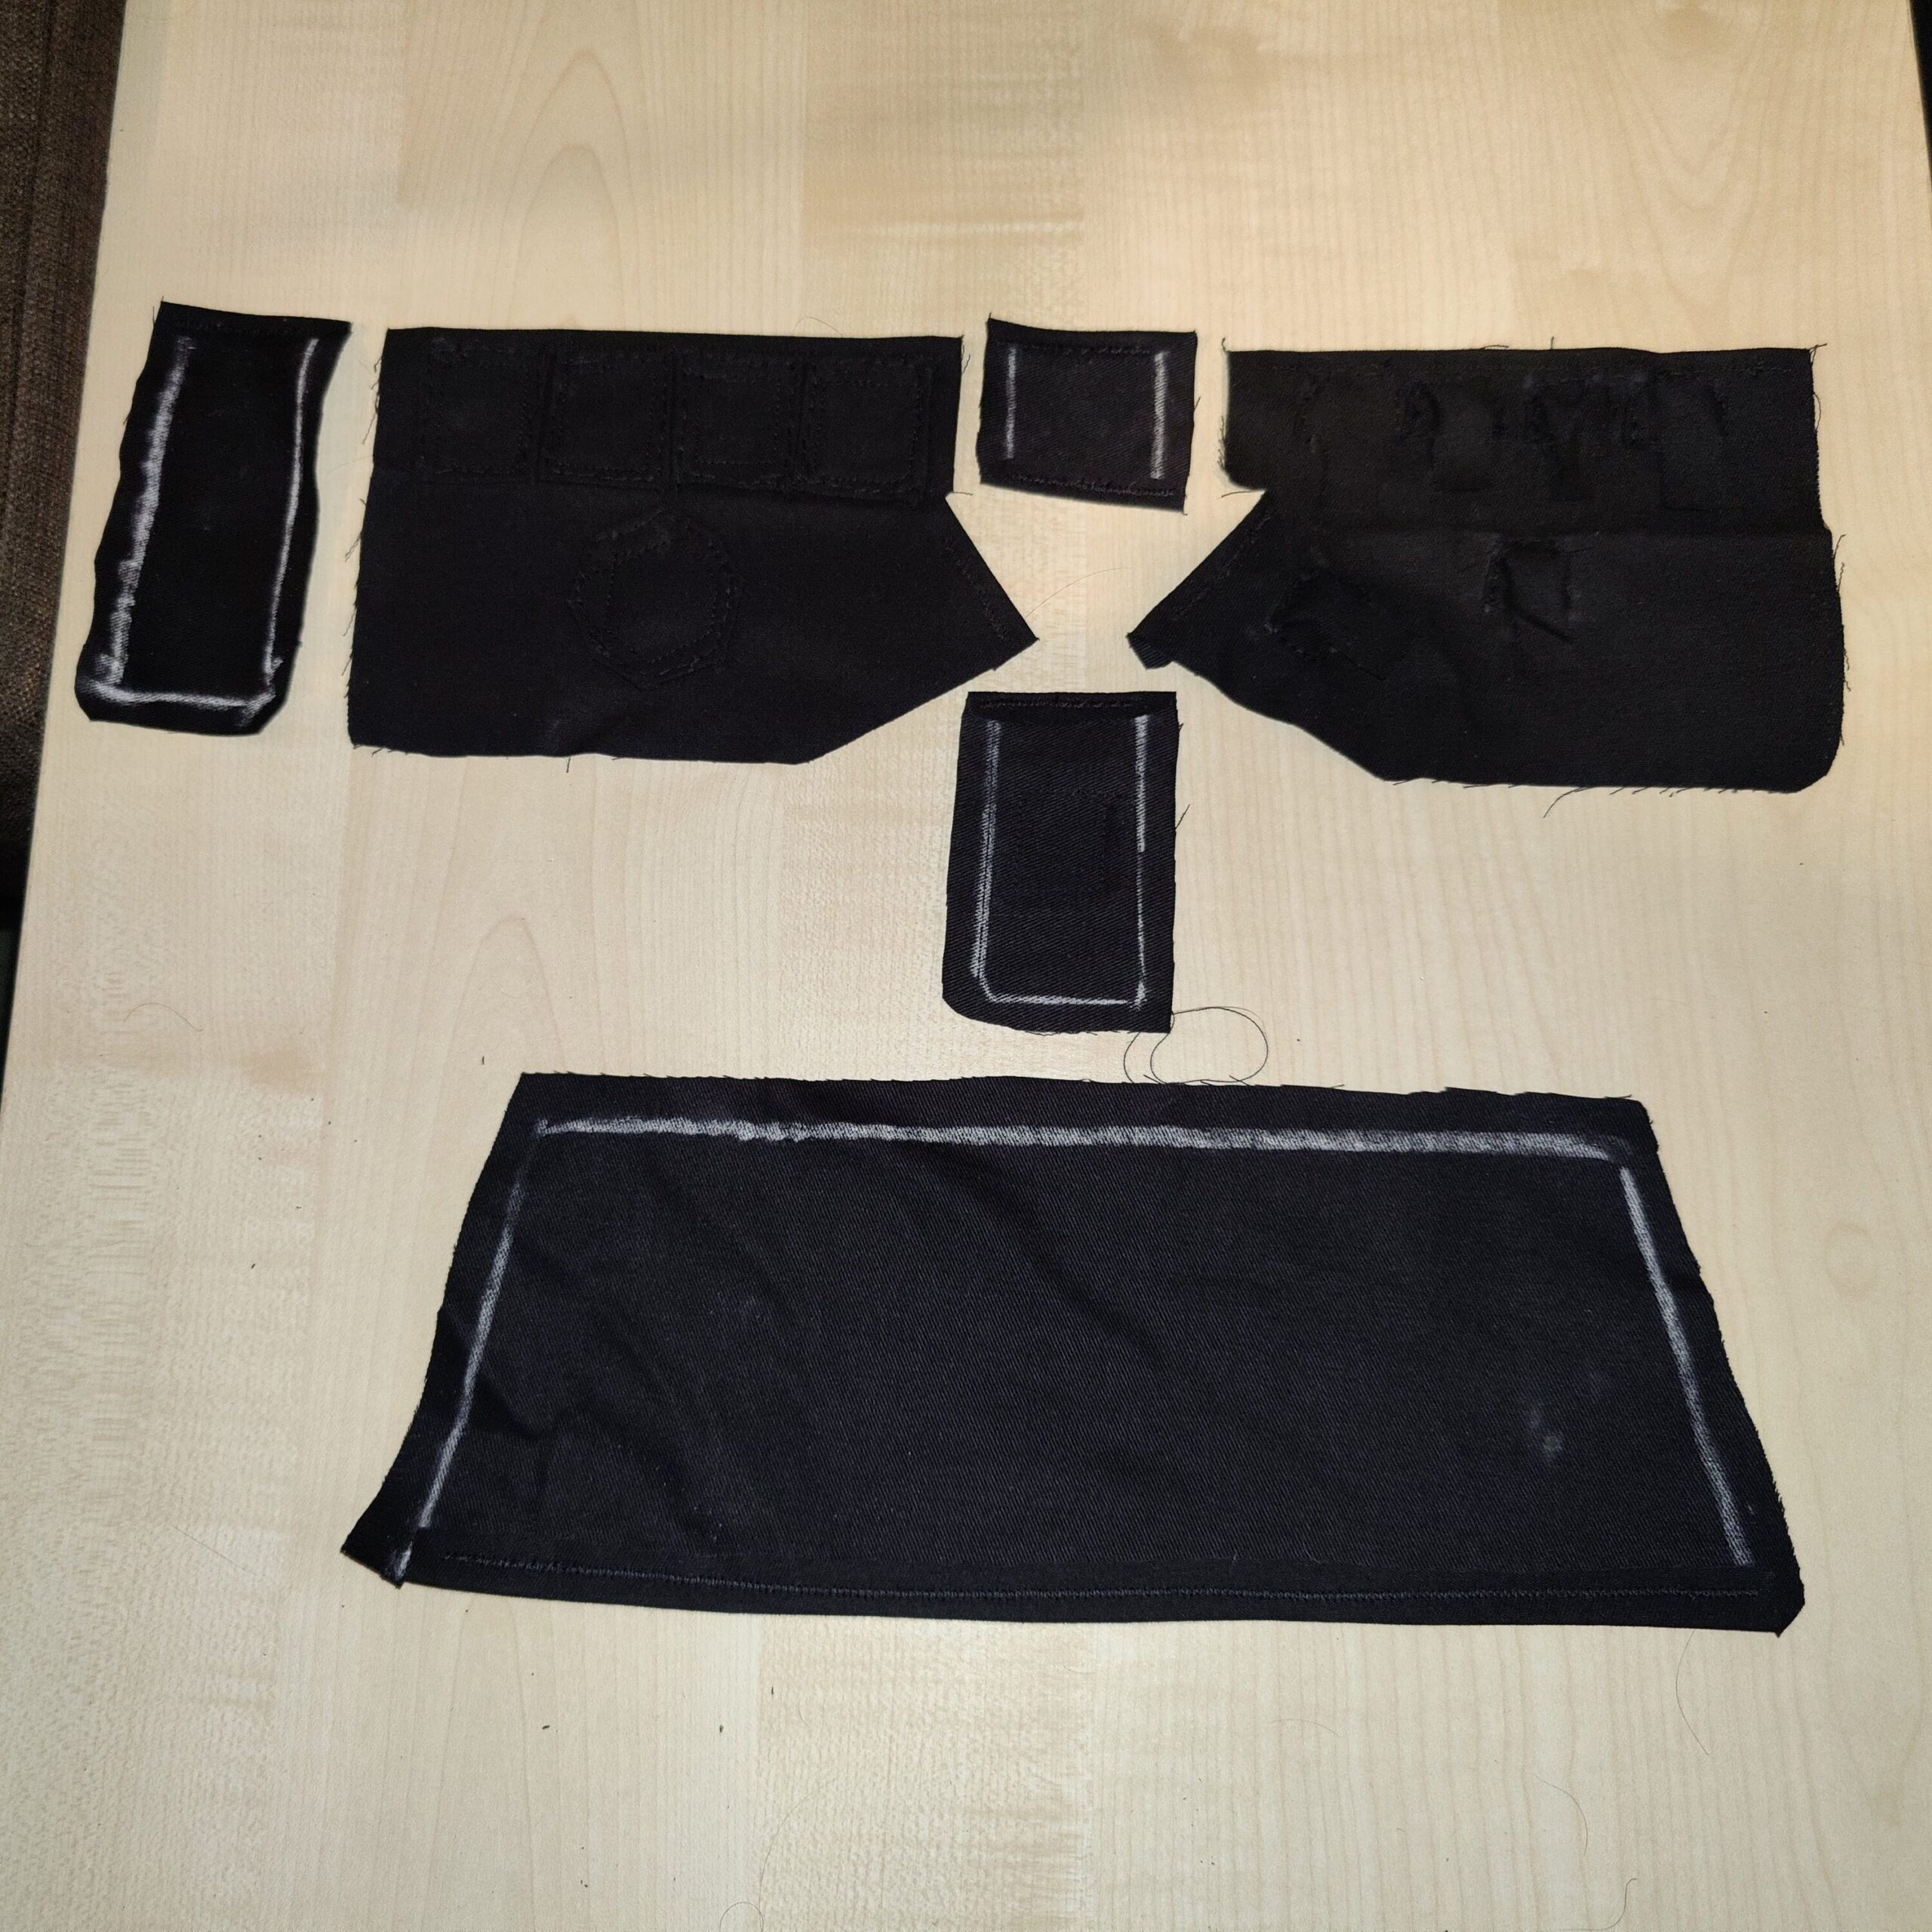
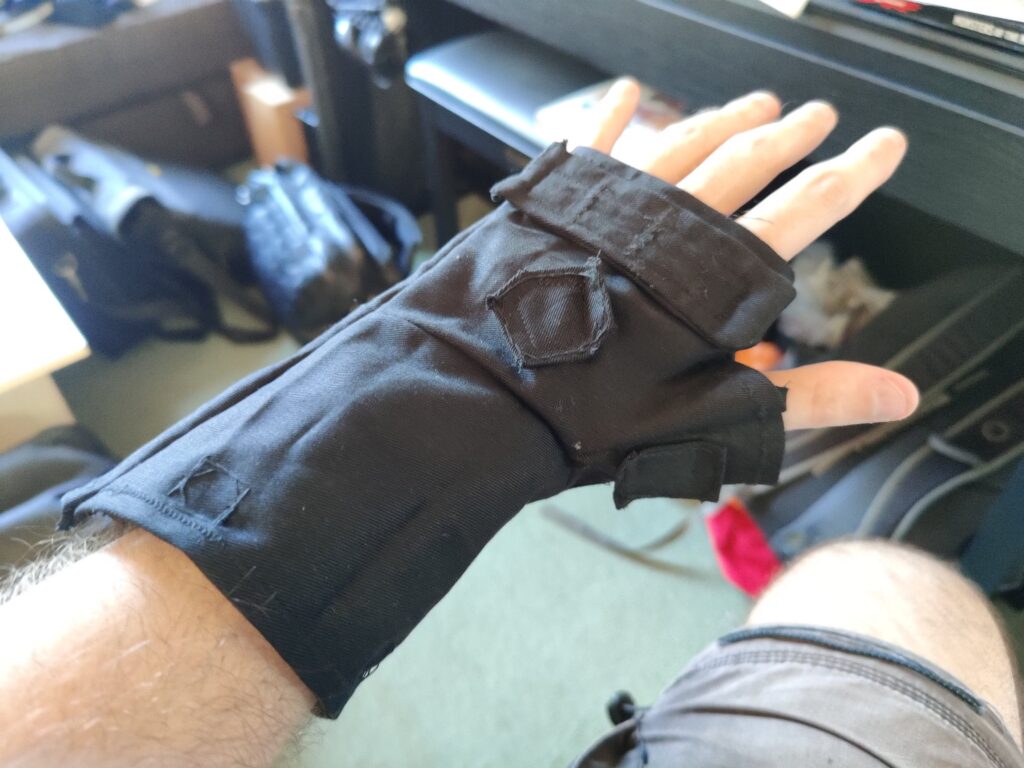
The first version was a little too tight to put on and take off, so a revised layer was made. I also decided to go with a single “bar” across the knuckles, with dividers sewn on top, instead of the individual stone pads I had originally used. This saved on complexity, and also supported the edges better which were a little wider than the finished glove layer.
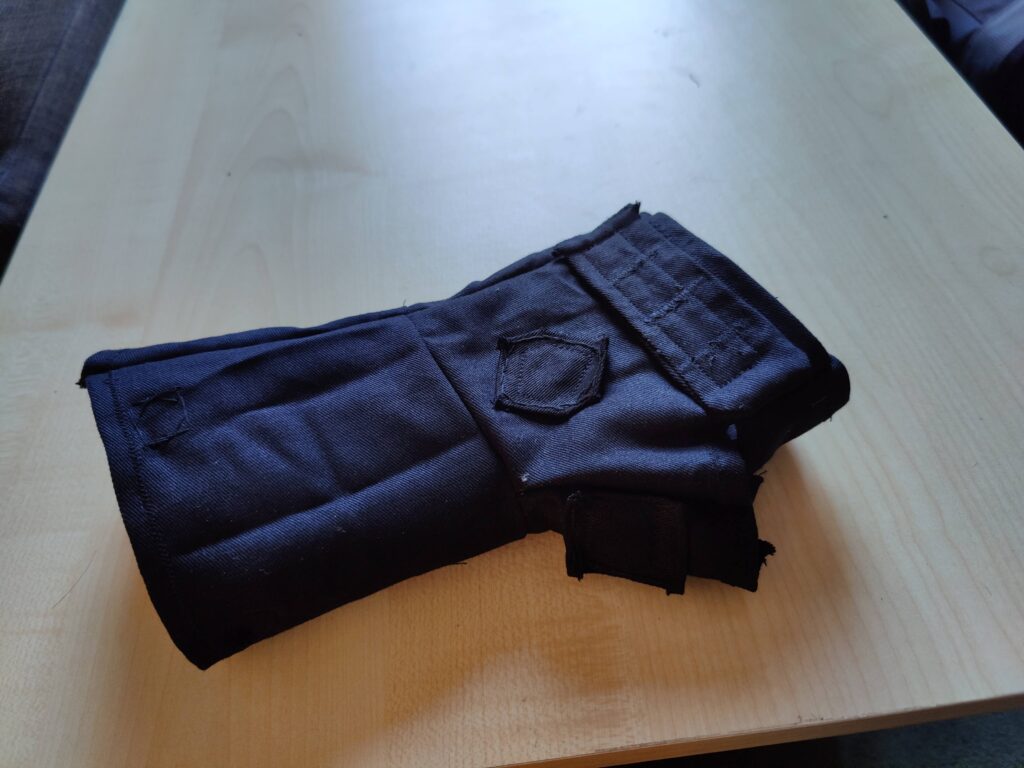
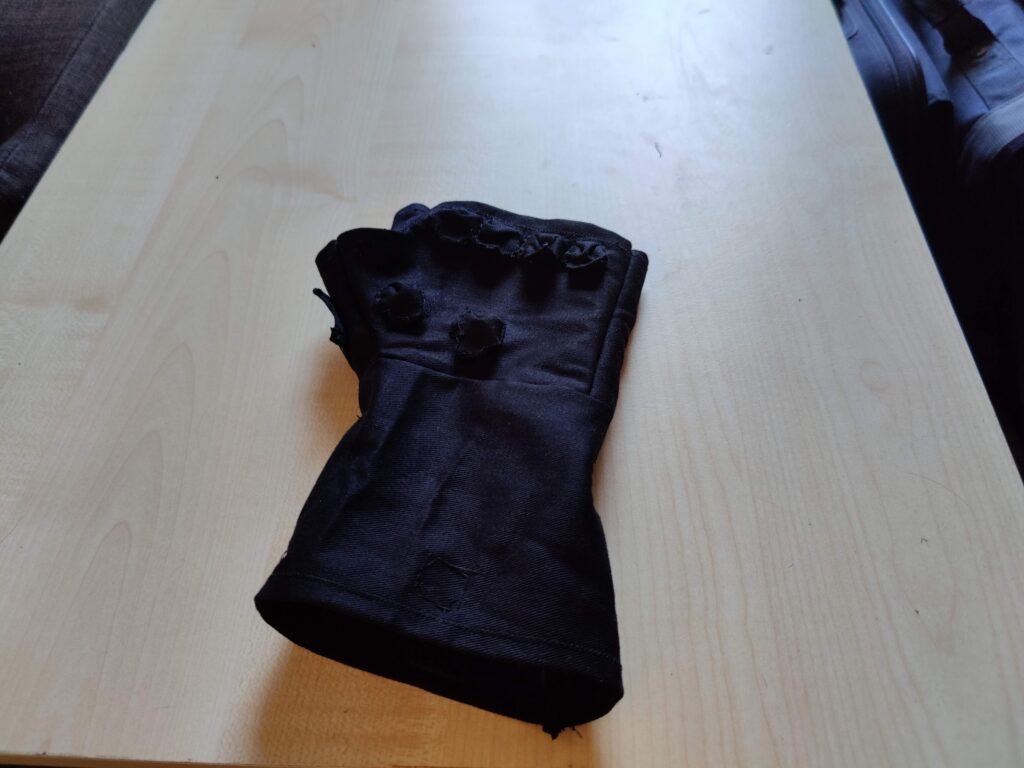
To the underside (where the palm will be) I added six miniature “pockets” for the tactile switches, each approximately 12x12x6mm in size.
I had actually made this prior to fabricating the circuit, so once I had a finalised size for the circuit board the last thing to do prior to assembly was to sew on a “sleeve” into which the circuit board would be secured.
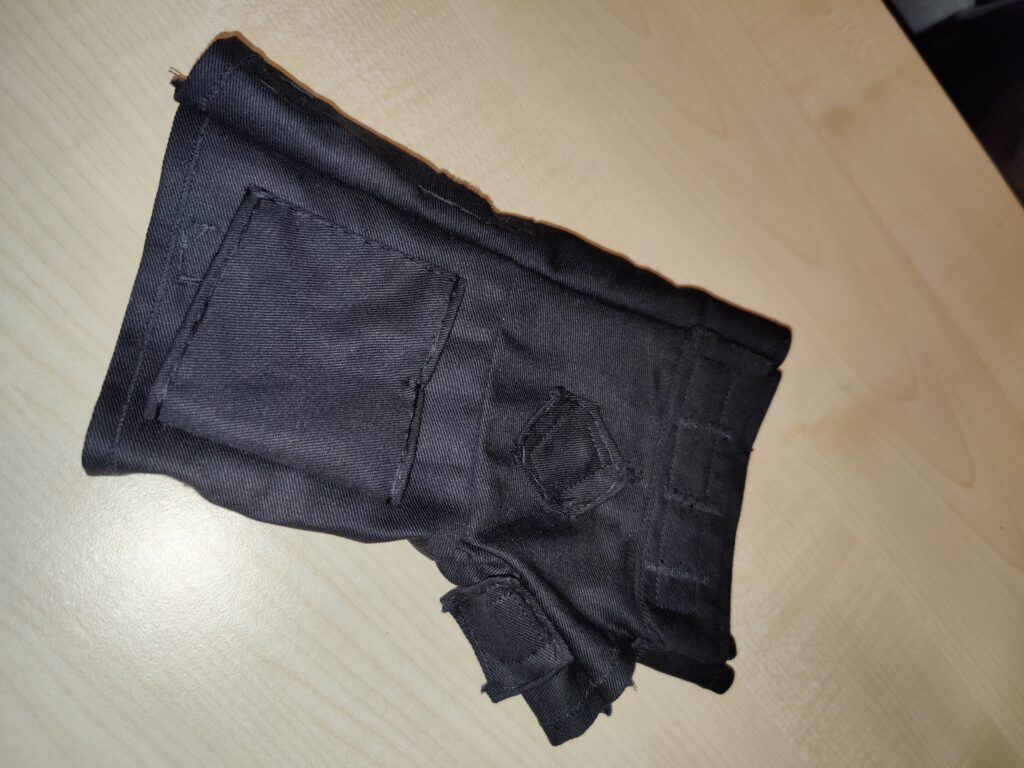
Simply a piece of fabric slightly larger than the board, with a notch sewn halfway across the top. Three of the LEDs would feed through either side, and the notch would prevent the board itself sliding through. Once inserted, I planned to sew a second notch in the bottom edge to hold the circuit board in place.