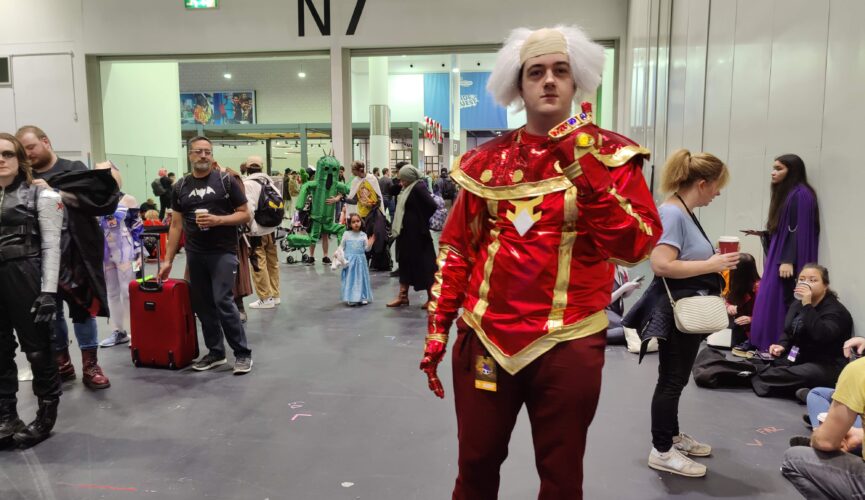
MCM Comic Con came around at the end of October 2022. Unfortunately time ran out to work on the lower half of the planned costume, but I had enough made to work with. I ordered a pair of maroon trousers that were intended to be the base for the lower portion of the costume, but would be close to the final colour to work without modification.
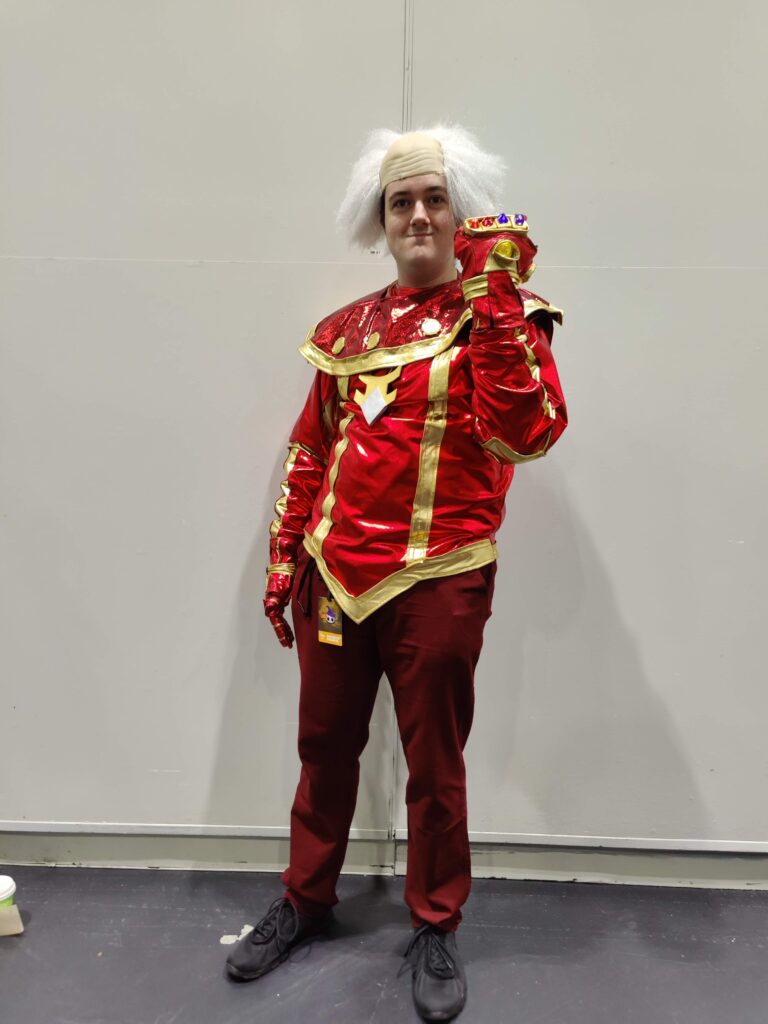
DMos final costume
The bald-white-hair wig was the closest I could find to Dungeon Master, and I didn’t think I could make one. I used a 4xAA battery pack in a pouch secured around the waist and a power lead routed down the left arm to the gauntlet.
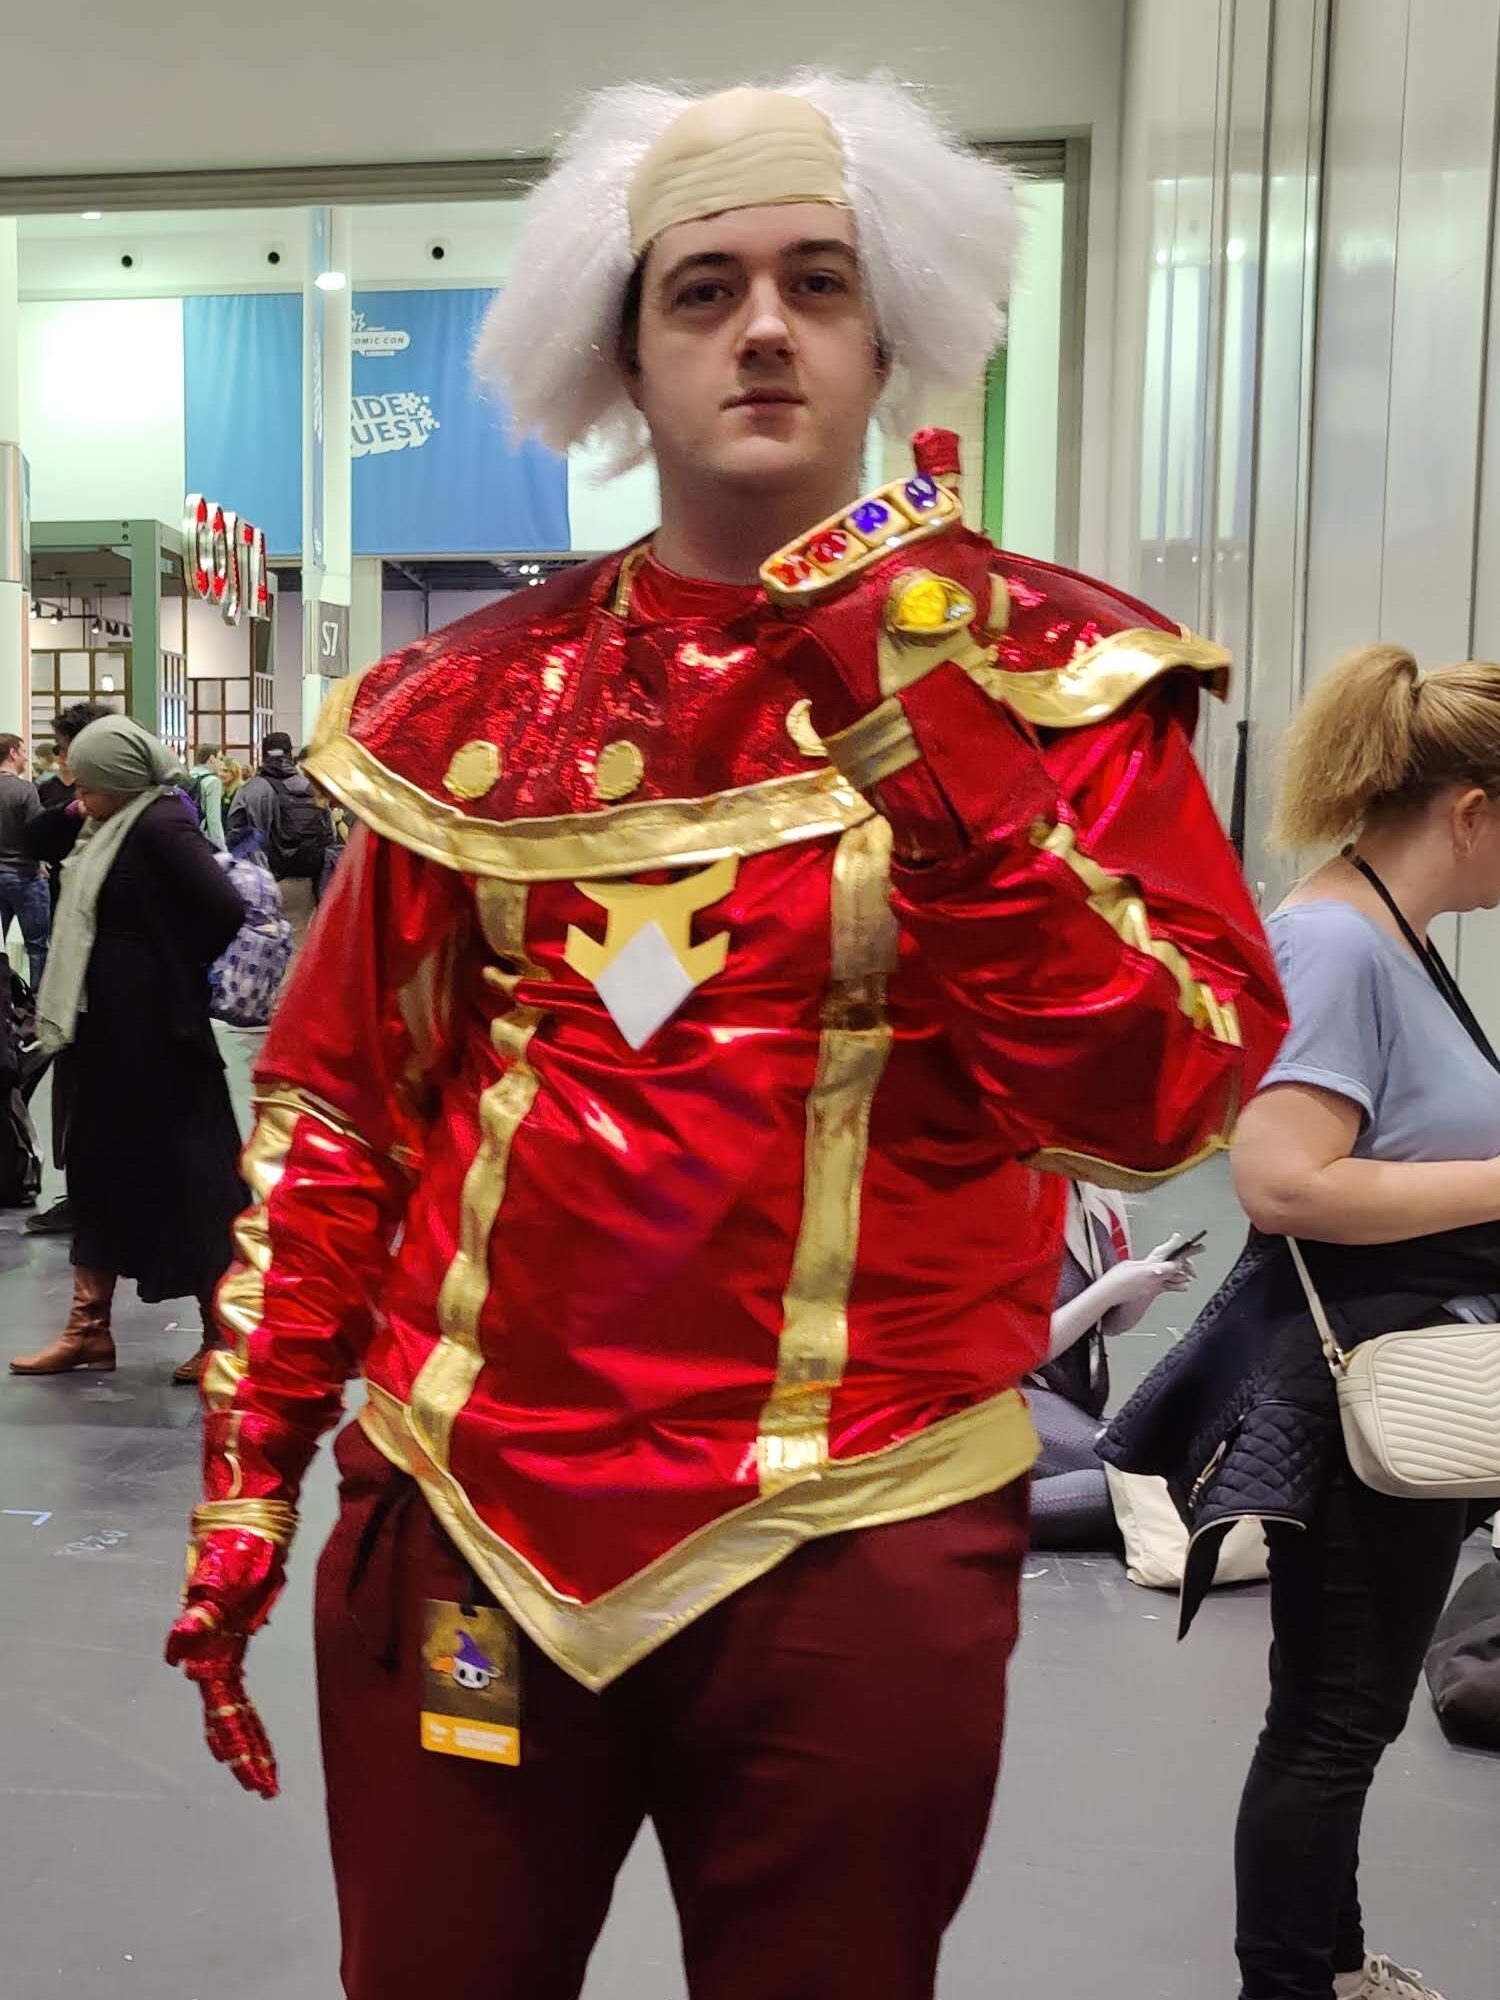
With the gauntlets made, the remainder of the costume was next. My original plan was to do a full-body costume, with trousers and boot-covers. However with looming time constraints I had to prioritise, which meant focusing on the upper body first. The upper body would be broken down into three main pieces: The sleeves, to be attached to a plain black sweater; the vest to be worn over the sleeves (and attached if time allowed) and the collar to be worn over the vest.
The Sleeves
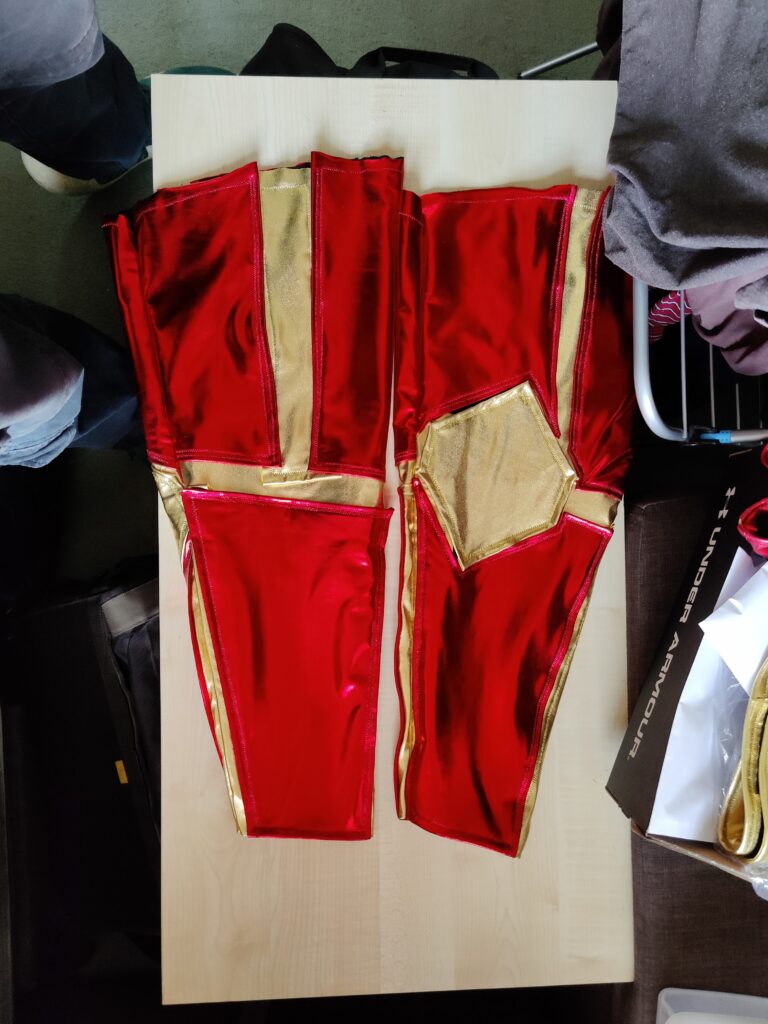
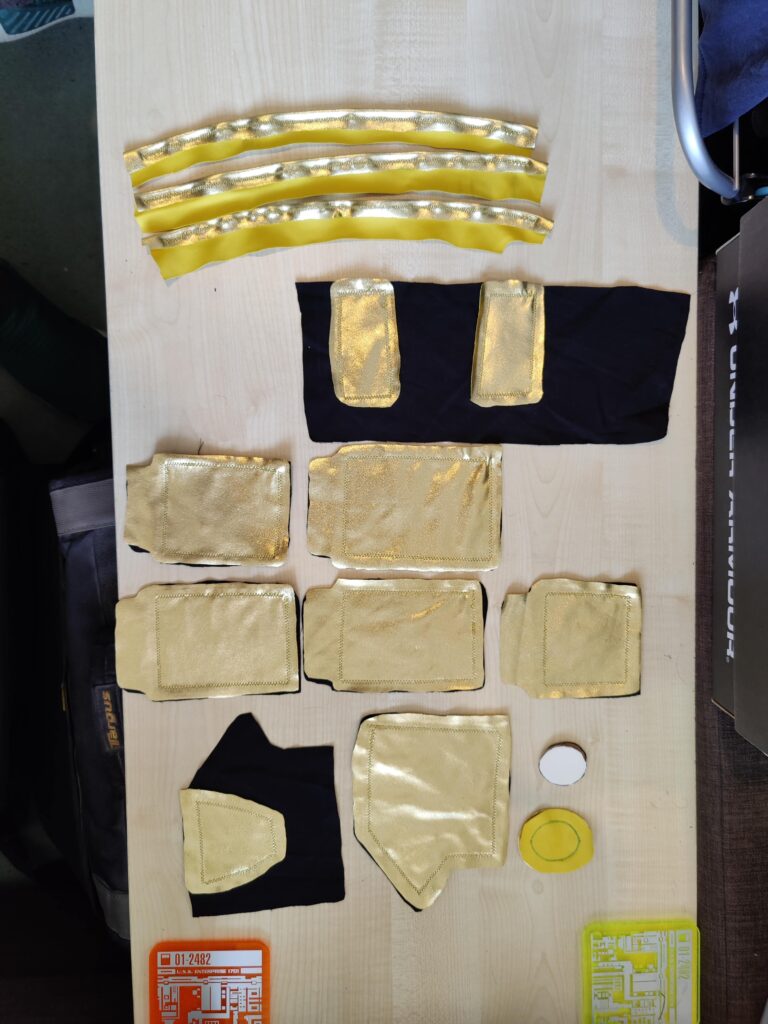
Measuring the black sweater as a template, I marked the rough location of my elbows while wearing the sweatshirt in order to estimate where on the pattern to place the elbow pad, and to work the design out around there. The design would involve sections of metallic red spandex as “plates” of armour separated by strips of gold spandex sewn underneath.
Black cotton with gold underlayerRed sections appliedBoth sleeves sewn into tubes
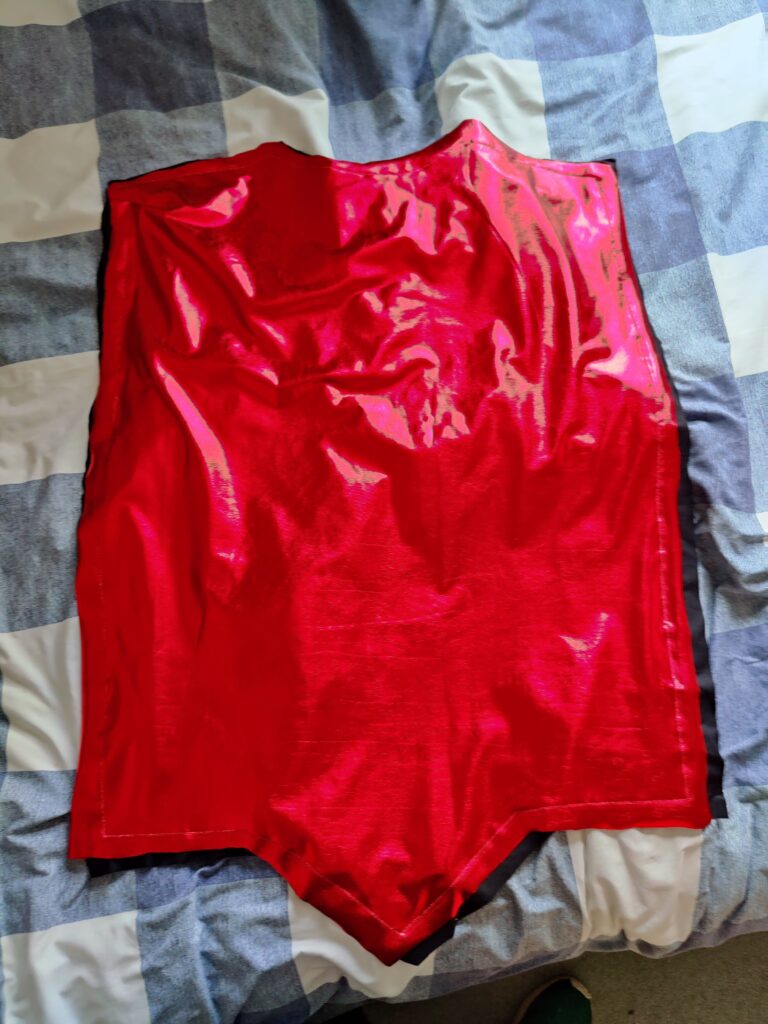
The Vest
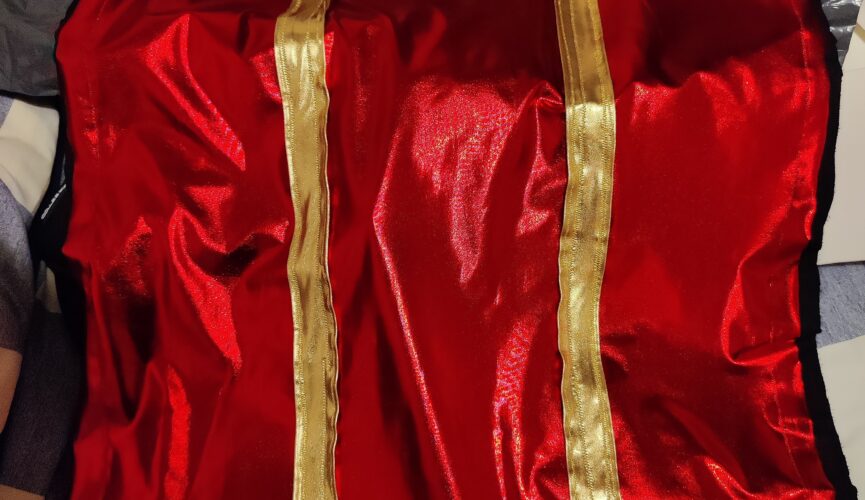
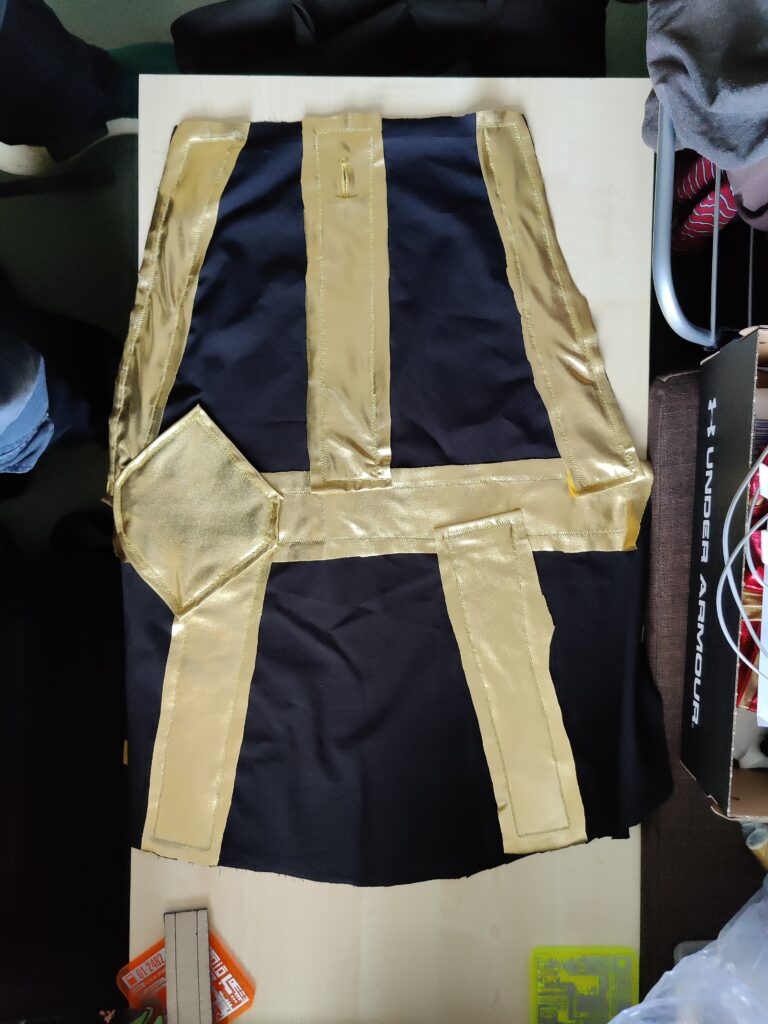
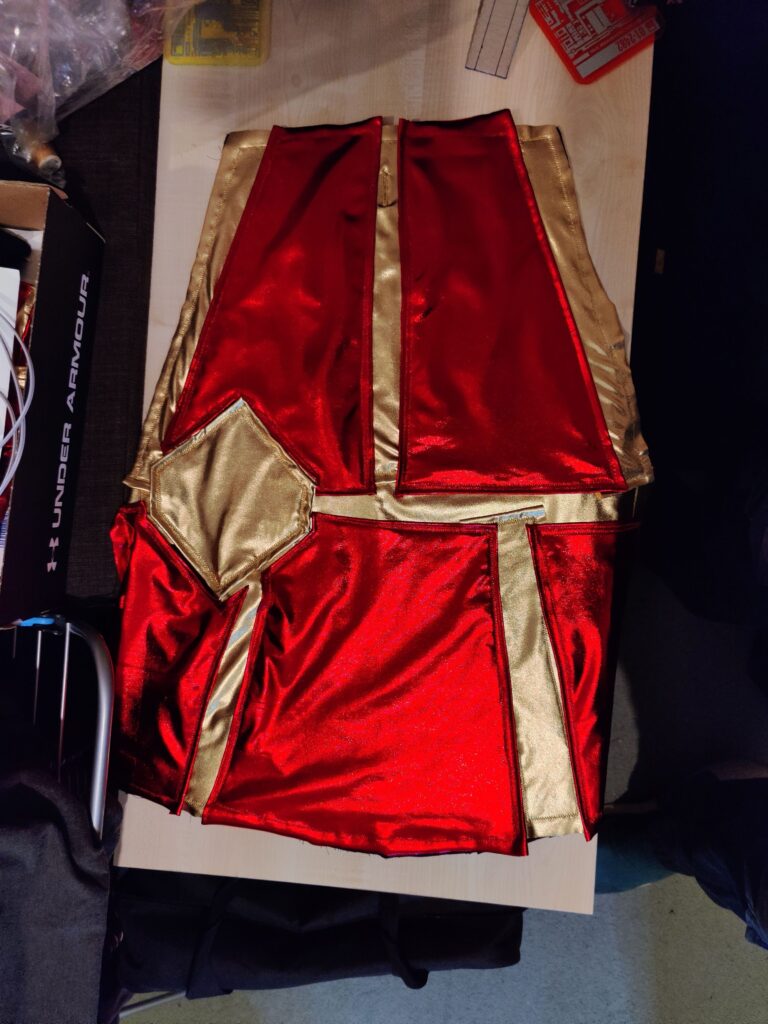
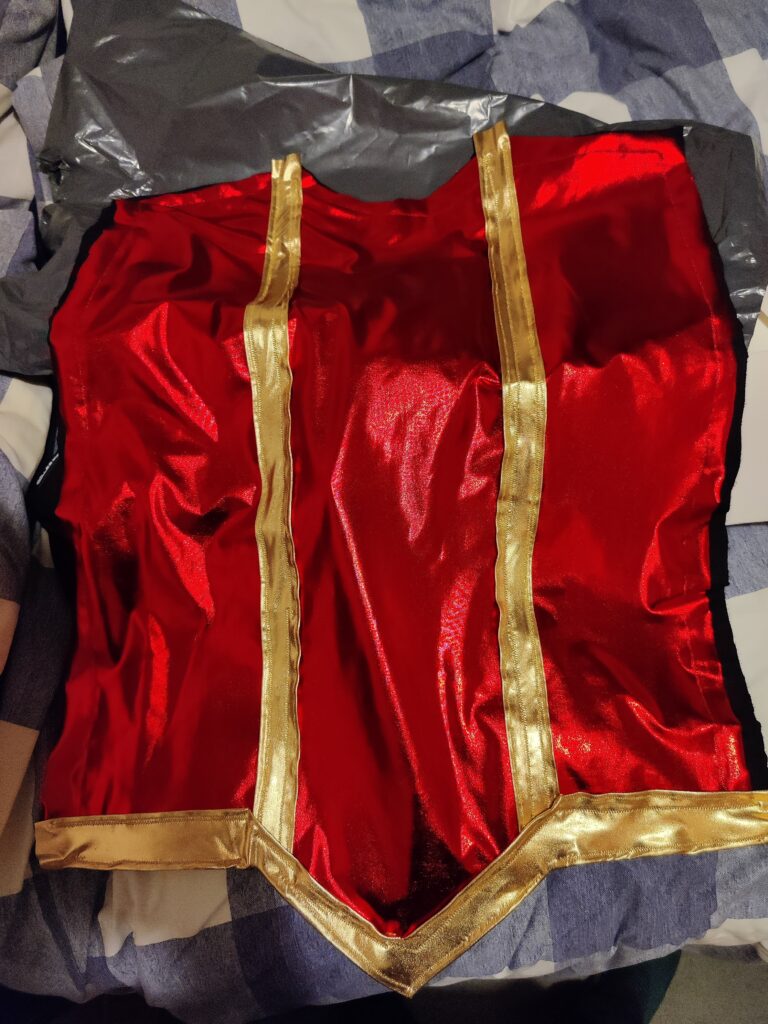
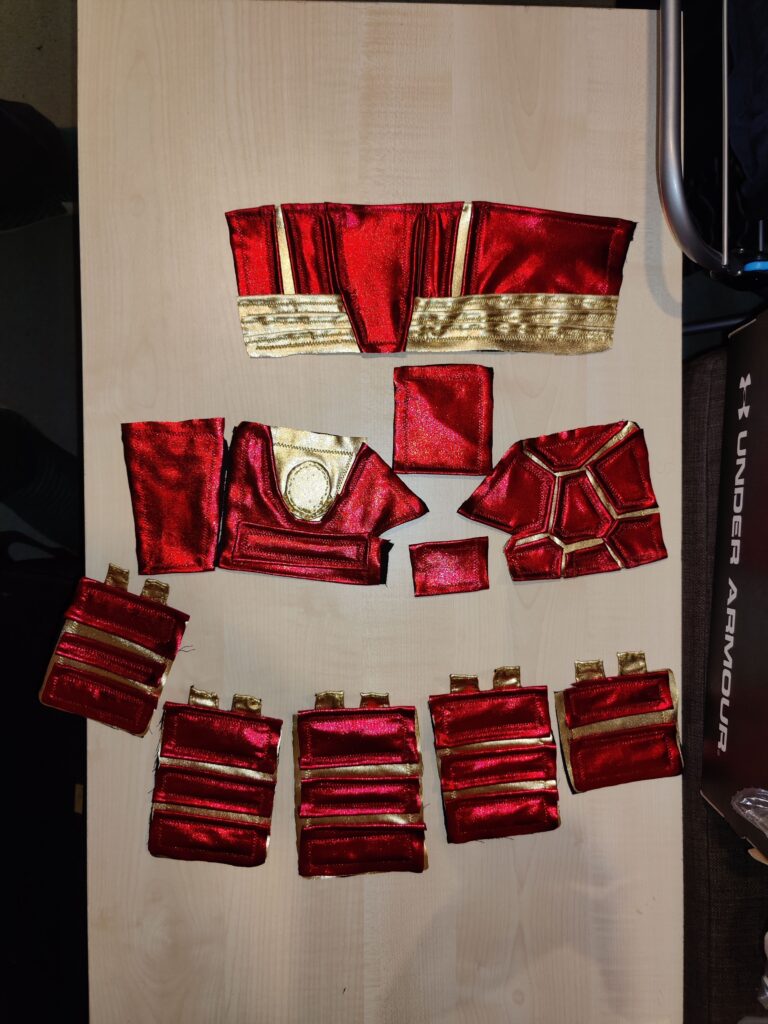
With limited knowledge of sewing patterns, I used the sweater again as a guide, combined with rough measurements of myself to get the sizing right. Knowing the limitations of my experience, I added some margin to these measurements, but in the end the vest still ended up very tight to wear. It involved two pieces, a front and back, with the red spandex as an underlayer and strips of gold spandex for a bottom border and vertical “seams” across the front.
Base layer (slightly misaligned)With gold features
Even with the walking foot sewing machine head (which was such a worthwhile purchase when dealing with the spandex) over longer seams and a greater number of thread breaks the alignment between the two base layers drifted noticeably, but not beyond the excess material I had left around the template. The rear section was similar to the first, lacking the V-shaped extension at the bottom and only featuring the lower horizontal border of gold.
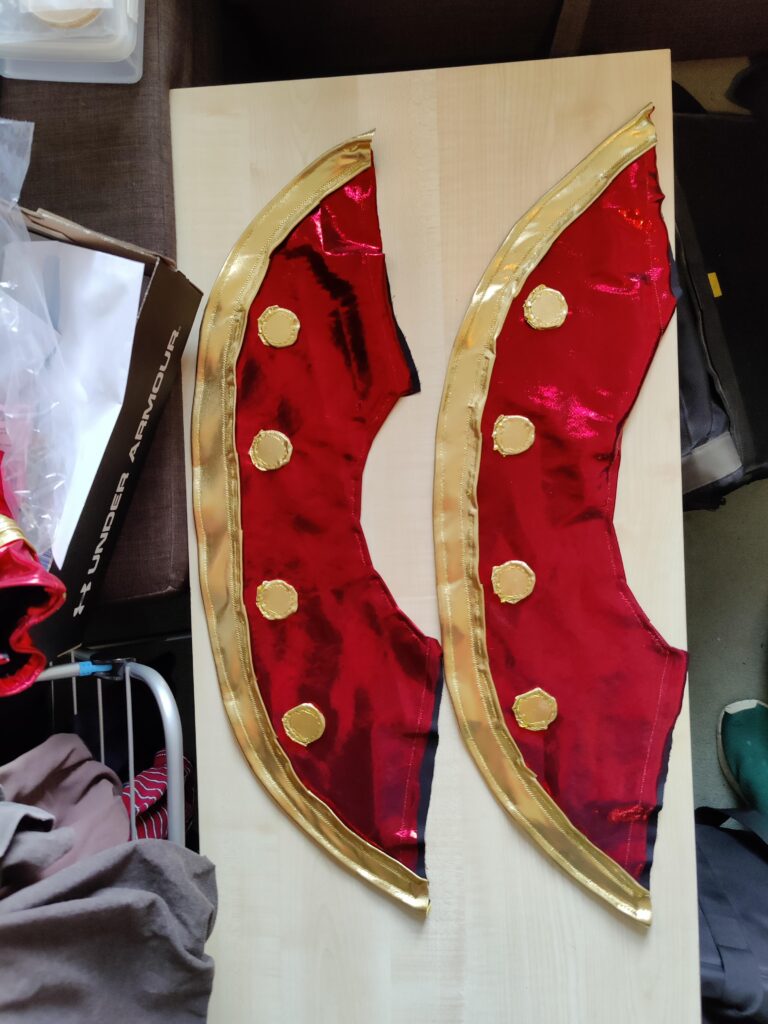
The Collar
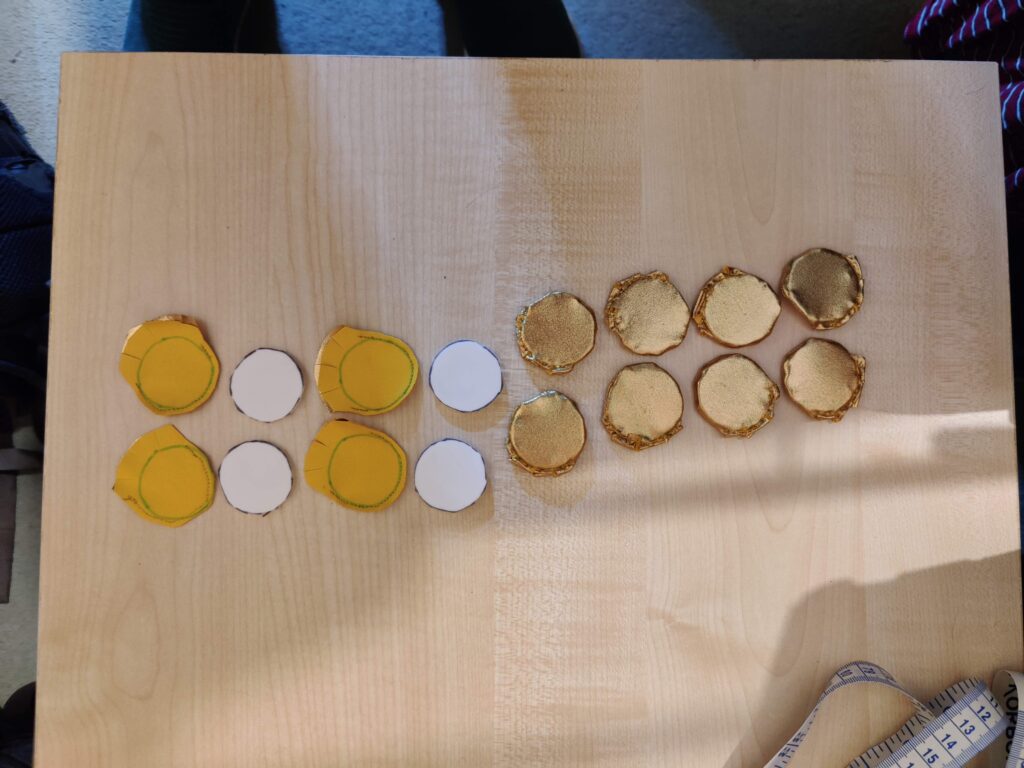
I created the collar using a darker metallic red fabric I had managed to find online. To create the gold “pips” I cut pieces of 3mm foam into circles and sewed a layer of gold spandex around them.
Gold collar pips being created
The collar was made from two pieces, with an outer border of gold spandex and eight coins/pips sewed on.
Darker metallic red base layerWith gold features added
The Necklace
An additional component was the Dungeon Master’s pendant or necklace. Lacking the time to design/print a more 3D version, I resorted to trusty old 3mm foam and hot glue to create a makeshift version.
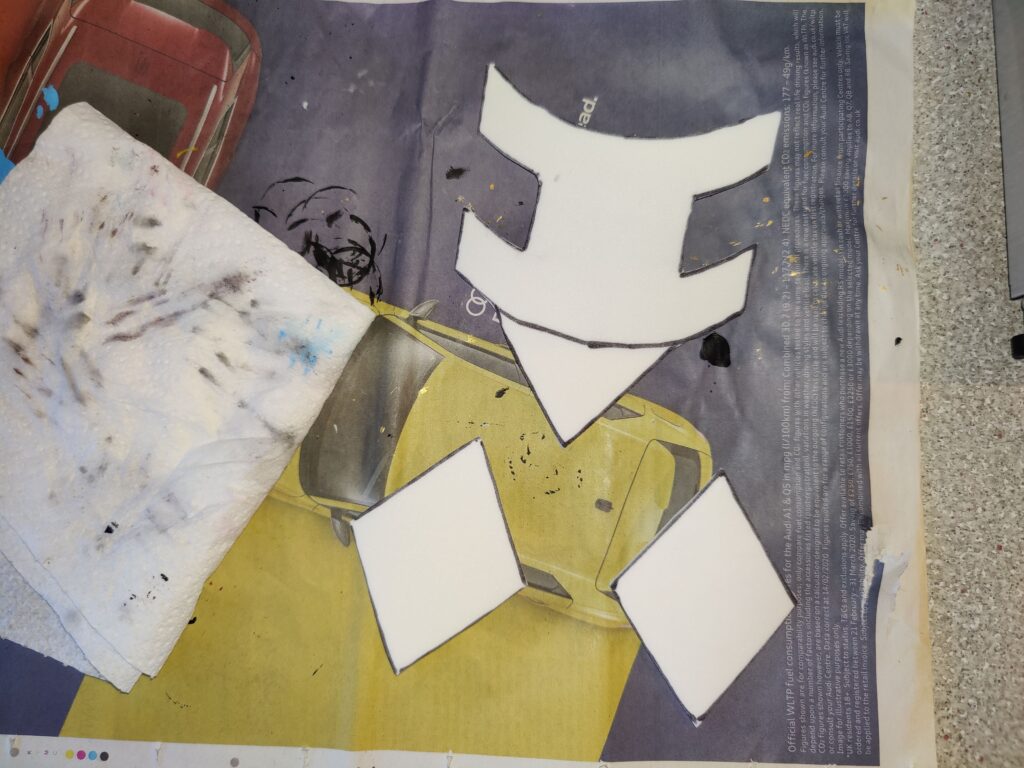
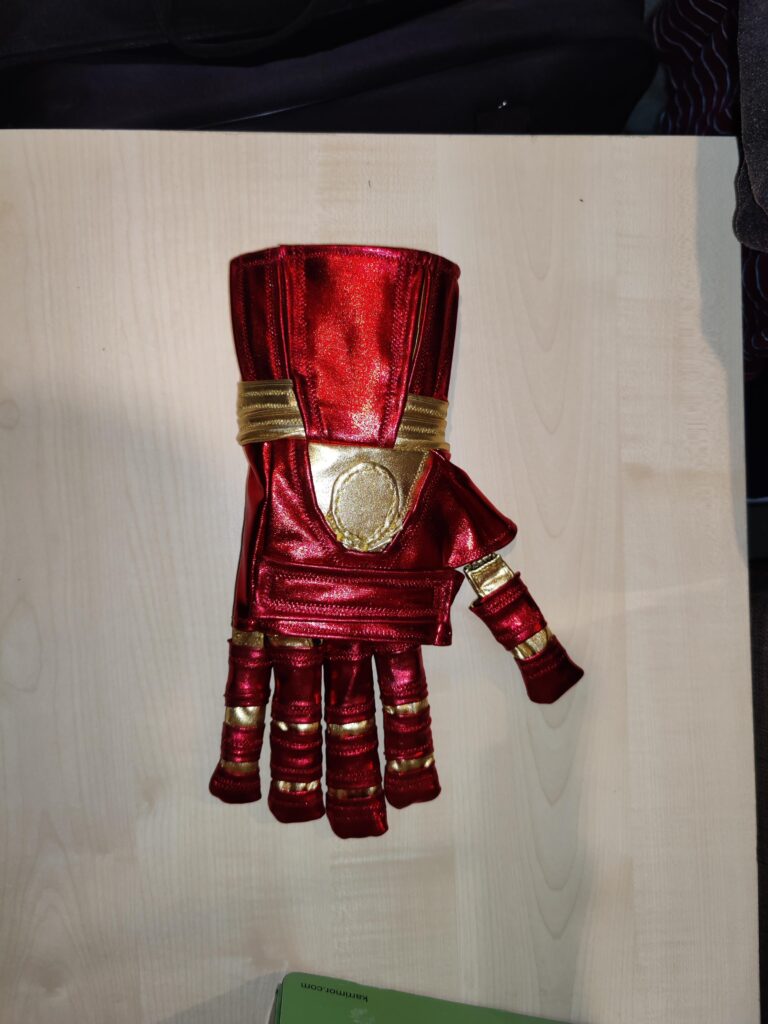
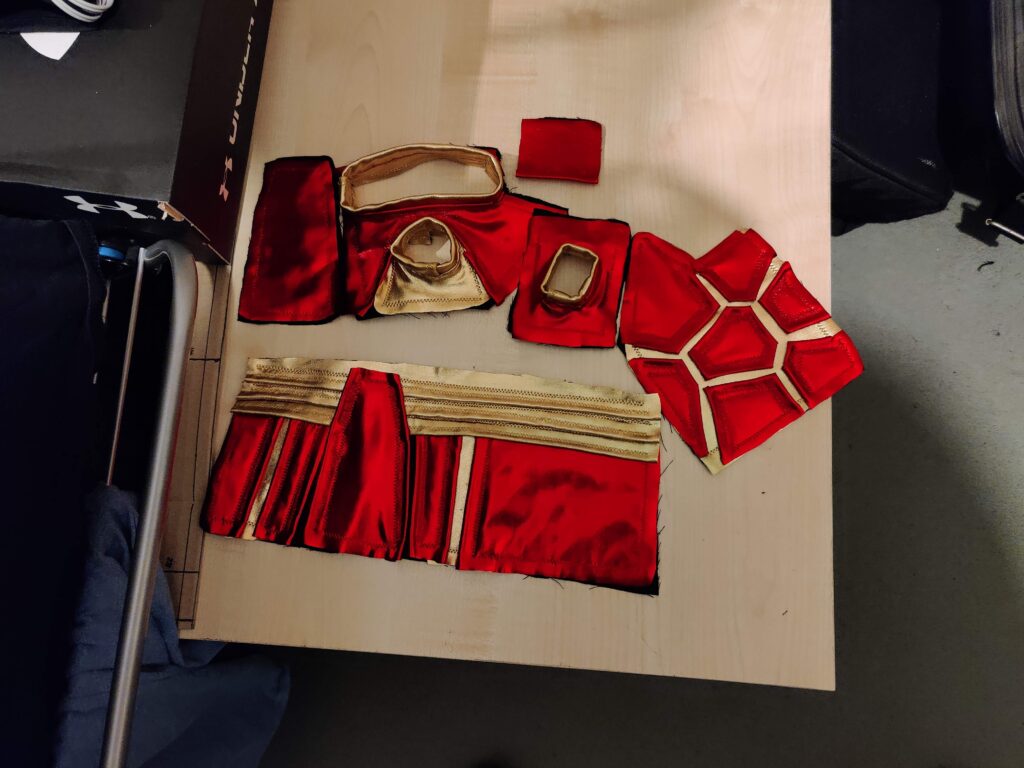
Creating the corresponding right-hand gauntlet for DMos was, predictably, a much easier and quicker process. With no circuit or inner layer and the templates for the outer design already crafted, the only real task was modifying the design to remove the dice mounts. This would be achieved by replacing the knuckle-mounted dice with a simple “bar” of metallic red spandex, and replacing the larger oval d20 mount on the back of the hand with a flat oval piece of gold spandex.
Base black cotton layer with first gold spandex layer
To help give the gold oval its shape, I used 3mm foam to cut an insert around which the material would be sewed. As with the other gauntlet, a base of black cotton was used, with an initial layer of gold spandex.
Right gauntlet pieces
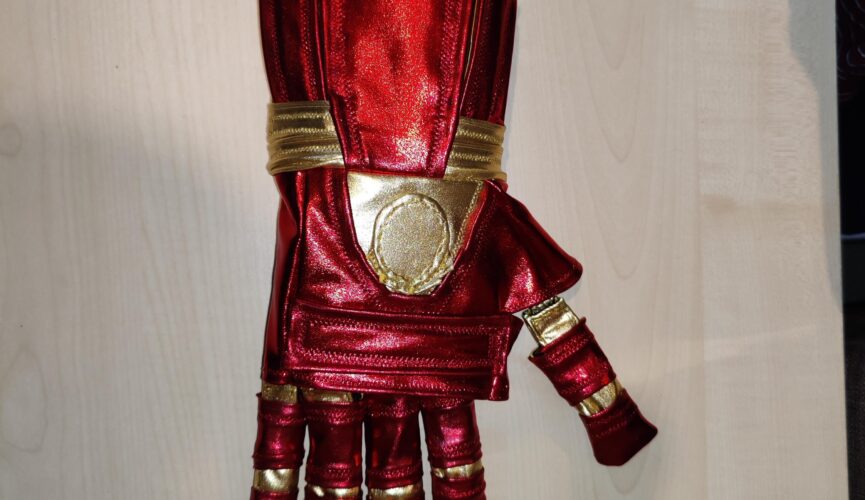
As with the other gauntlet, the red and gold spandex had to be layered to achieve the desired design. Unlike the other gauntlet the outer layer was attached directly to the inner glove.
Right gauntlet assembled prior to attaching to glove
With the pieces of the gauntlet assembled, they just needed attaching to the inner glove in the same manner as before. The gauntlets were by far the more intricate aspects of the overall cosplay, but the remainder of the costume would be considerably larger and, with a temperamental thread all to happy to snap in the sewing machine, considerably more annoying to put together.
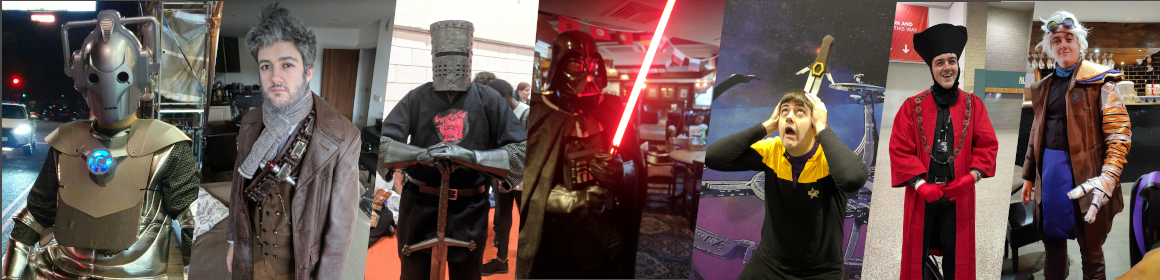
In the first of what I hope to be a number of retrospectives looking back at a few of my earlier cosplays, we roll the clock back to early 2018. Having had initial success with my Cyberman and War Doctor Cosplays at October MCM (2016 and 2017 respectively) this was the first time I would be attending the May comic con in costume. I would learn that designing costumes for specific conventions would require some consideration of the time of year, but this costume may have been the one to teach me that lesson.
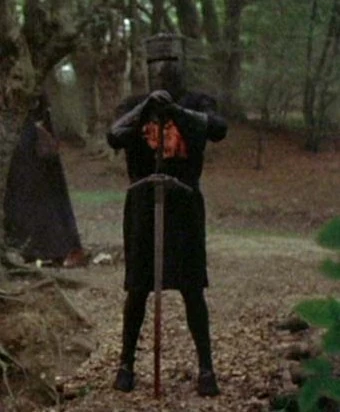
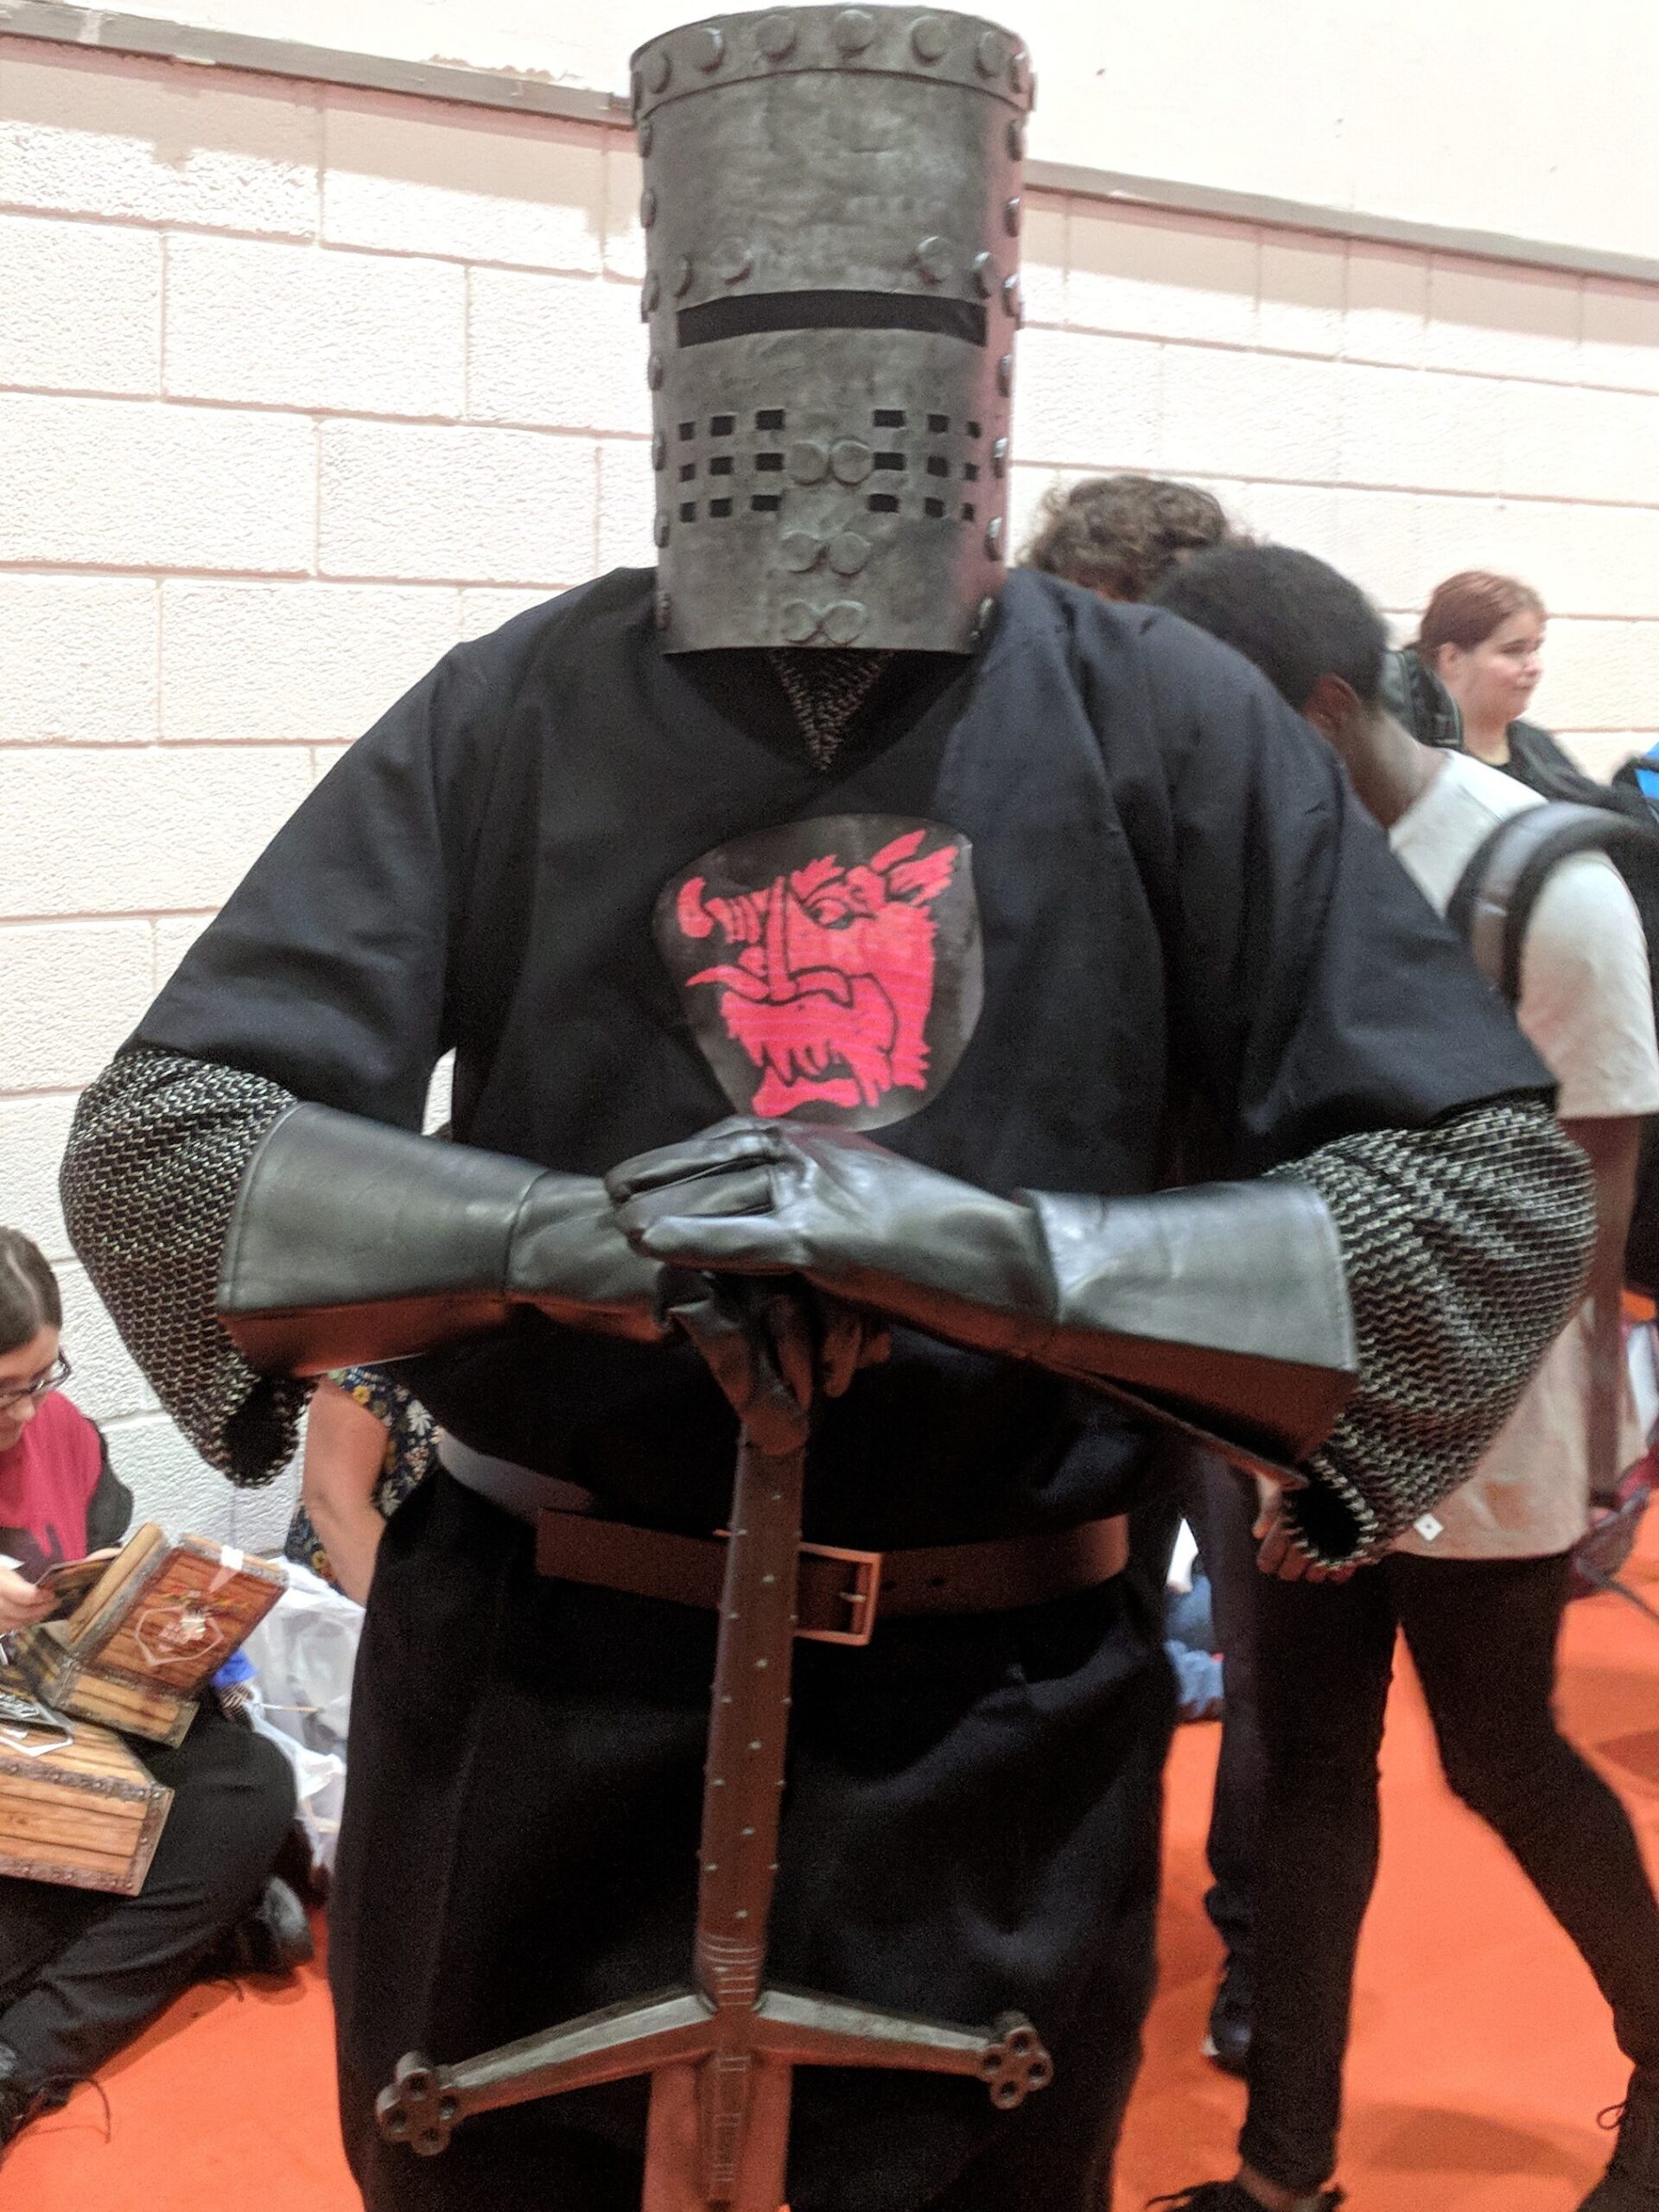
With a couple of solid Dr Who costumes under my belt I wanted to branch out a little. Monty Python had always been a favourite in my household growing up, and the Holy Grail seemed a good medieval fantasy aesthetic with which to break out of my Science Fiction cosplay roots.
As with all my cosplays I intended to make at least one component from scratch, and evidently the helmet would be the prime candidate, and thus the focus of my efforts. The rest, including a LARP-safe sword, I would seek to purchase, along with inkjet-printable iron-on transfer paper for the symbol on the tunic. I sourced a close-up screenshot of the helmet to use as a reference.
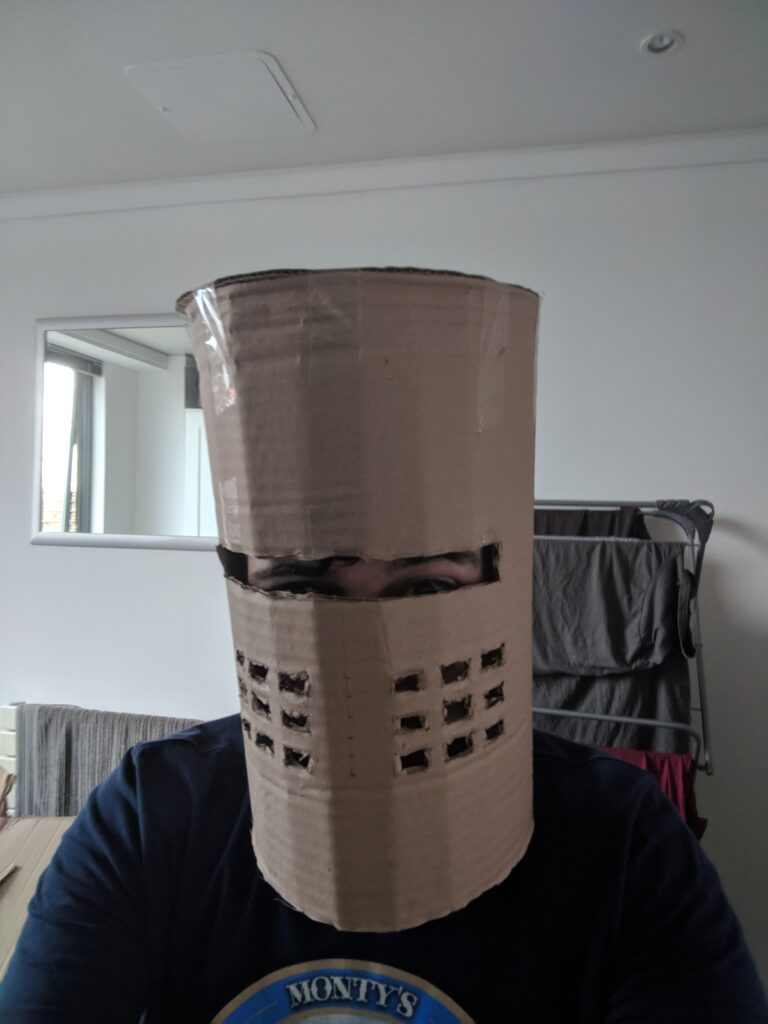
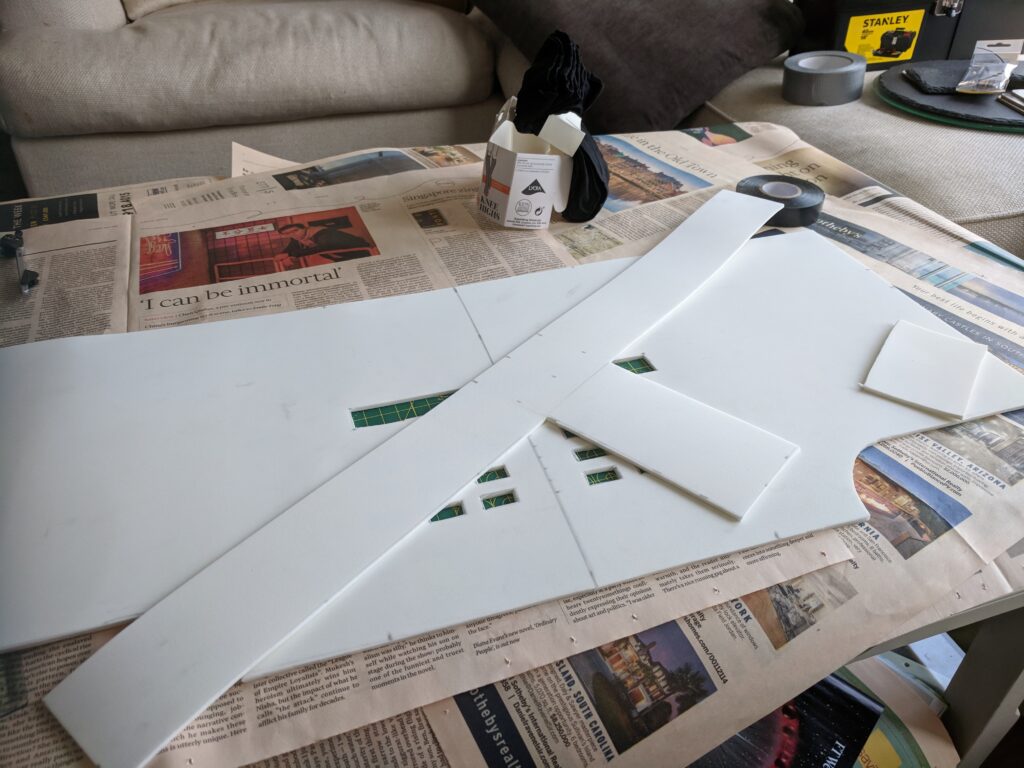
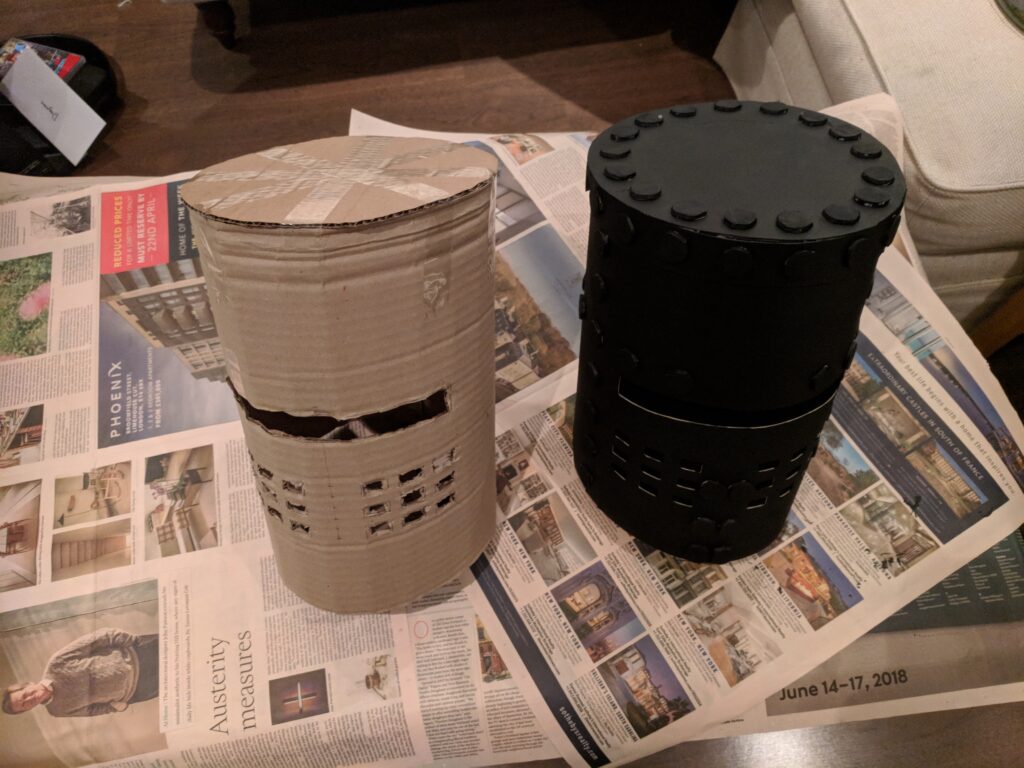
The plan was to use two layers for the helmet: An inner layer of 3mm foam for comfort, and an outer layer of Cosplayflex thermoplastic for the outer layer. Between the two layers I would sandwich a layer of thin black fabric (sourced from a pair of tights) to obscure the inside of the helmet whilst maintaining some visibility. As I had not worked with Cosplayflex before, I considered this the new material/skill I would encounter for this project. The first step was, of course, the cardboard prototype, to check and confirm measurements and fit:
Cardboard Prototype
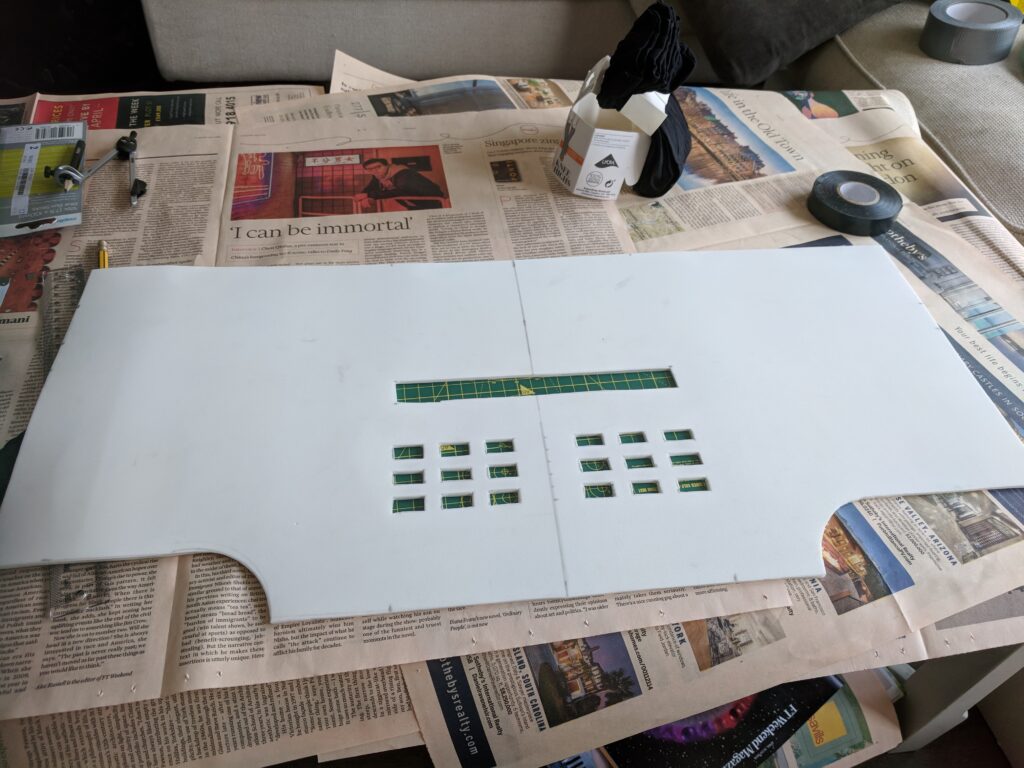
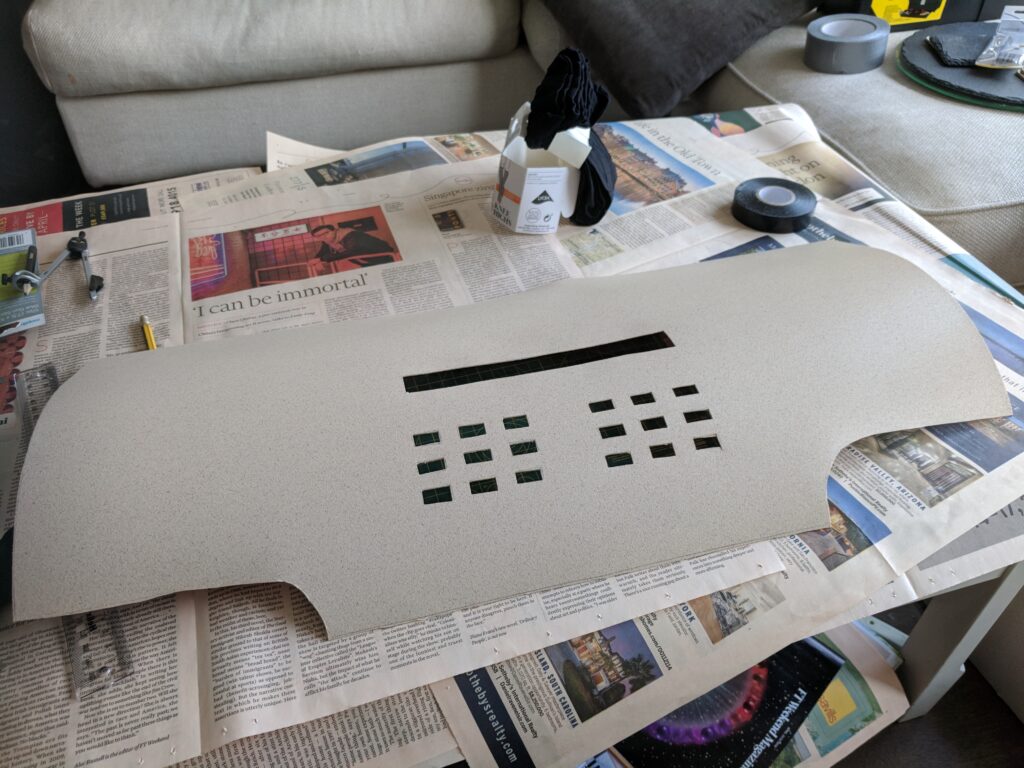
A few adjustments to line up the eye slit correctly were required, but overall the prototype was a success, so I felt confident moving on to the actual manufacture. First I focused on cutting the 3mm foam inner layer, along with a circular T-shaped piece, the goal of which was to go around the inside at approximately ear-level to hopefully secure the helmet at the correct height, as well as provide a joining surface for the seam at the back of the helmet.
3mm foam layerT-shaped section for patching the seam
I had originally purchased a heat gun so that I could try and mould the Cosplayflex to the desired shape, but given it came as a roll already it seemed to fit a cylindrical design without the need for it.
Outer Cosplayflex layer
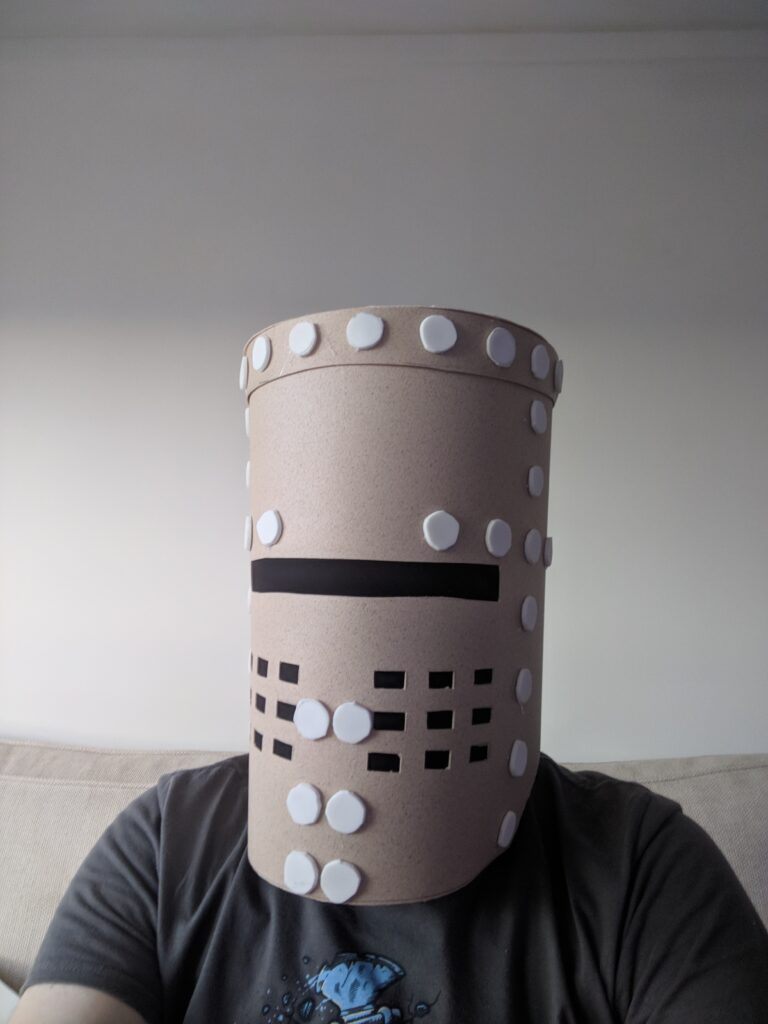
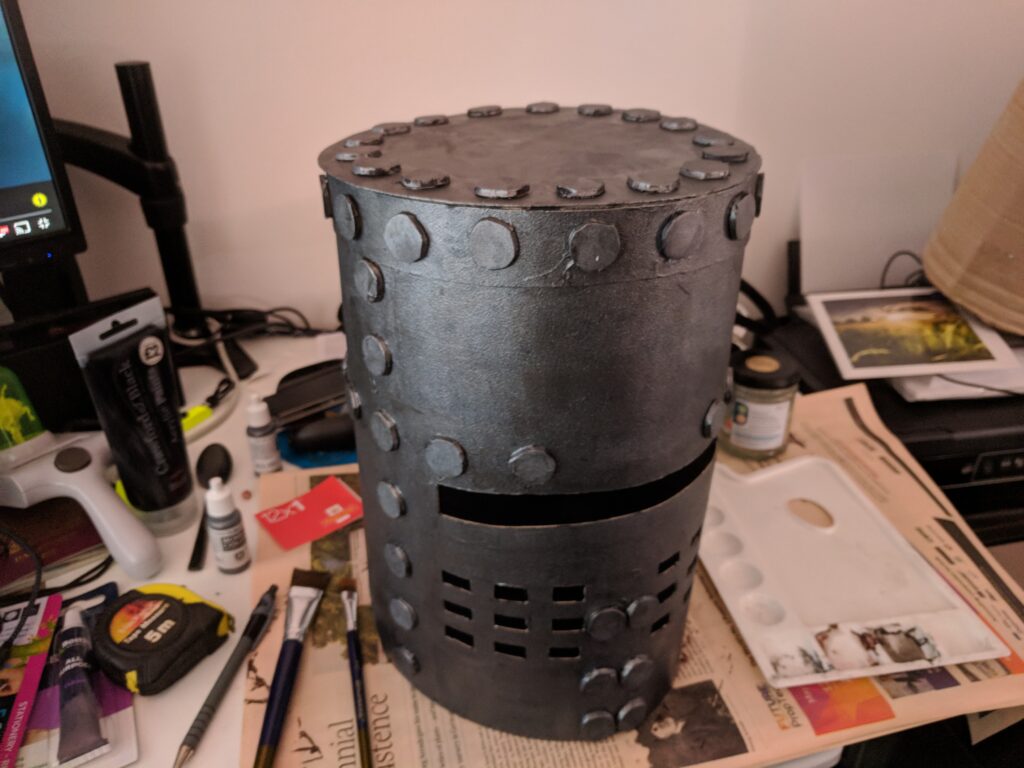
The Cosplayflex was surprisingly easy to work with, even using scissors and a craft knife to cut the pieces. I cut a circular piece for the helmet top from both 3mm foam and plastic, as well as a narrow rectangular piece of the plastic to patch over and reinforce the back seam. Then it was a matter of lots of hot glue, as well as the addition of the “rivets” which I simply cut from more 3mm foam. I also added a top ring of plastic.
Final product prior to paintingFit test
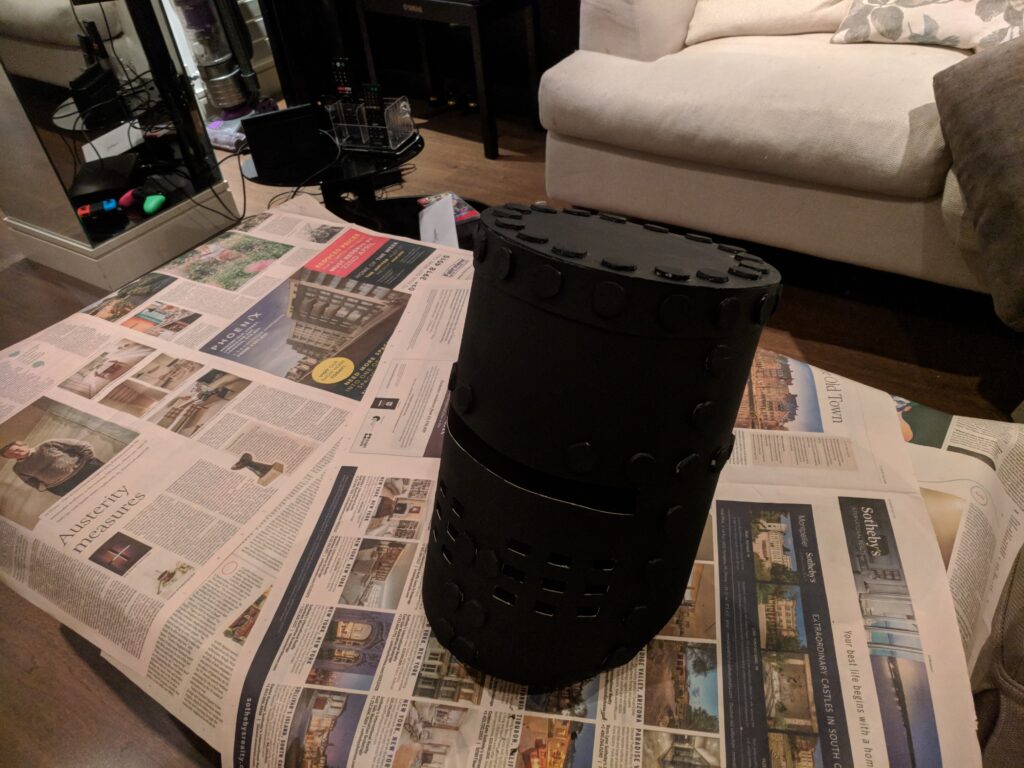
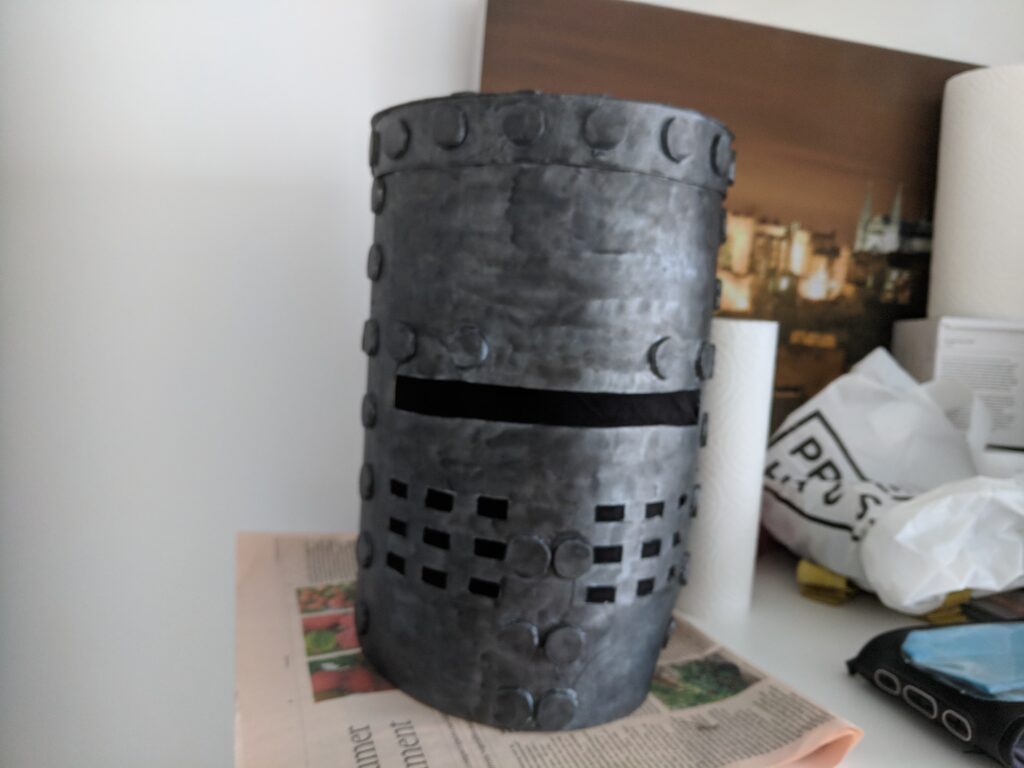
Painting the helmet involved a base layer of black, followed by a layer of “Natural Steel” metallic paint (two layers of each) followed by a black wash.
Black base coatAlongside prototypeSteel colour coatWith a black wash finish
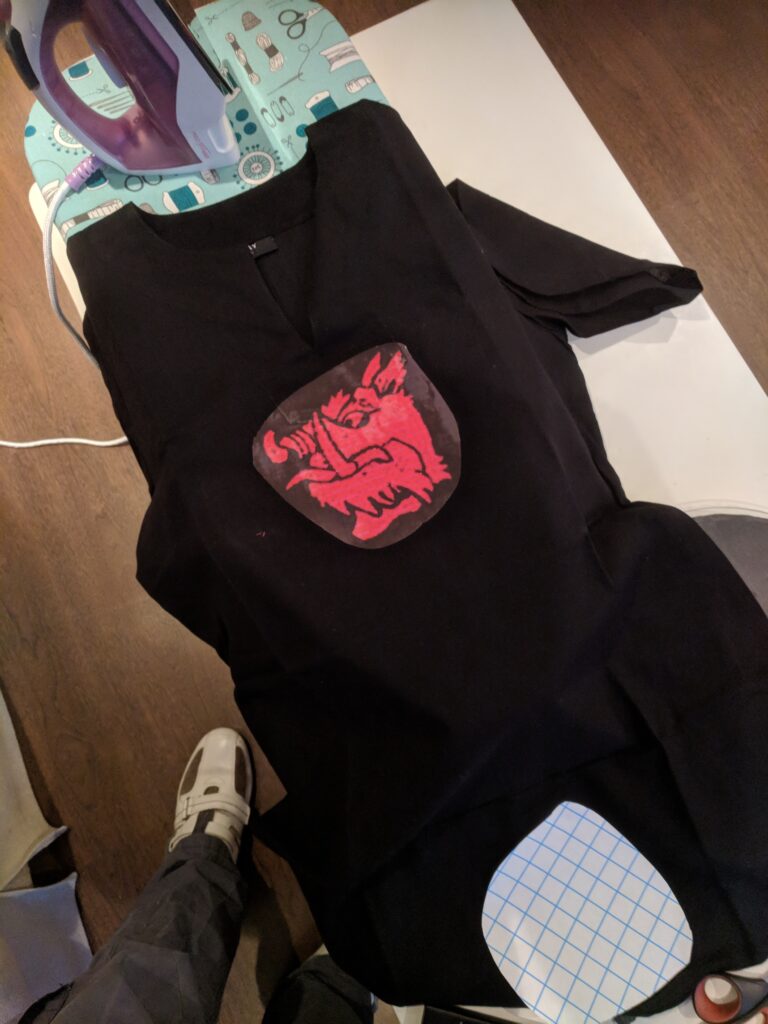
The only other piece of the costume that I had to create was the tunic, which was the combination of a black medieval costume tunic with an iron-on transfer (which unfortunately limited the size of the image I could apply to A4).
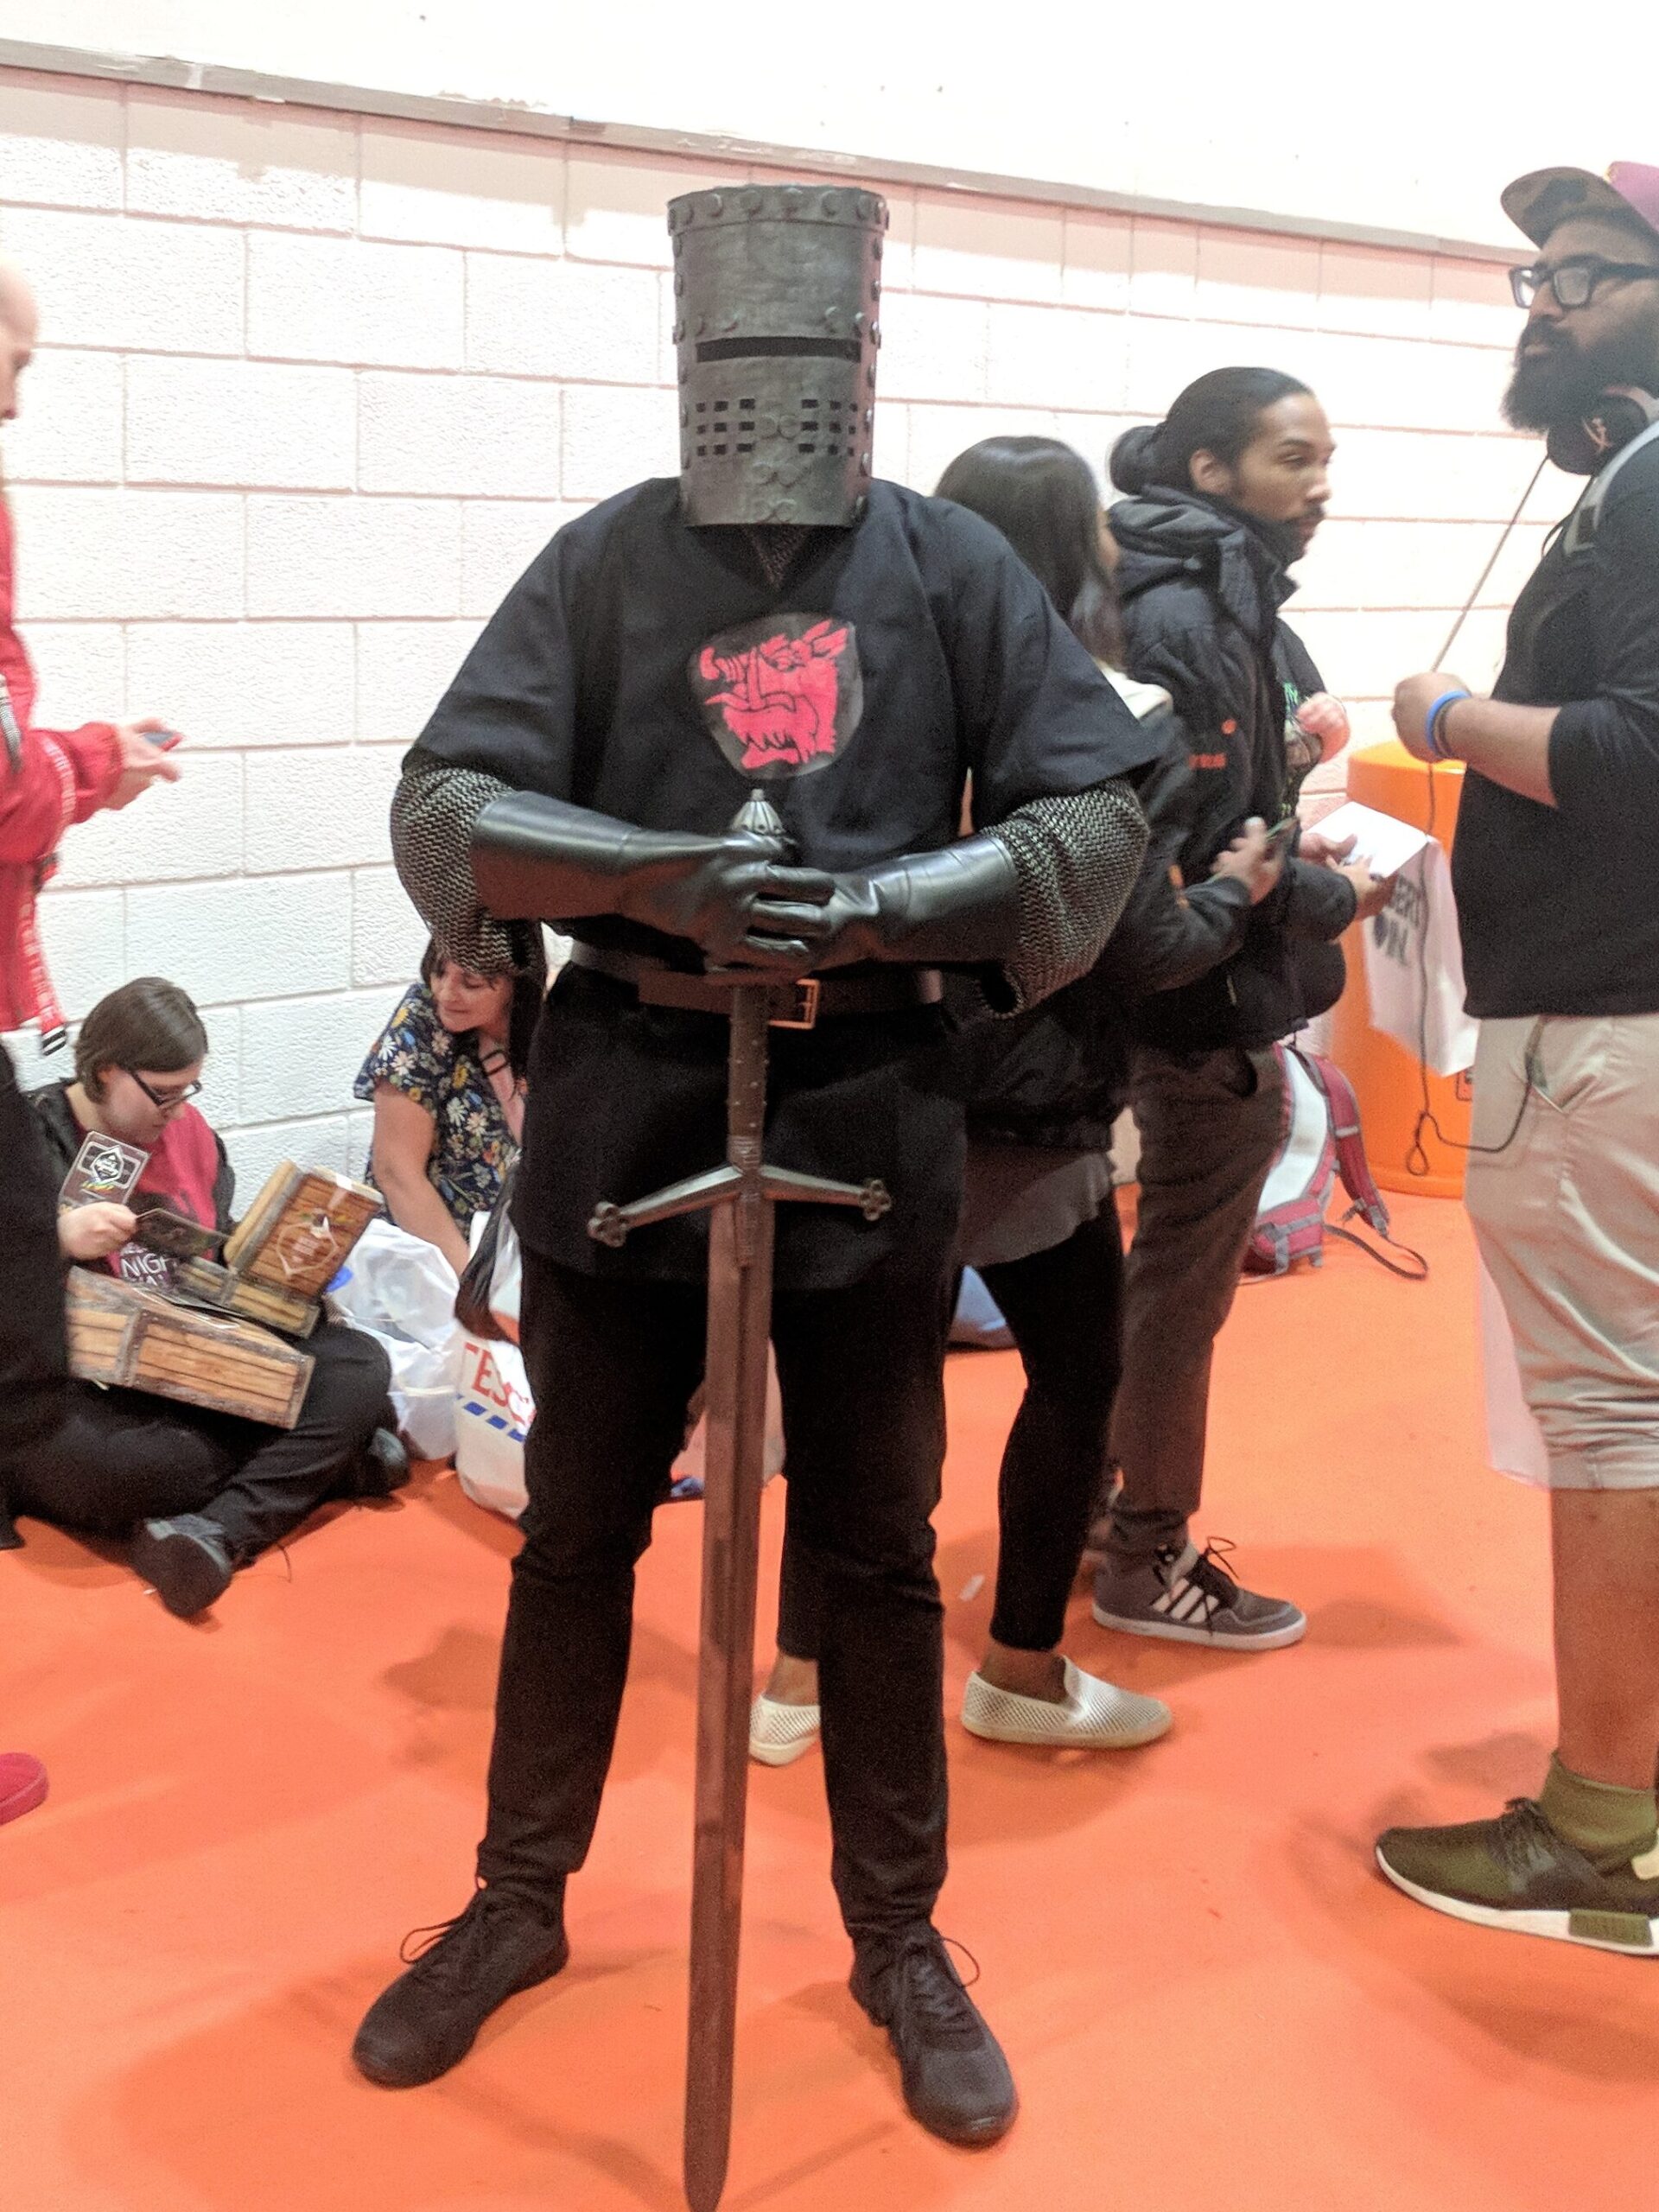
The remainder of the costume was purchased, including a costume chainmail shirt, faux-leather black gloves, and a LARP-safe sword as close to the Black Knight’s as I could find. The brown belt, black trousers and shoes I already had.
The costume was fun to wear, and got a fairly positive response at the convention. The visibility from the helmet was quite good, considering, however with the outer plastic layer it was heavy and did not take long to become uncomfortable to wear. If I were to remake this costume again, I would definitely use two layers of 3mm foam for a lighter and more comfortable helmet, even if it would sacrifice the rigidity the plastic provided. I would also try and hand-sew the tunic design, as it was a single colour and not too intricate to create, given time.
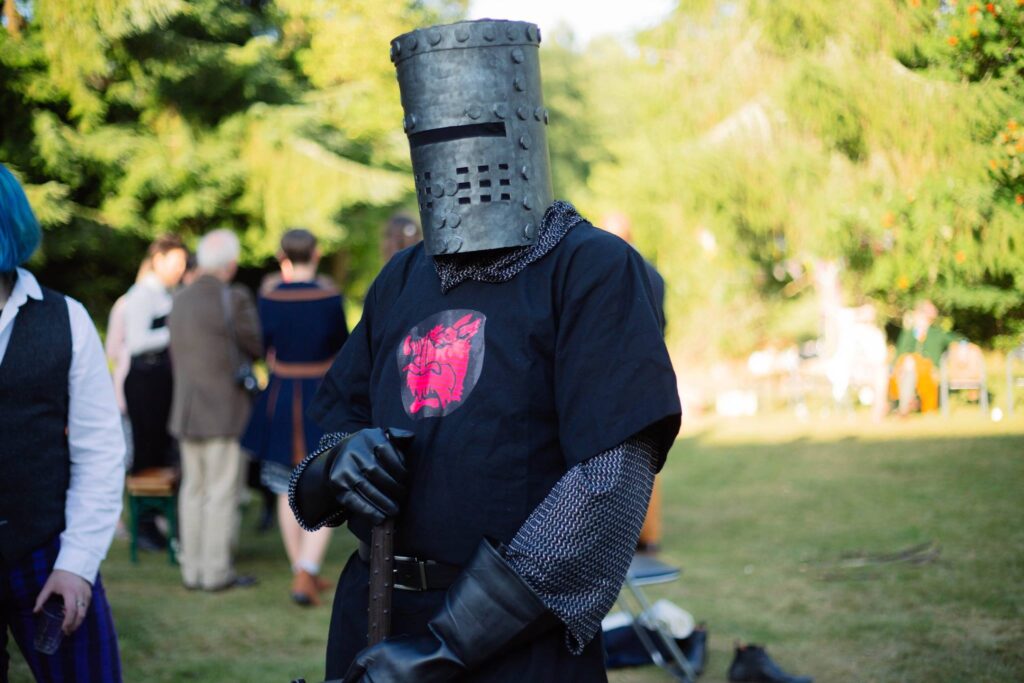
As a bonus, two friends of mine had a fancy-dress themed wedding a few months later on a bridge in a Scottish glen, and given a bridge in a natural setting the Black Knight cosplay was a must (despite the logistical challenge of getting it across the country intact).
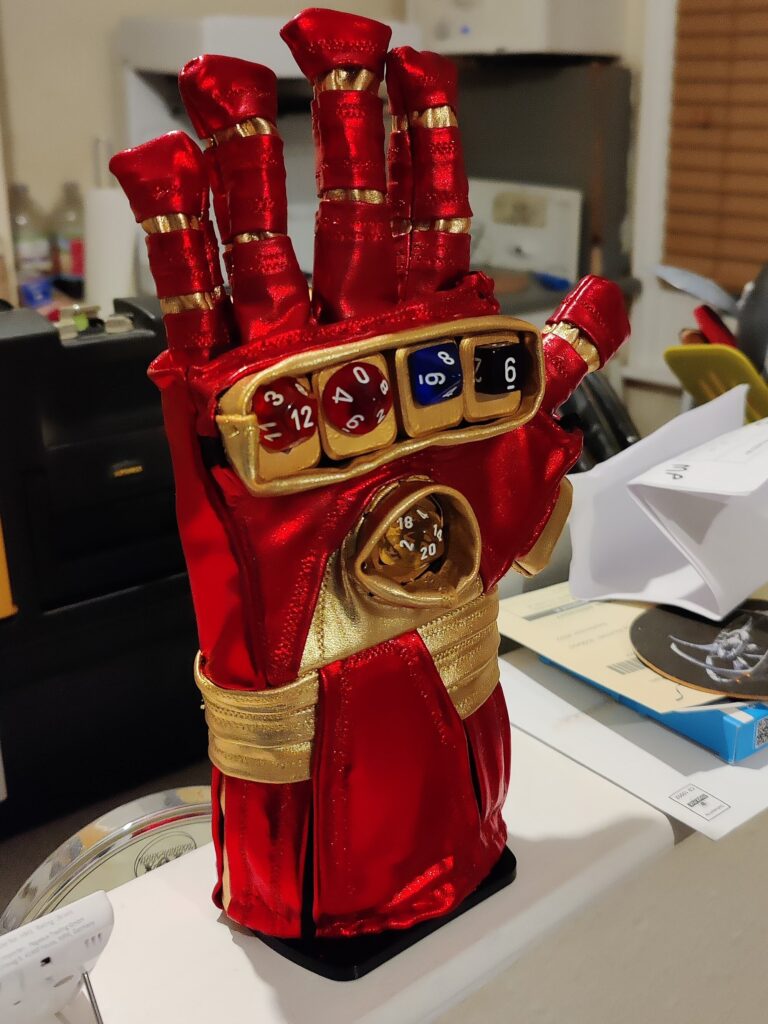
With the lighting circuit and dice mounts successfully attached to the base layer, the final stage of creating the Infinite dGauntlet was to create the outer wrapping layer. For the design I took primary inspiration from the Nano-gauntlet in Avengers: Endgame, as this was closest to the Iron Man red/gold colour scheme that would fit best with Dungeon Master.
I used the same template I had created for the base layer, but added around 1cm of depth in order to add space for the circuit board and wiring, and added cut-out sections through which the dice mounts would protrude. Using the same black cotton fabric as a base, I used metallic red and gold spandex to build up the required design, using metallic thread which did not play well with the sewing machine at all.
Gauntlet wrist/palm outer layer pieces prior to assembly
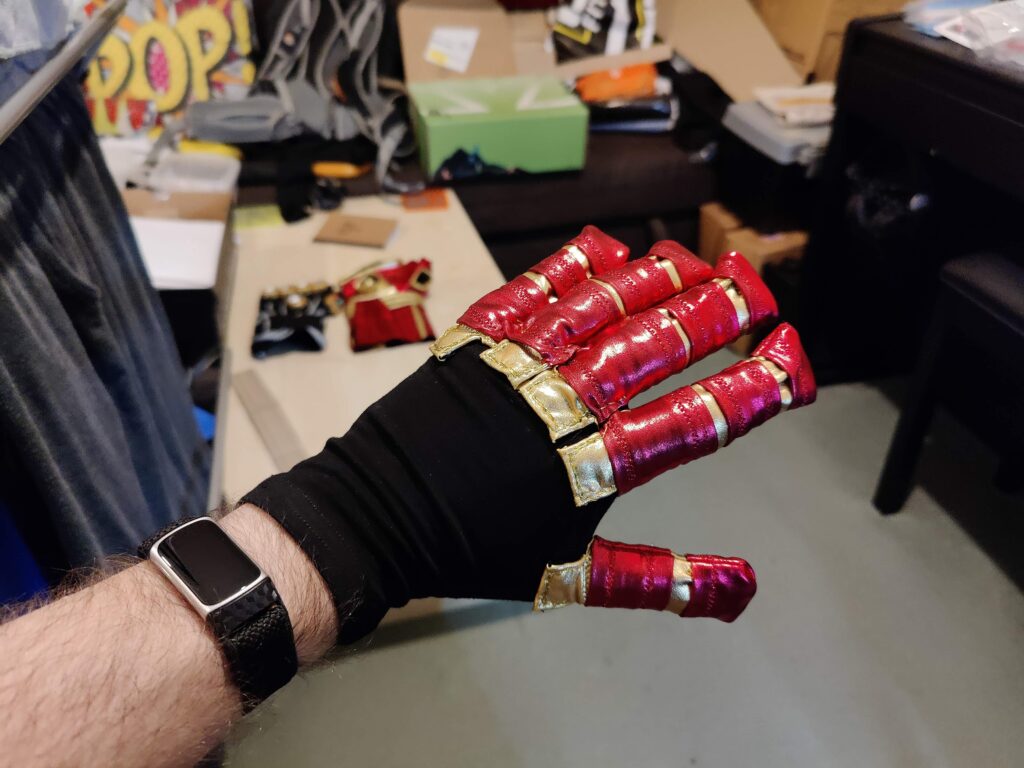
The fingers were similarly designed, essentially creating short tubes of fabric to be attached to a simple black glove that would be sewn inside the base layer.
Base layer and components of outer layer prior to final assembly
Fingers sewn and attached to the glove
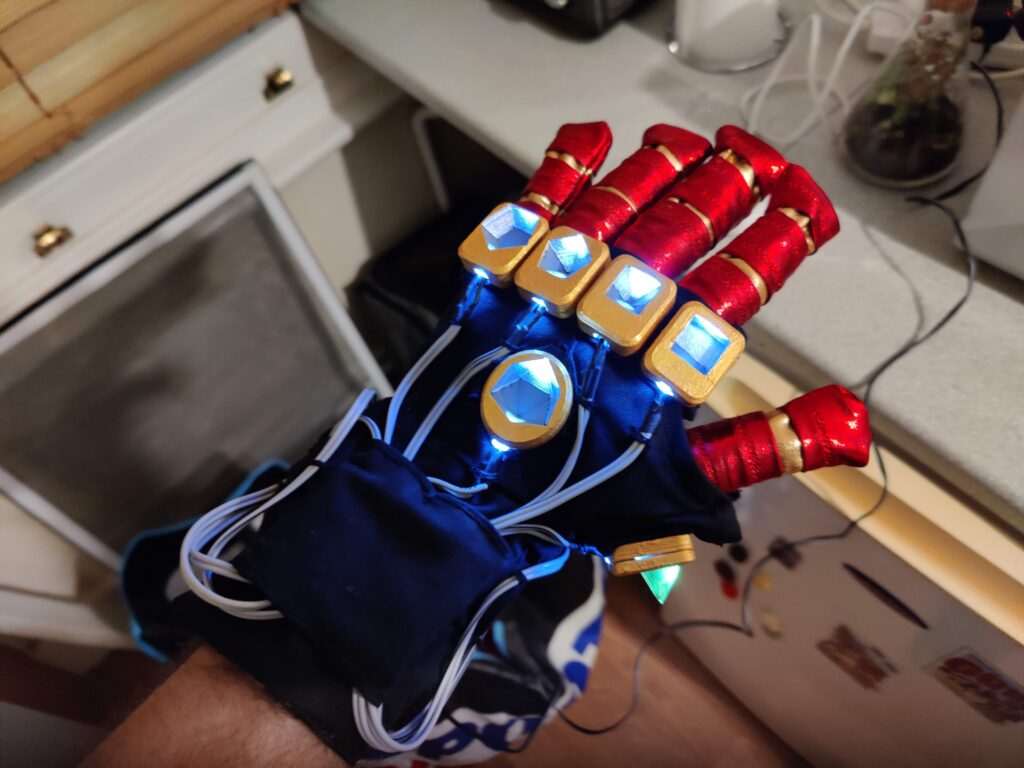
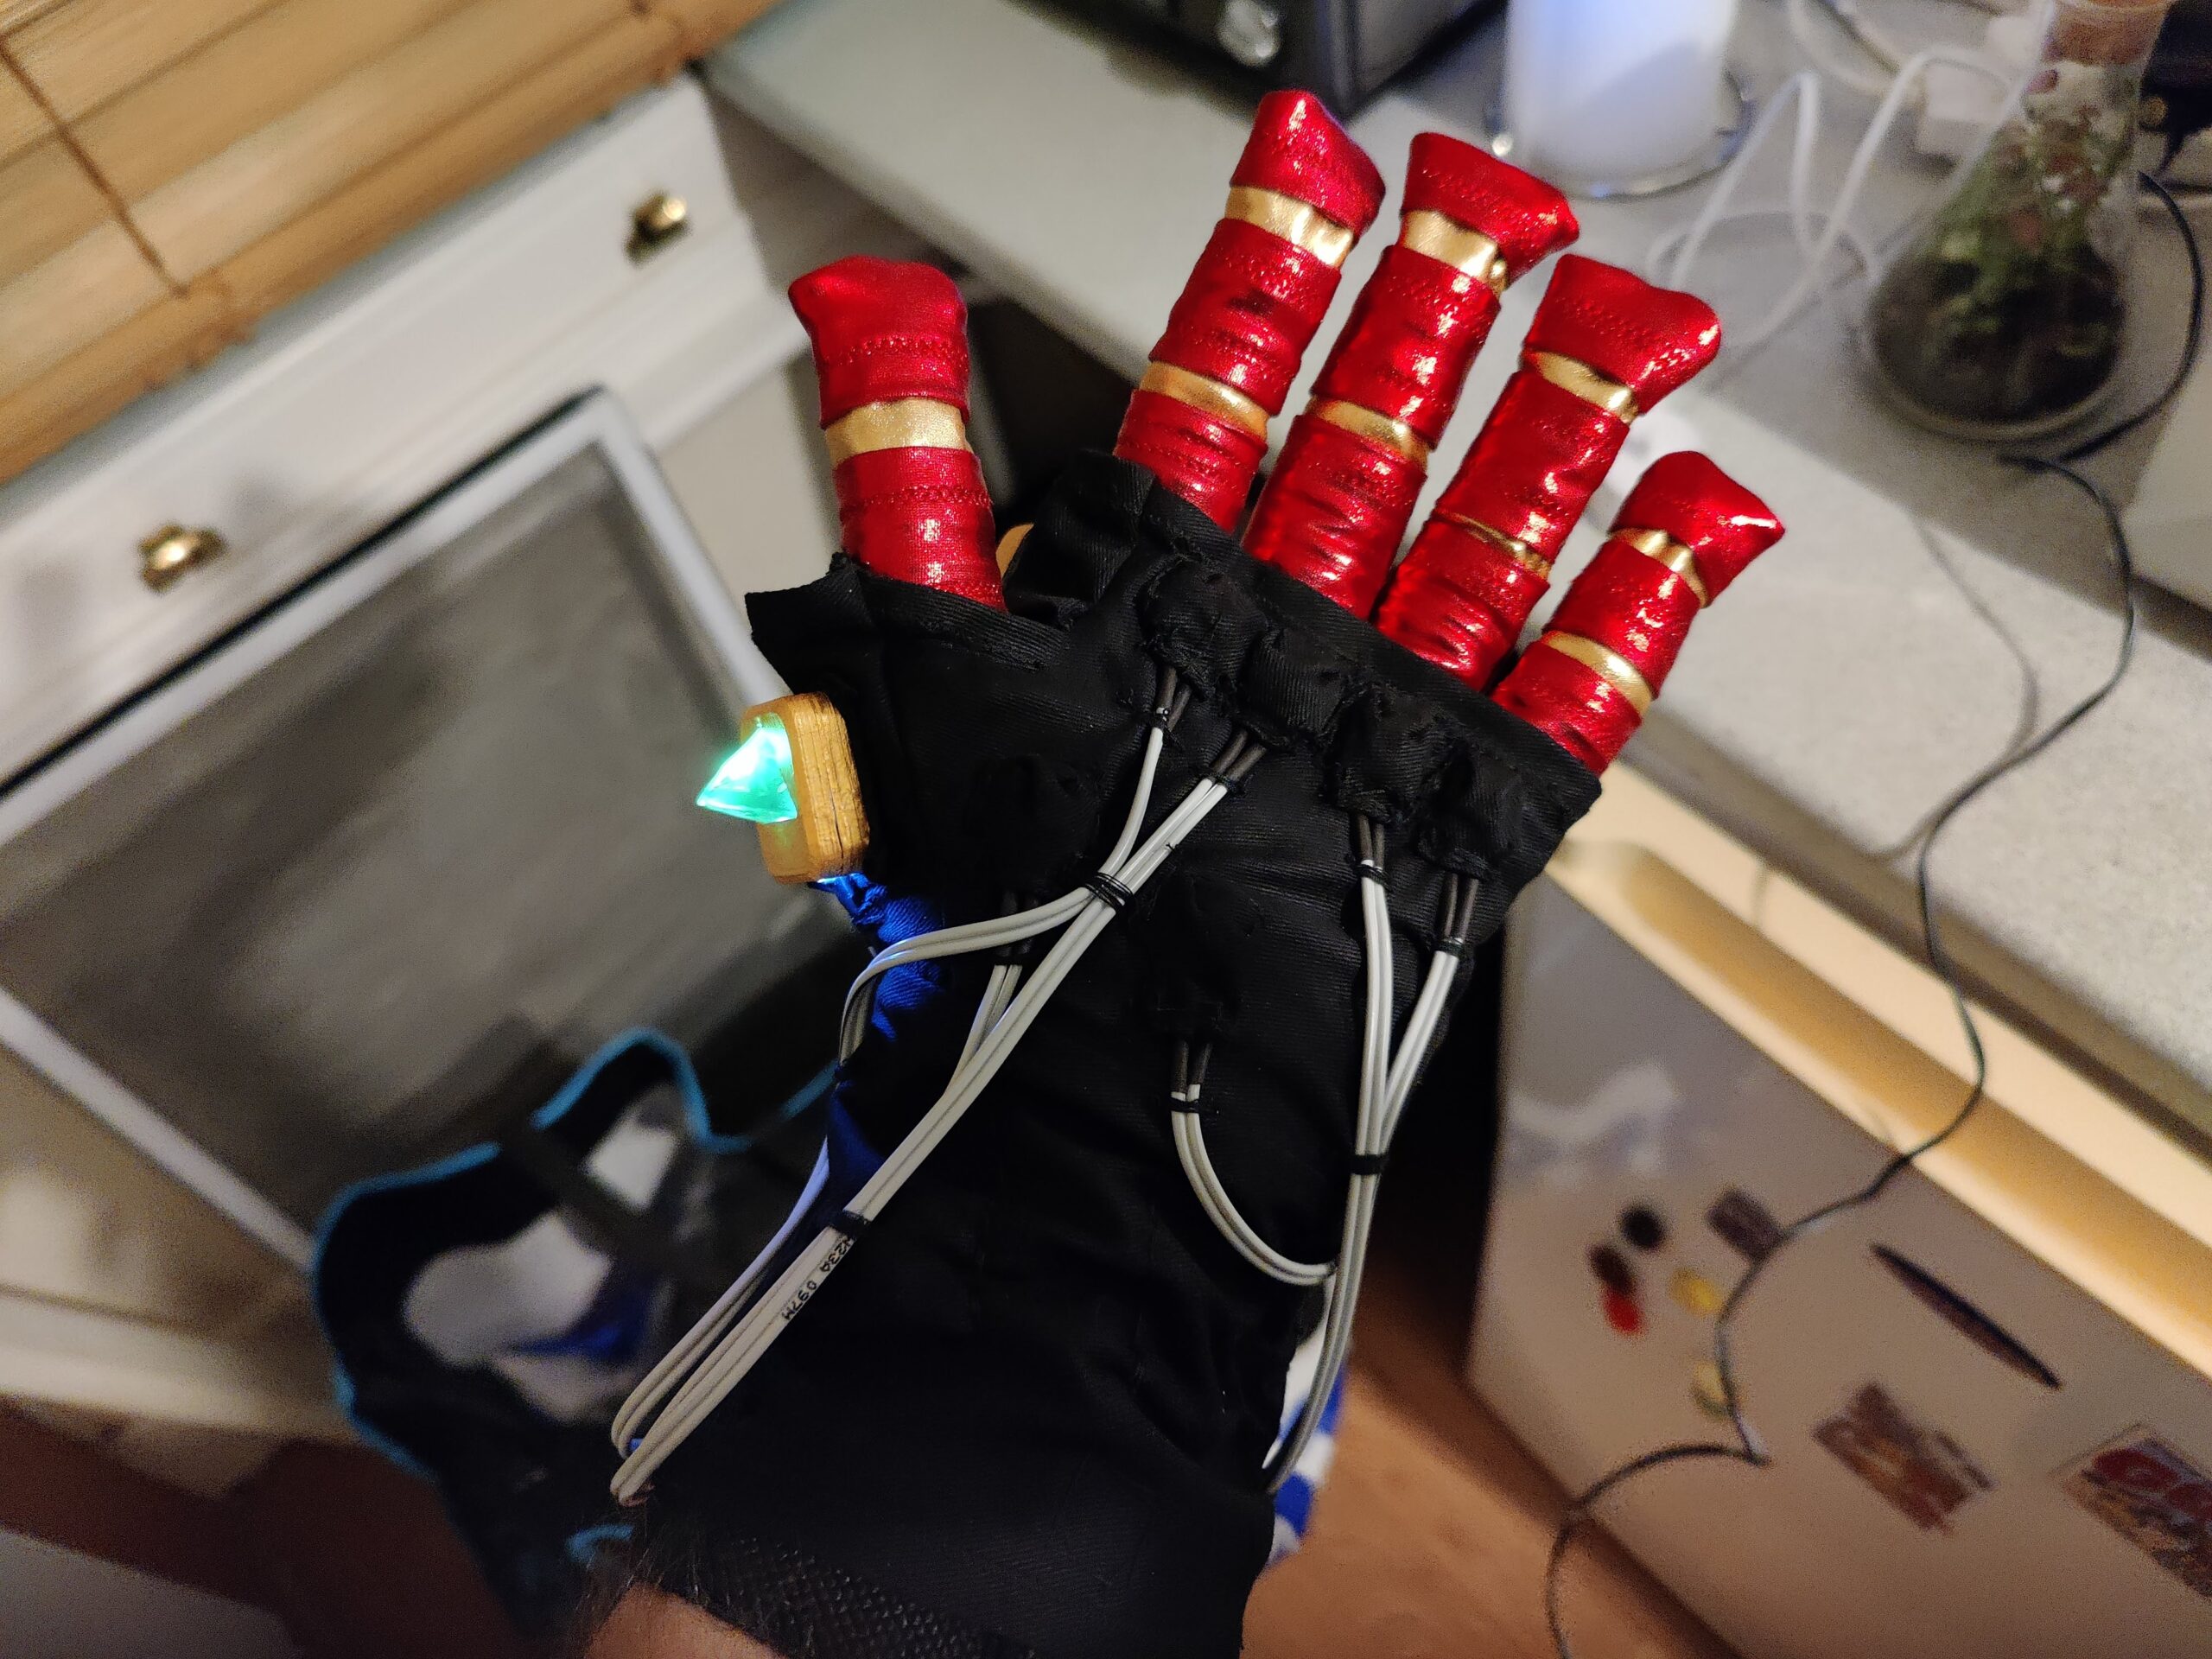
Glove sewn inside the base layerPalm switches
All that was left was to slip the outer layer wrist/palm section over the top and hand-sew the seams.
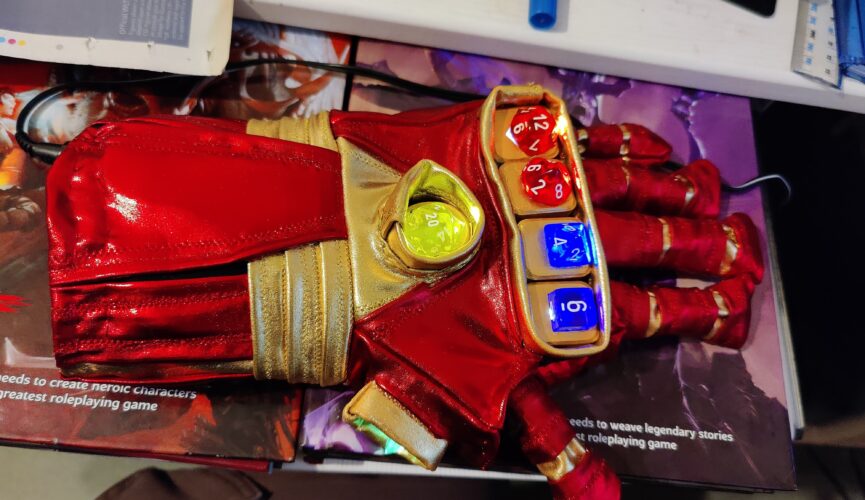
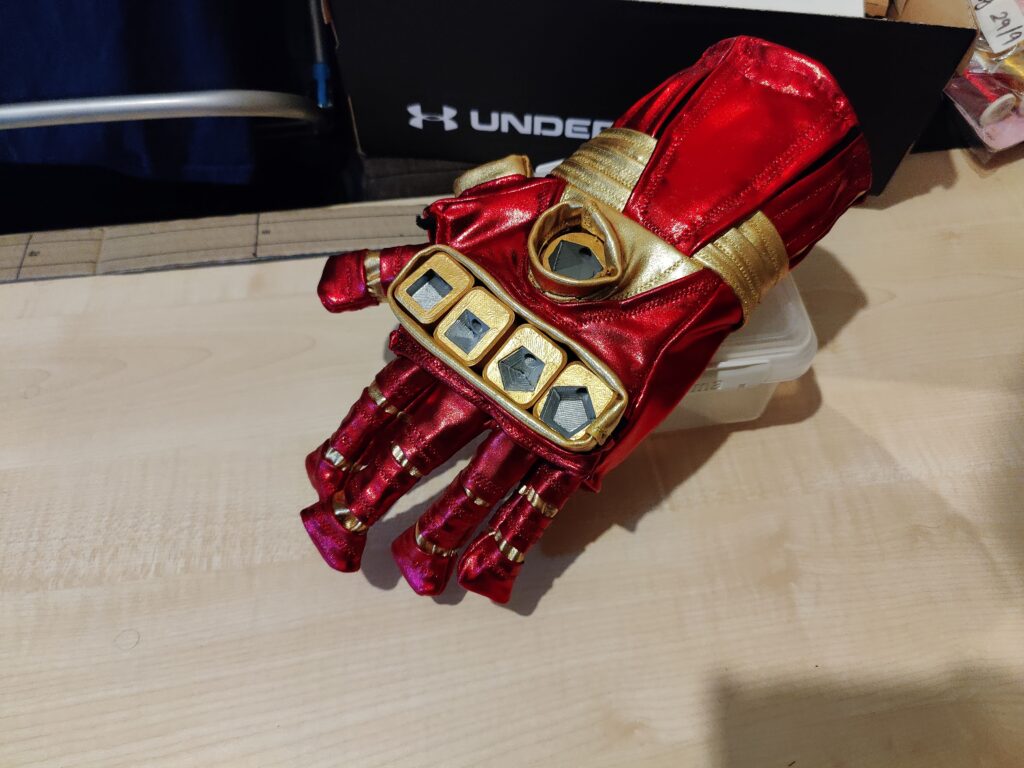
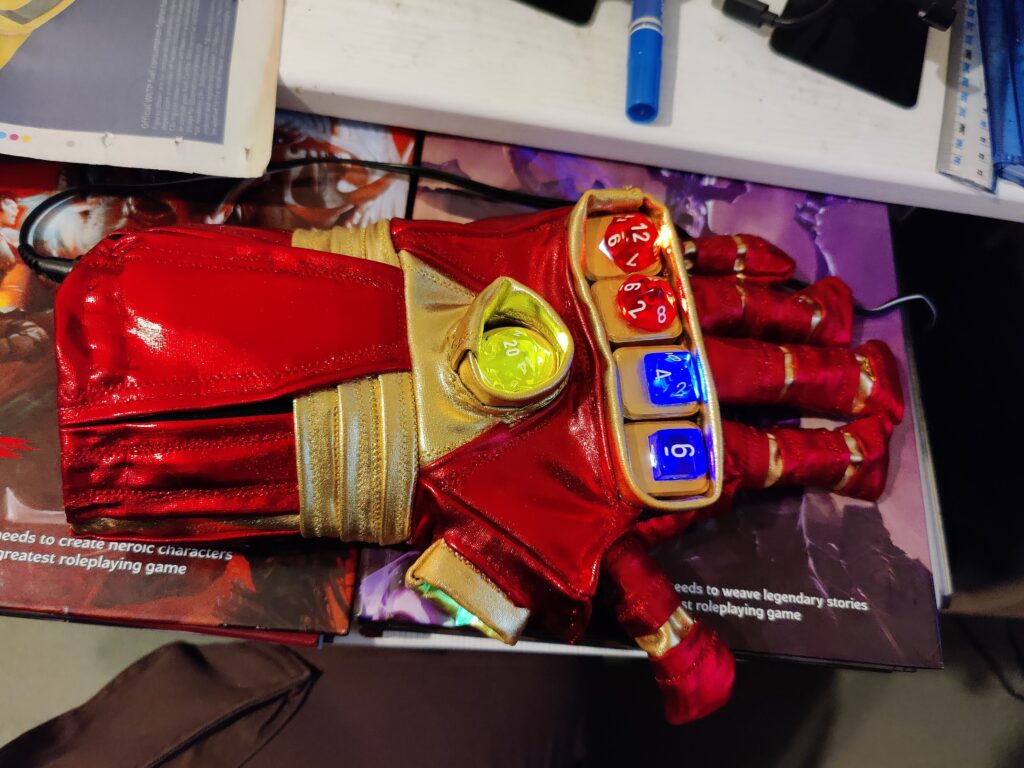
Completed gauntlet awaiting dice
The dice were then secured in their mounts using superglue to complete the Gauntlet.