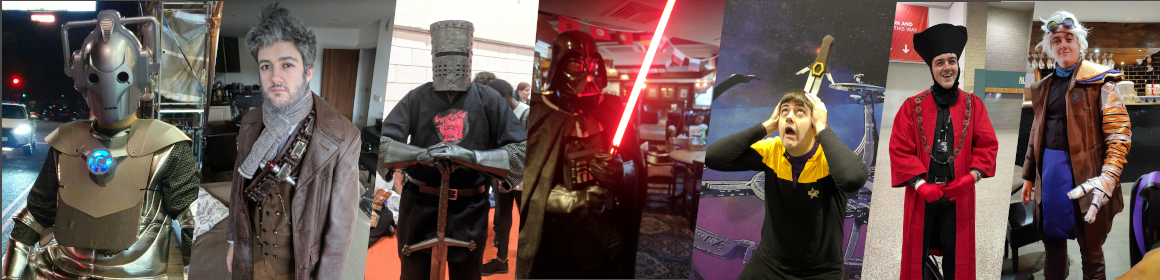
Today we go back to 2018, over five years ago now. Whilst most of my cosplay efforts are put to conventions, a few are reserved for the occasional private party. One such occasion was the 2018 Star Wars party, held sort-of annually (at the time) at one of the meetup groups of which I am a member. A notable part of the celebration was, of course, a costume competition, and among a few rival cosplayers I was determined to win.
What more iconic a character to go for than Darth Vader, a tall and imposing figure. The helmet I knew would be beyond my ability to make myself, as would a suitable lightsabre, so those components I would purchase. As for the rest, I would manufacture the pieces entirely from scratch or find and buy online. The goal is never to buy an entire costume (as in searching and buying a “Darth Vader” costume) but finding disparate pieces (like a set of black gloves, a sweatshirt with a suitable weave pattern, a black cloak) to combine together is as much a part of the cosplay process as making something entirely from scratch. (Not to say that buying and wearing a complete costume is in some way “less valid”, some people enjoy the wearing more than the making and that’s fine. I just personally always enjoyed the challenge of making a costume as much as wearing one).
Anyway, on the list of things to make were the switch boxes, belt buckle, shoulder armour and the armour around the waist.
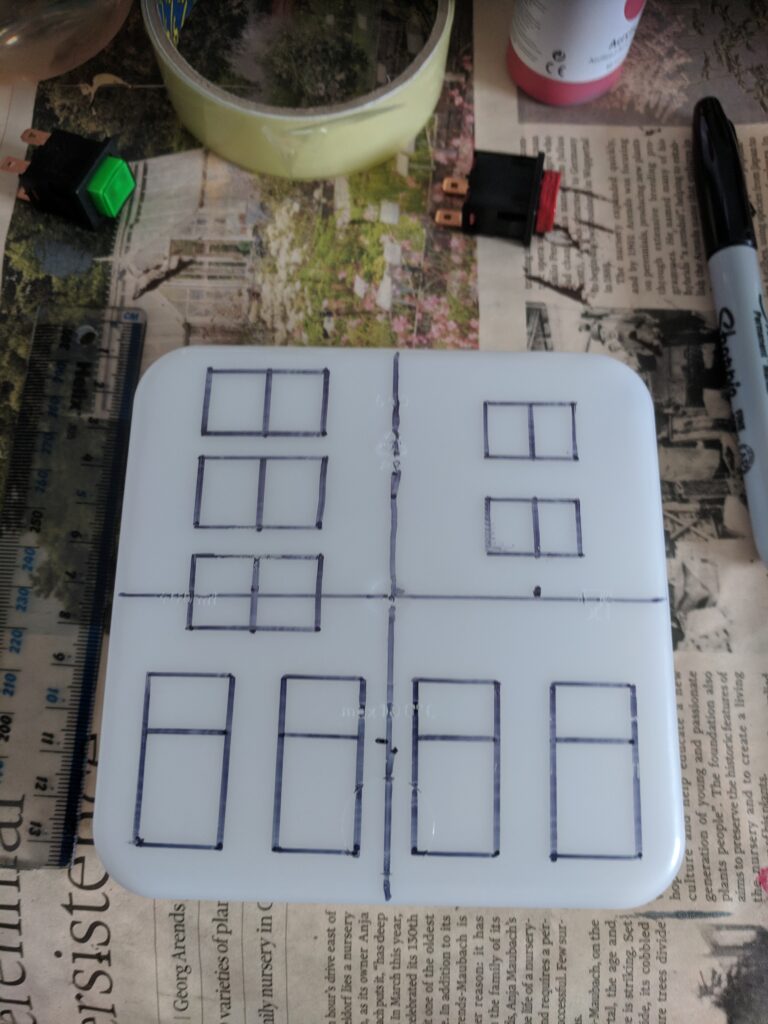
Switch Boxes
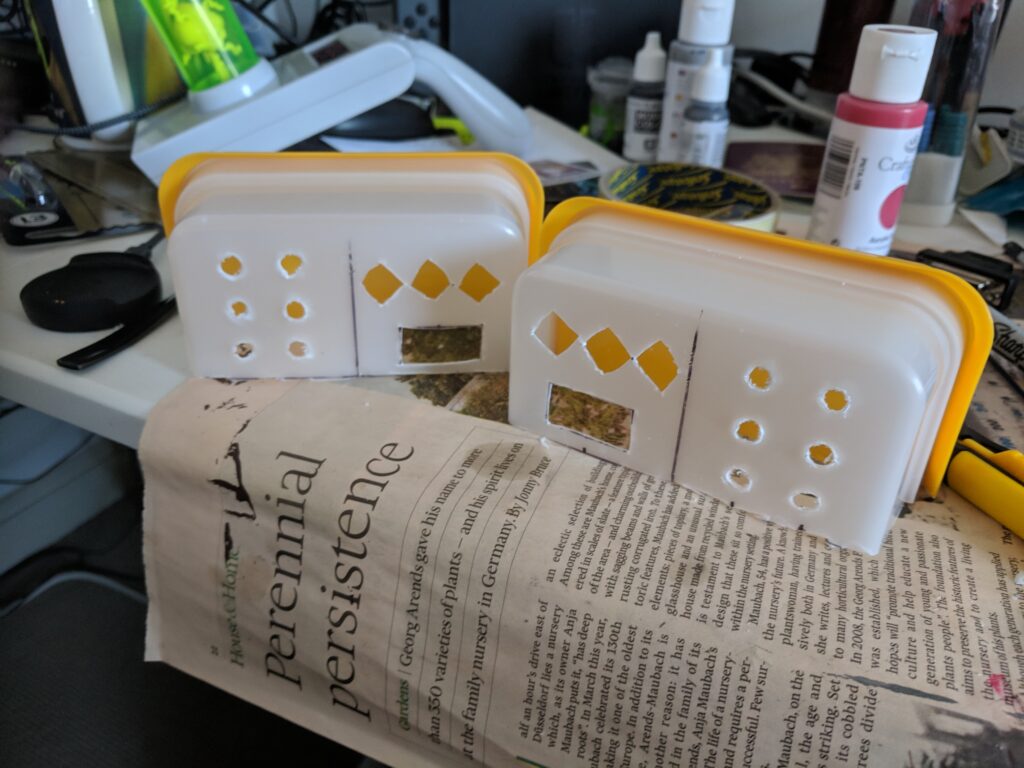
I purchased a bunch of random electrical components; including rocker switches and push-button switches, as well as a few DVI-to-HDMI adapters for the “data ports”. I bought a couple of square cheap plastic tupperwares which would be the base of the boxes, and around which I would glue some trusty 3mm foam.
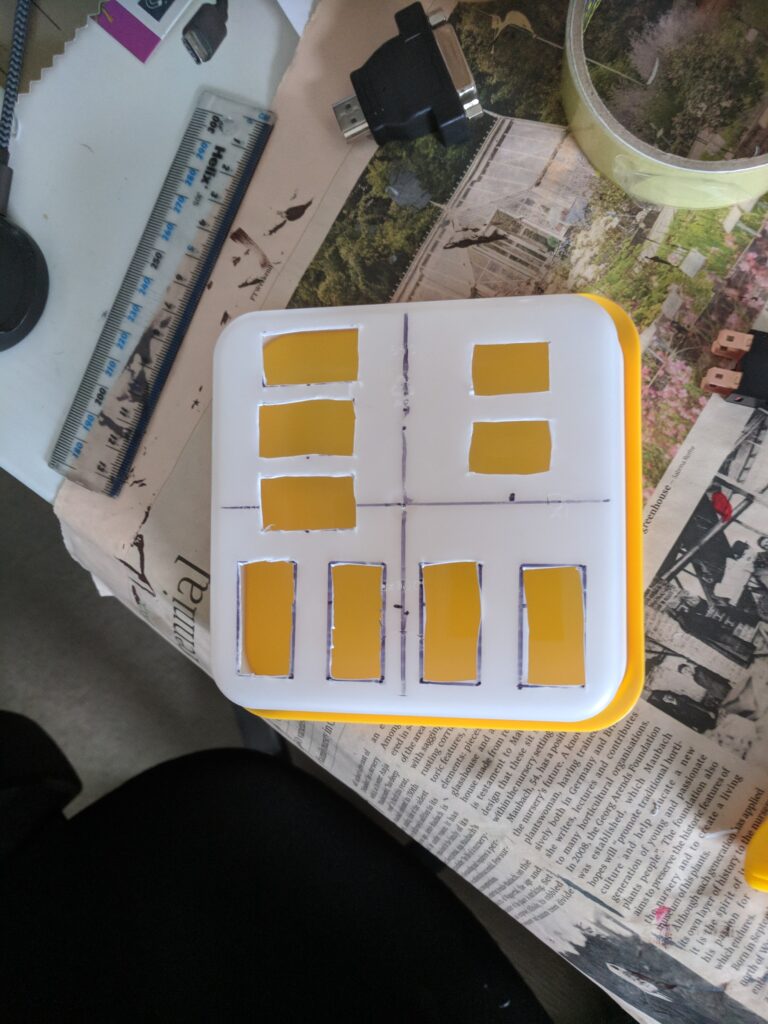

The plan was to adhere the chest box to a top using velcro strips and add slots onto the waist boxes to thread a belt through. Whilst the velcro worked, it’s worth noting that sticky-back velcro can often adhere more strongly to the other velcro strip than to the adhesive. And do not try to sew sticky back velcro. The adhesive will make a difficult hand-sewing job harder and will ruin your needle. Not long after this project I found some non-sticky-back velcro to use for future sewing projects.
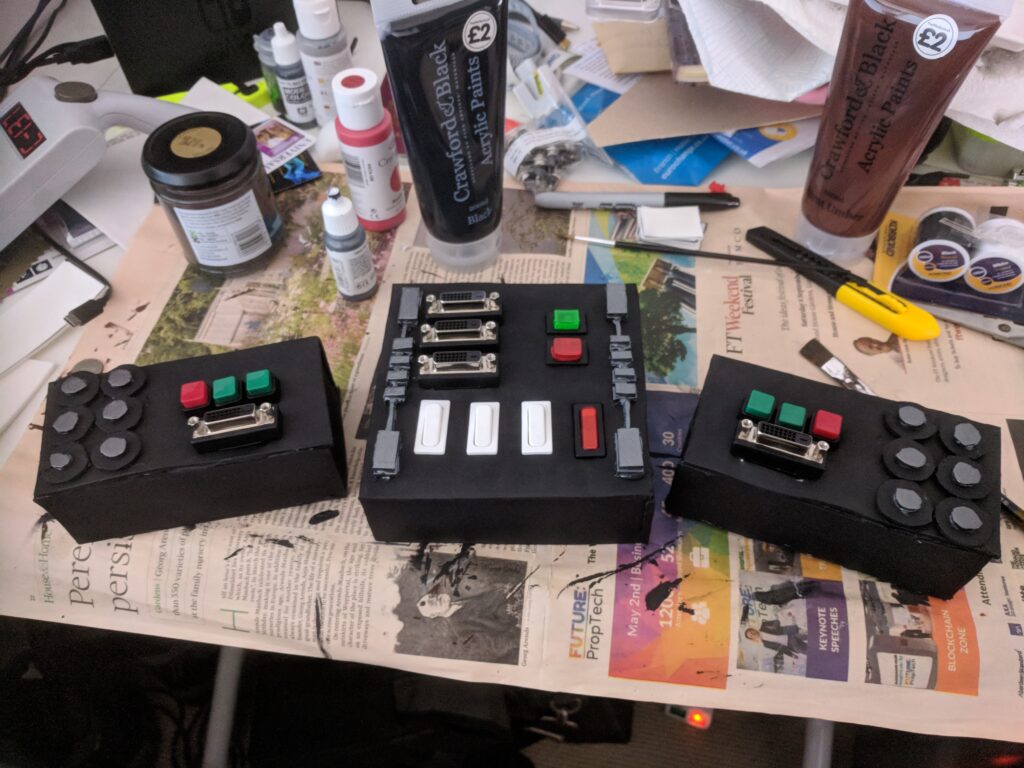
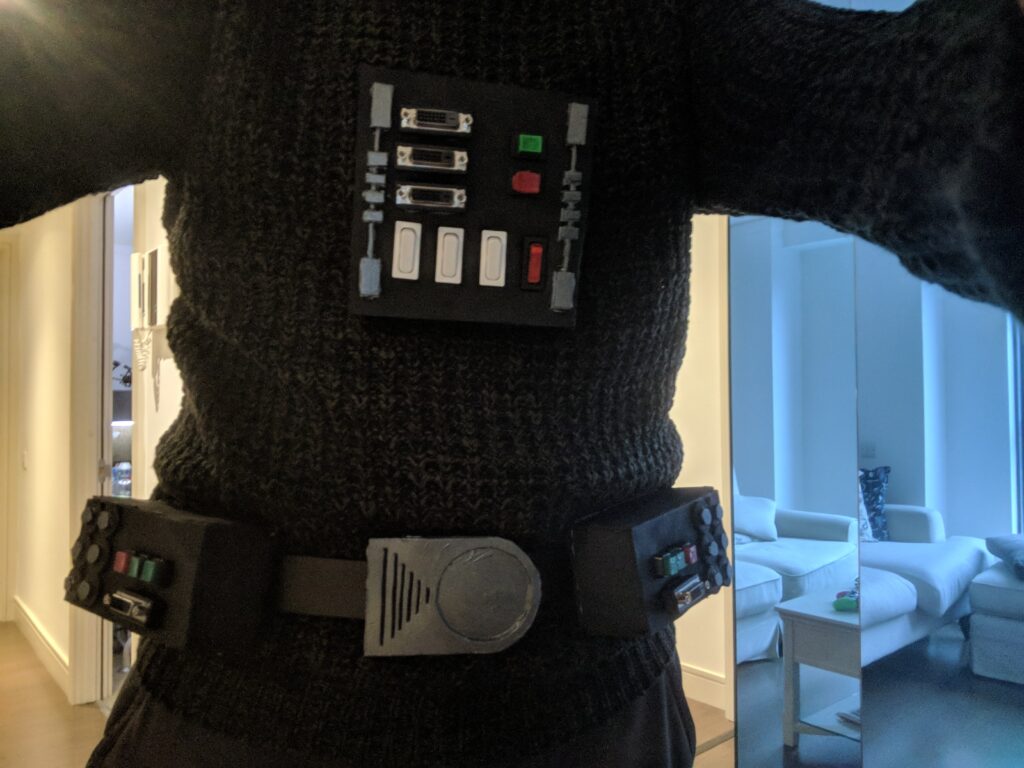
For the components I couldn’t find I made mock-ups with 3mm foam. The belt-buckle was two layers of 3mm foam hot-glued together and painted, with an additional layer of foam loops behind. I found a black wooly jumper similar in appearance to the vertical threads Vader seems to wear, so this formed the base of the top half of the costume.
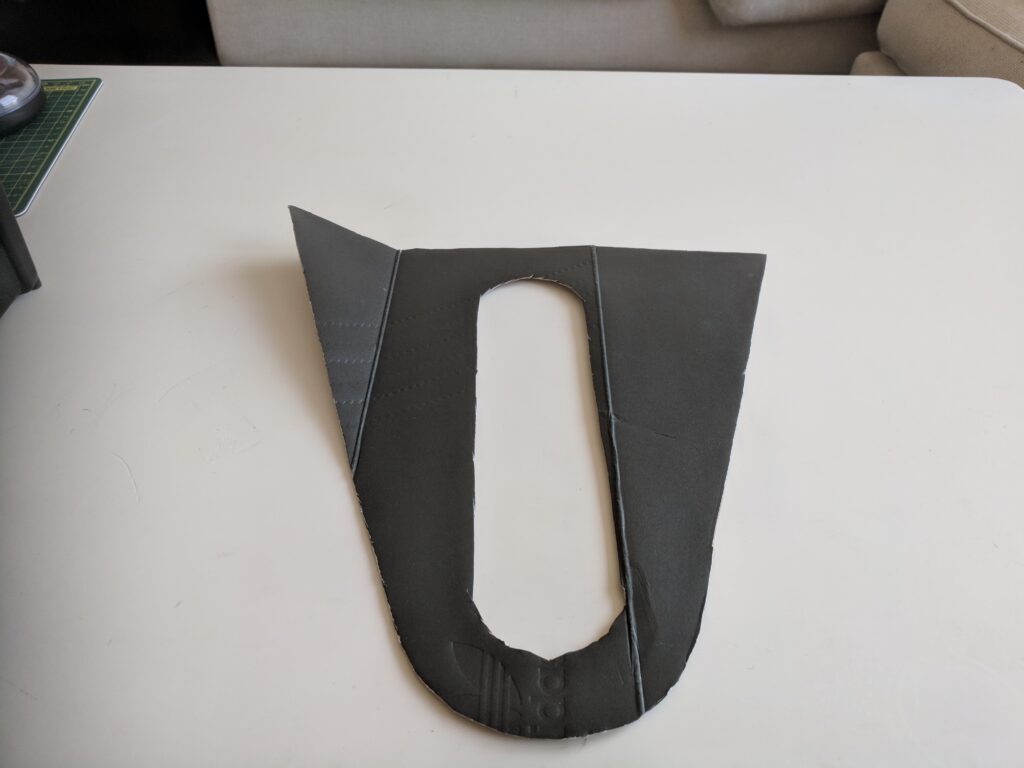
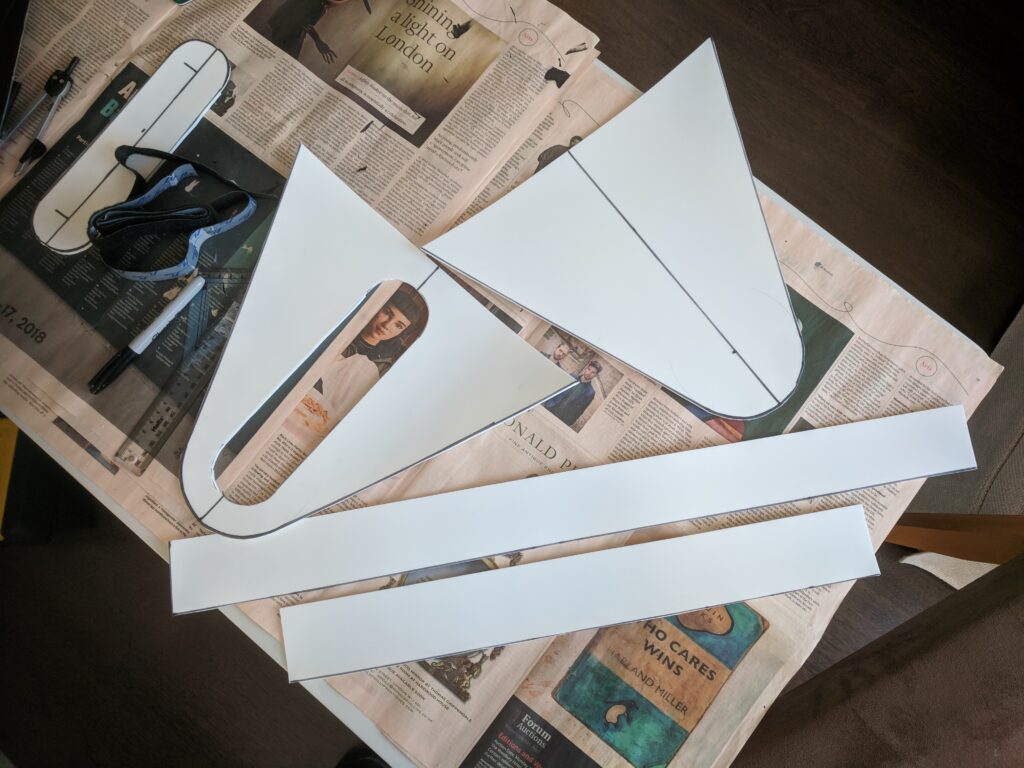
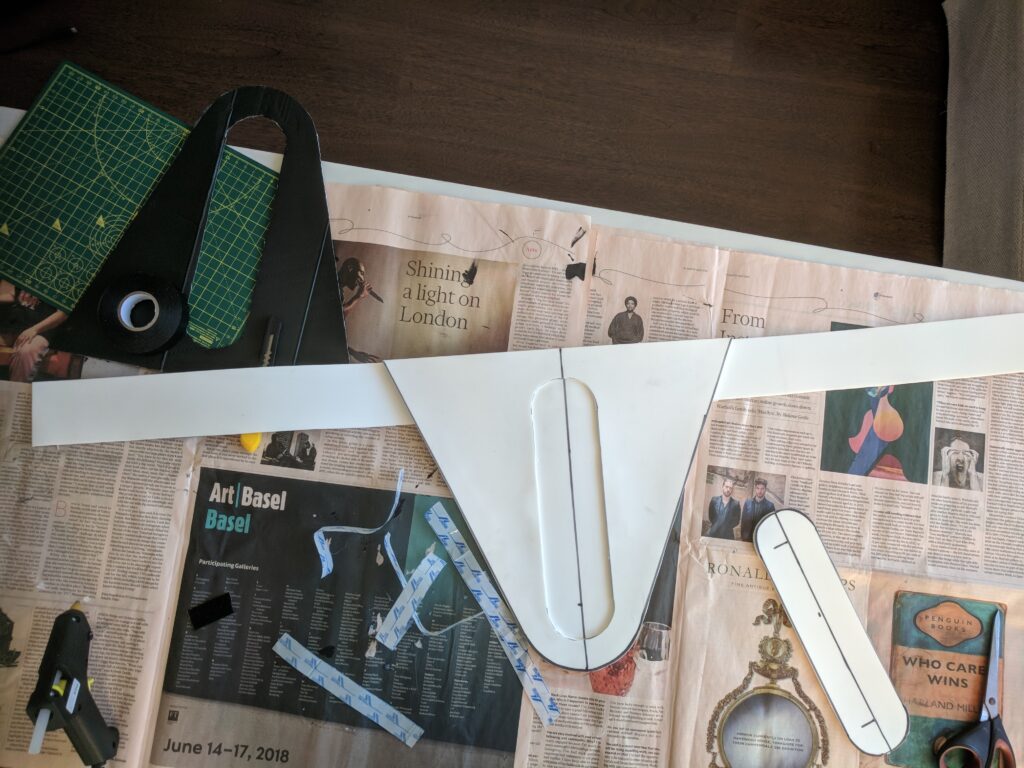
Shoulder and Waist Armour
To create these I once again turned to our old friends, 3mm foam and hot glue. This essentially involved figuring out a rough 2D net for the sort of 3D basic shape I wanted to go for, then making and folding that shape together from the foam.
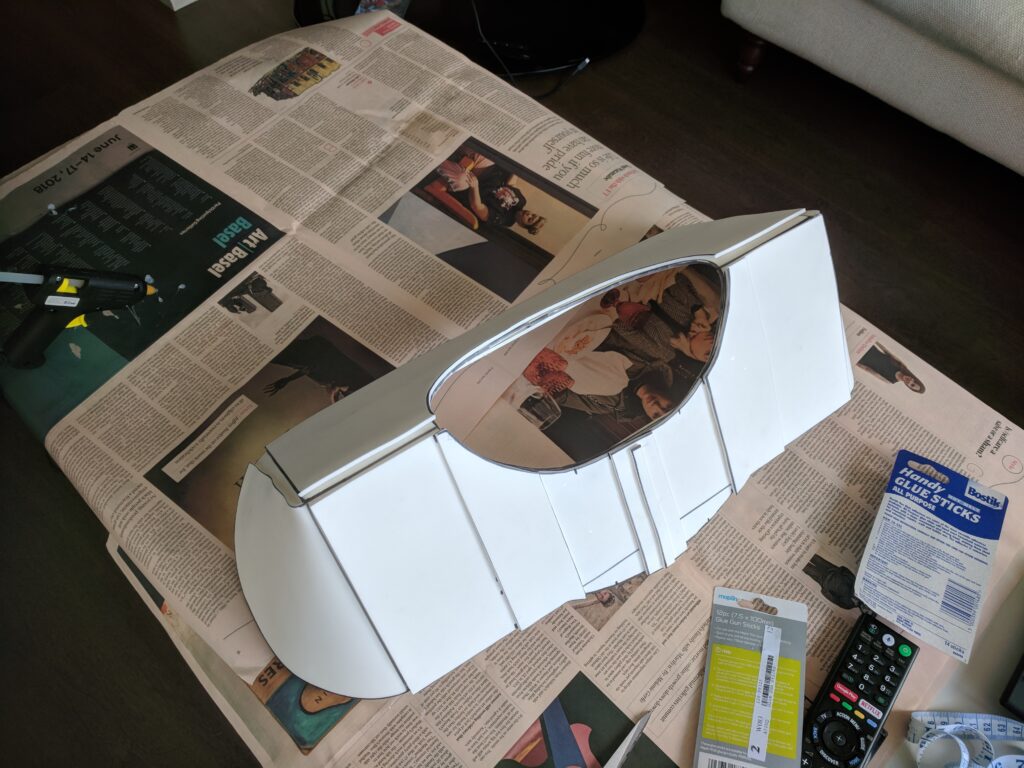
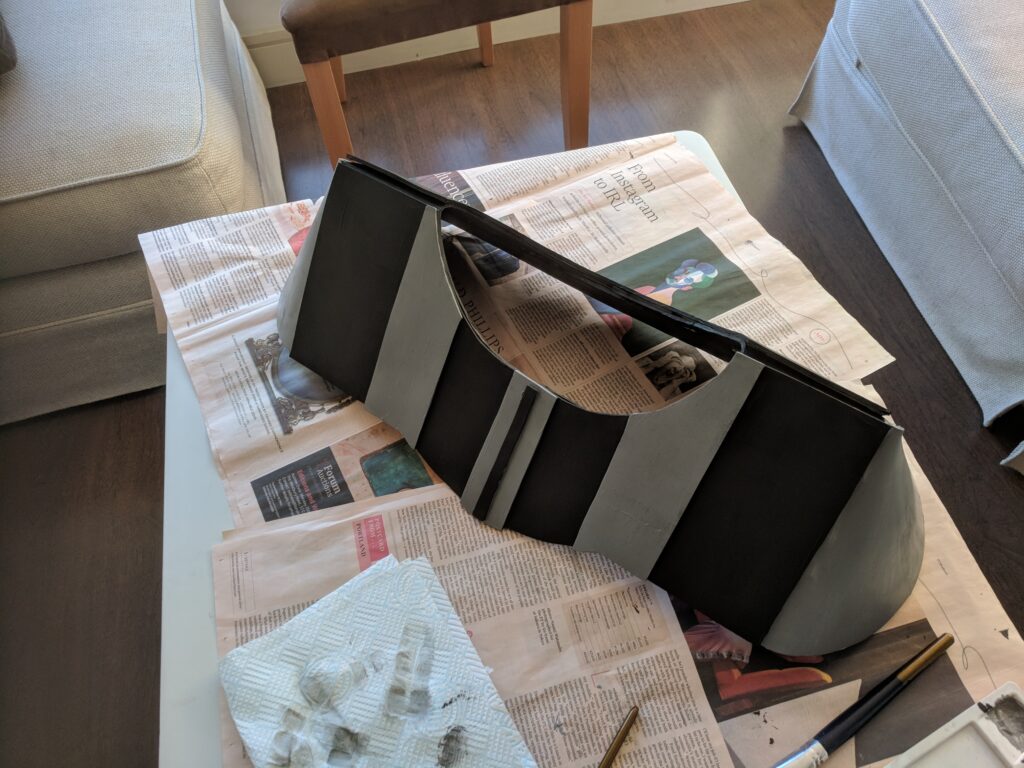
The waist armour was a simpler 2D shape with a “belt” section to wrap around the back.
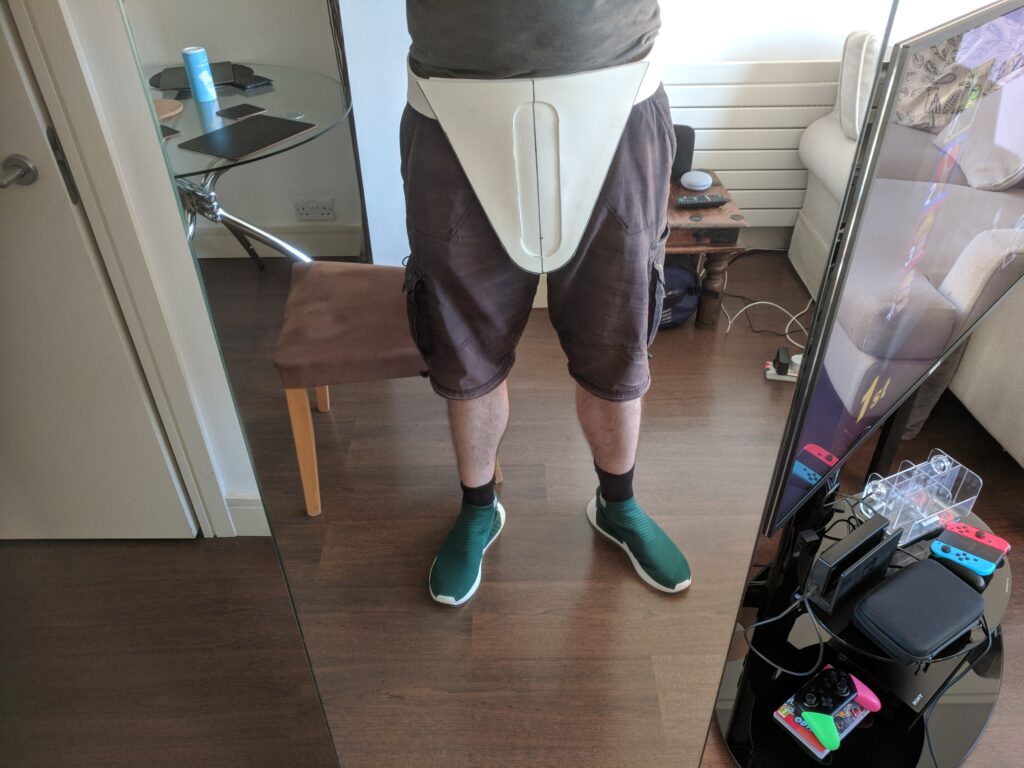
Painting the last piece of armour black was the last step, then it was a matter of combining everything with the trousers, gloves, cloak, helmet and lightsabre.
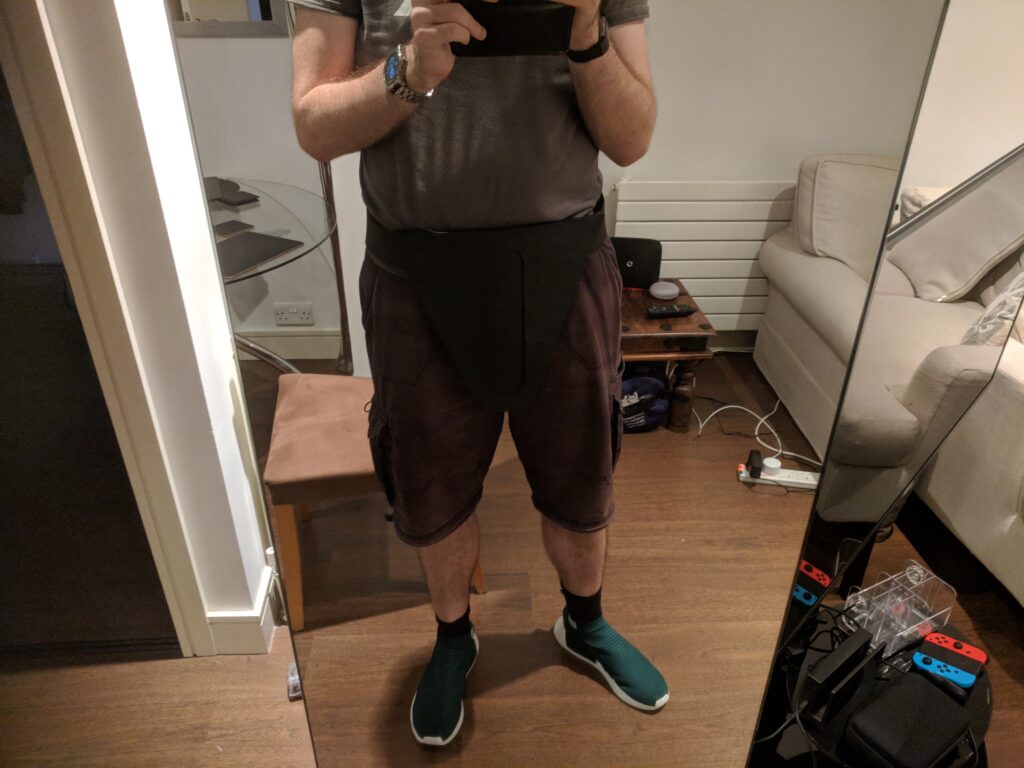
I would learn that the foam waist armour would make it awkward to sit down in the costume, so when I later decided to wear the Vader costume for that year’s Nine Worlds con, I remade this component out of black fabric for better comfort.
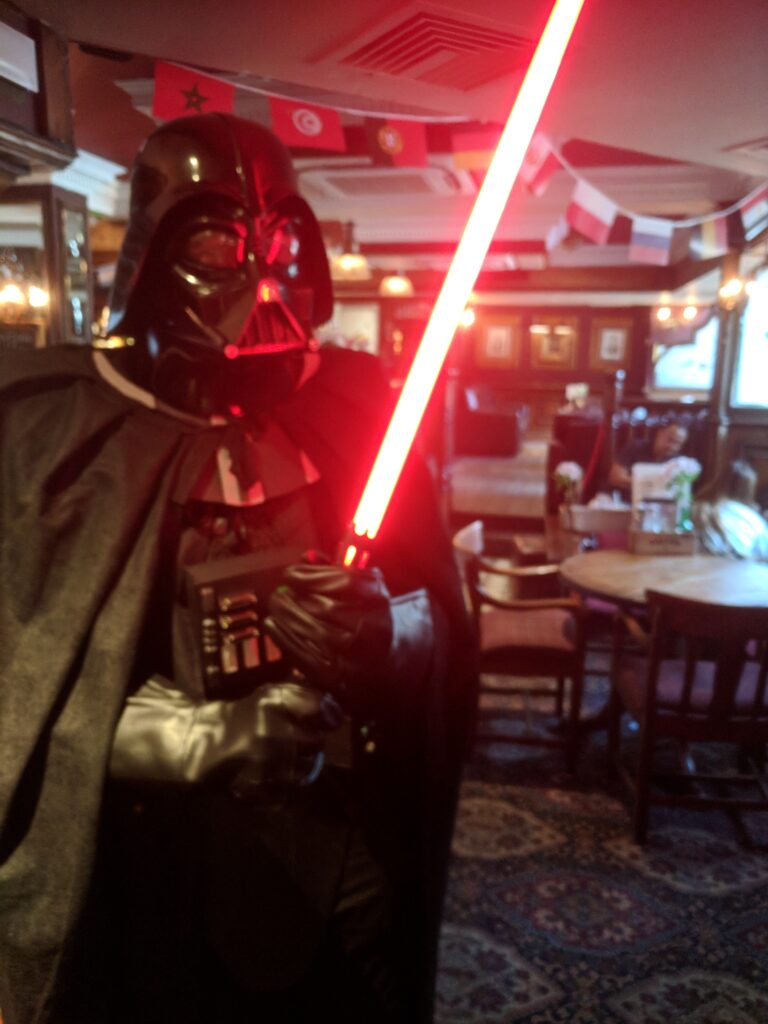
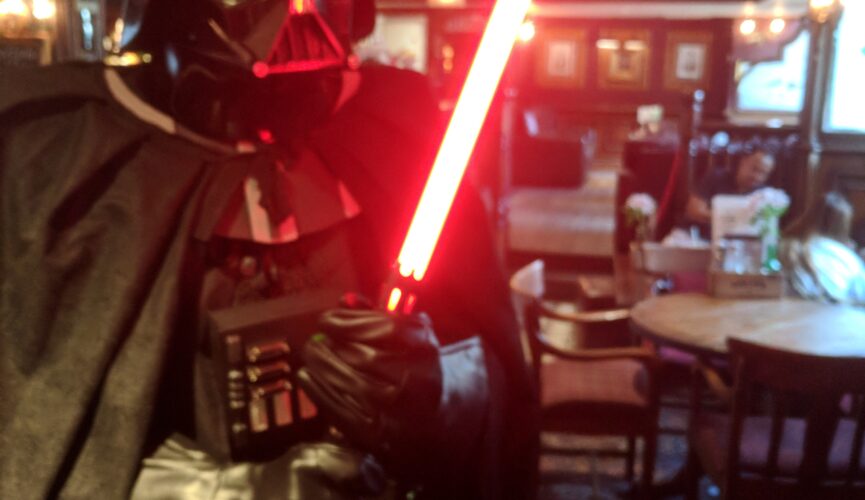
Unfortunately when it came time for my friend to snap a few pictures at the party the lightsabre caused some issues with my phones autofocus, so none of the pictures were particularly clear. This was the best one. Still, the costume was a success, won me the competition, and was also fun to wear at Nine Worlds. (I particularly remember a photo op with a bunch of Cathay Pacific flight attendants who were staying in the same hotel which was quite amusing)