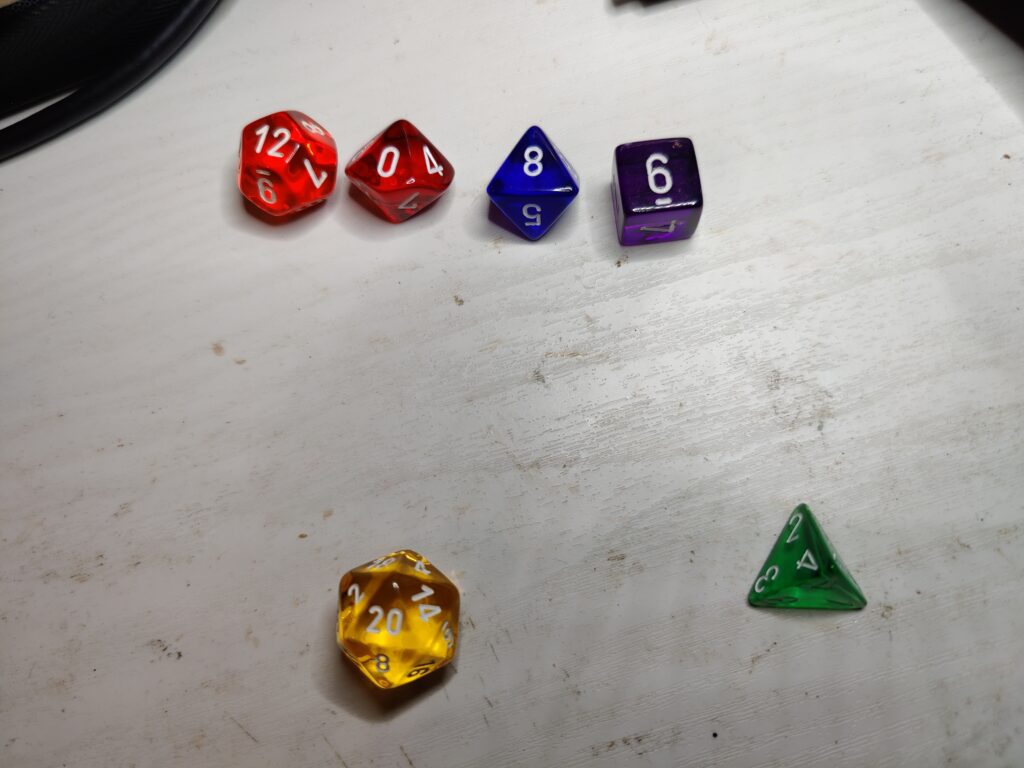
The most important components of the “Infinite dGauntlet” are, of course, the Dice themselves. Sourcing the dice was relatively easy, thanks to TheDiceShopOnline where I was easily able to select translucent dice in the appropriate colours:
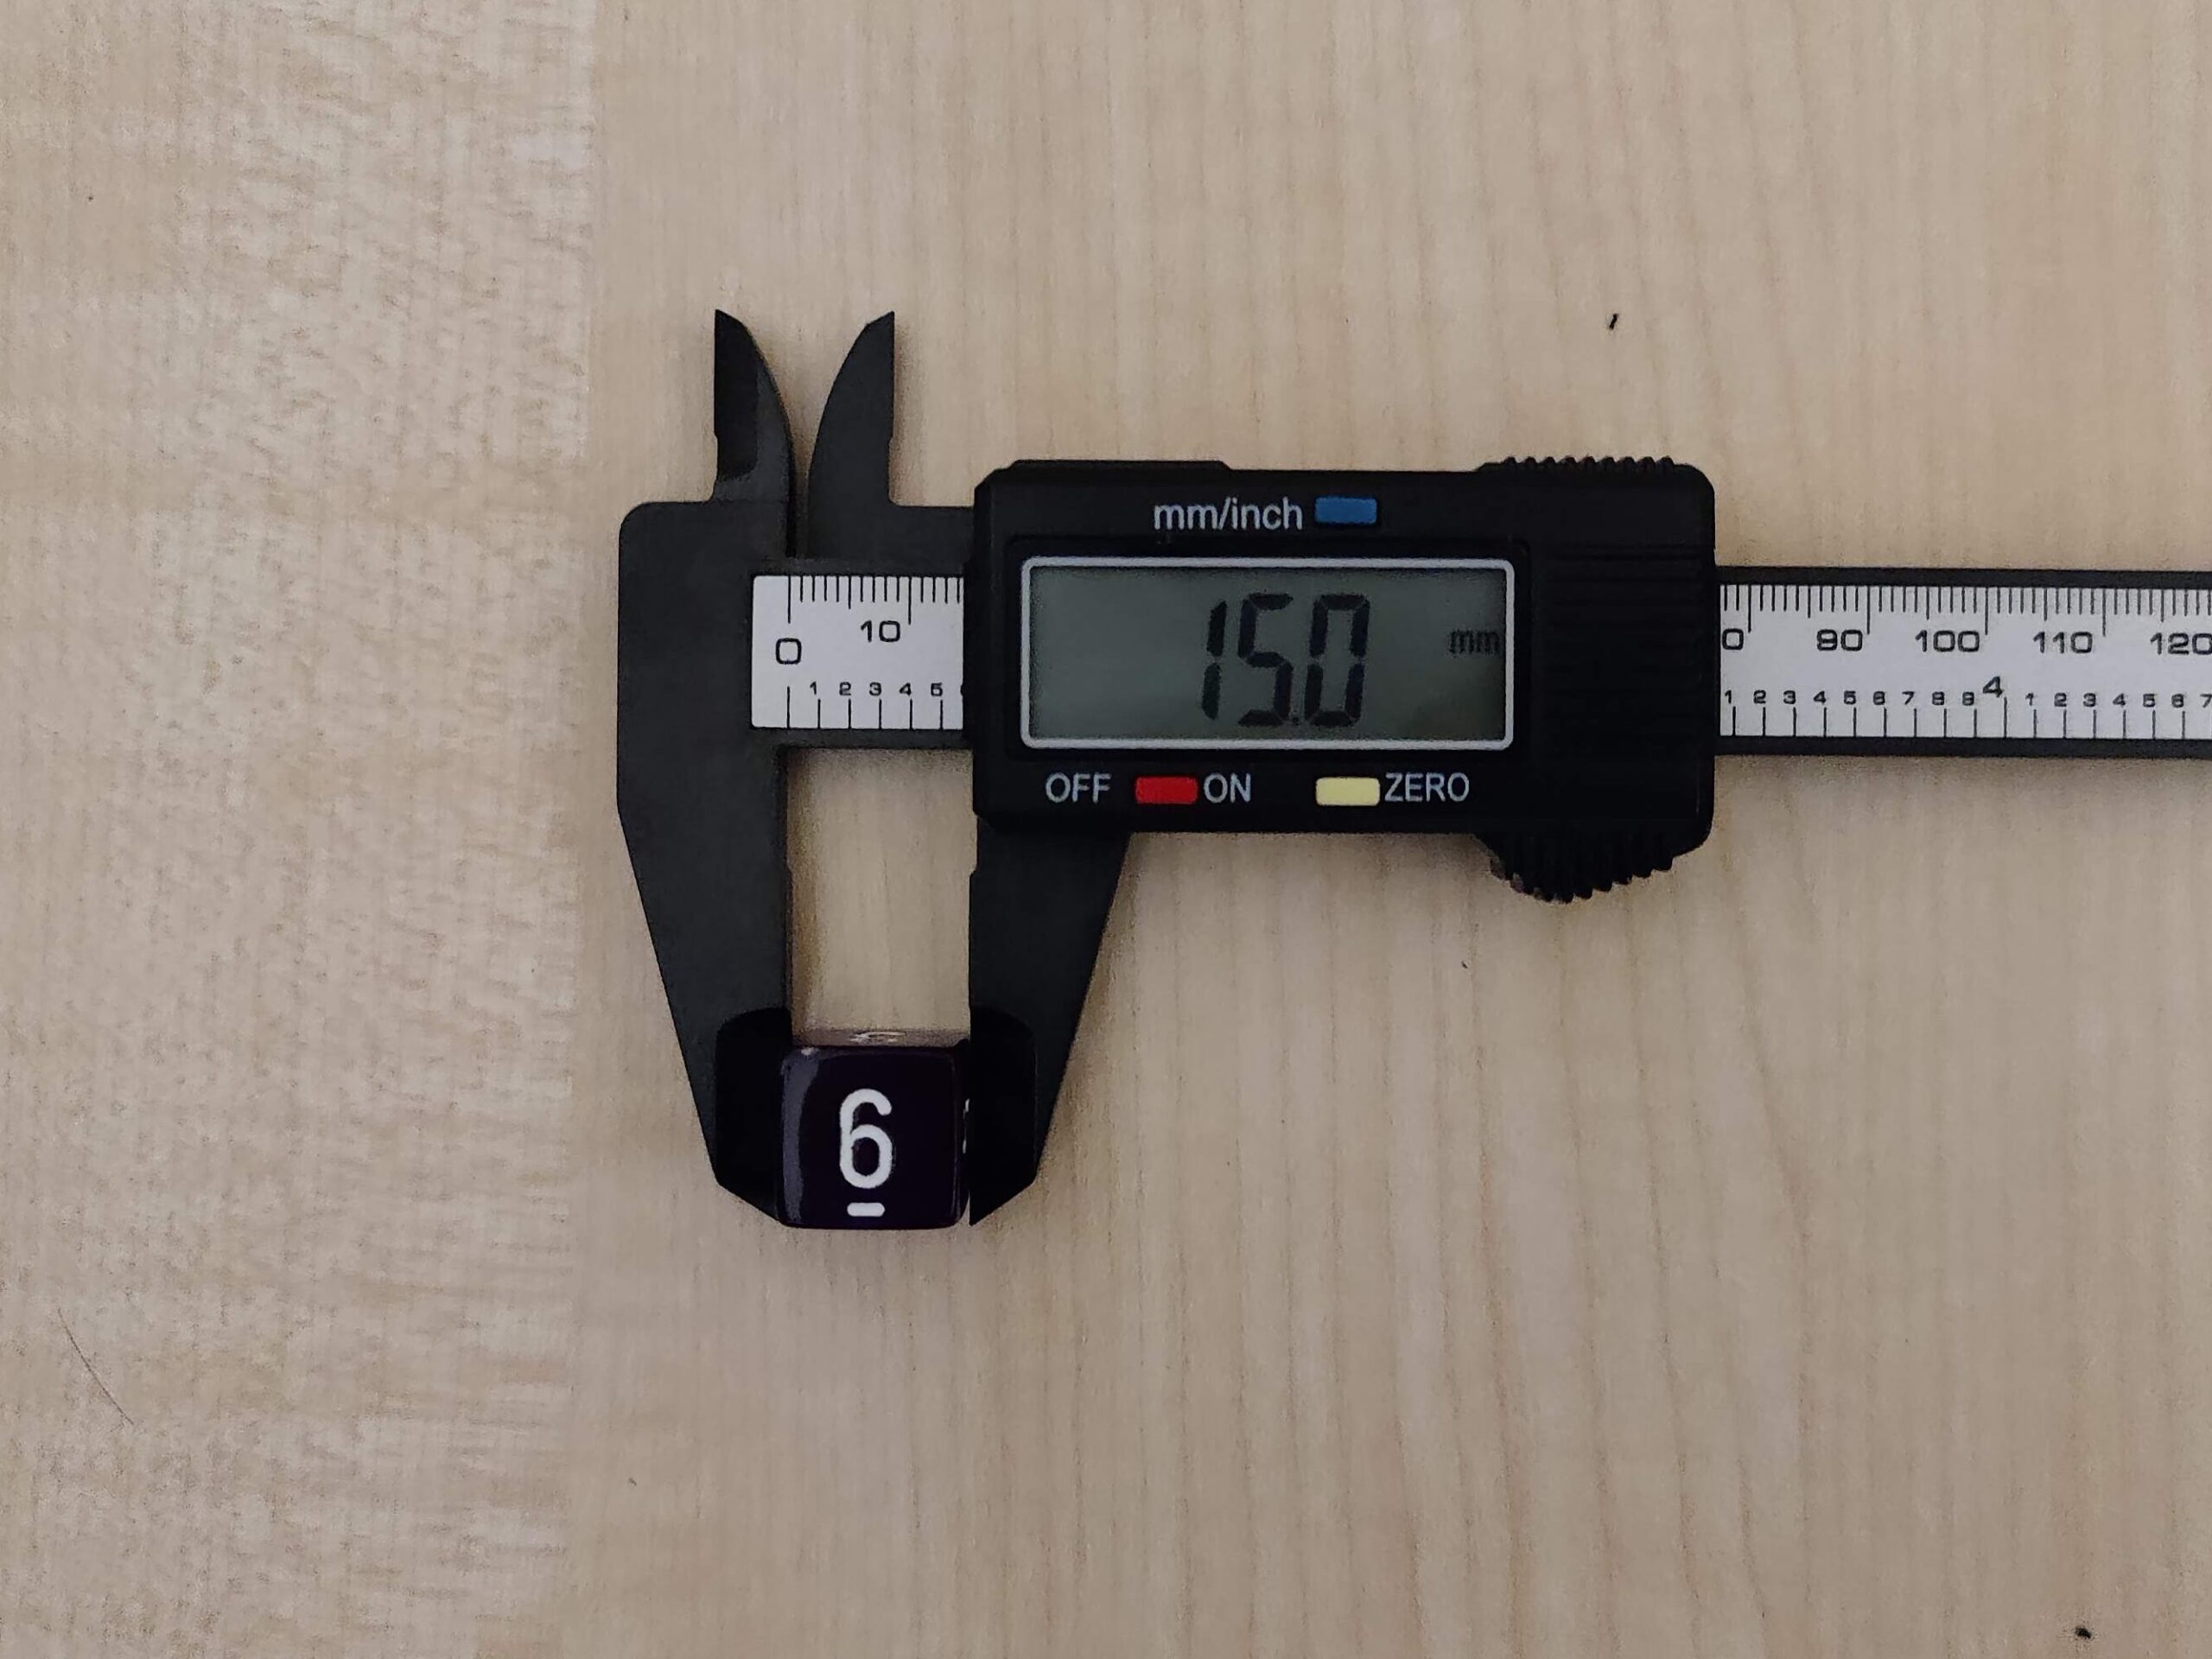
Coming up with a means of securing these dice to a gauntlet, whilst at the same time incorporating a 5mm LED for illumination purposes would be incredibly difficult to do by hand. Fortunately I had a relatively new hobby to bring to bear: Enter 3D Printing! Before I could use a computer to solve all my problems, however, I had to get the measurements.
Questionably accurate measurements in hand, I downloaded Blender (a pretty good open-source 3D modelling software) and figured out how to kind-of work it in creating-STL-file mode. (The trick is figuring out how to set up the scene units, then how to set the correct scale factor when exporting.) The first step was to create a correctly sized “LED cutout” STL file I could then re-import and subtract in order to have a uniform insert for a 5mm LED.
Working out the external dimensions was a process of (roughly) measuring my left hand to figure out how wide a mount could be and still reasonably fit four across my knuckles. From there it was a case of estimating how large to make each one to fit a 5mm LED in addition to the half-dice, and figuring out the exact sizing within Blender by trying to fit everything together.
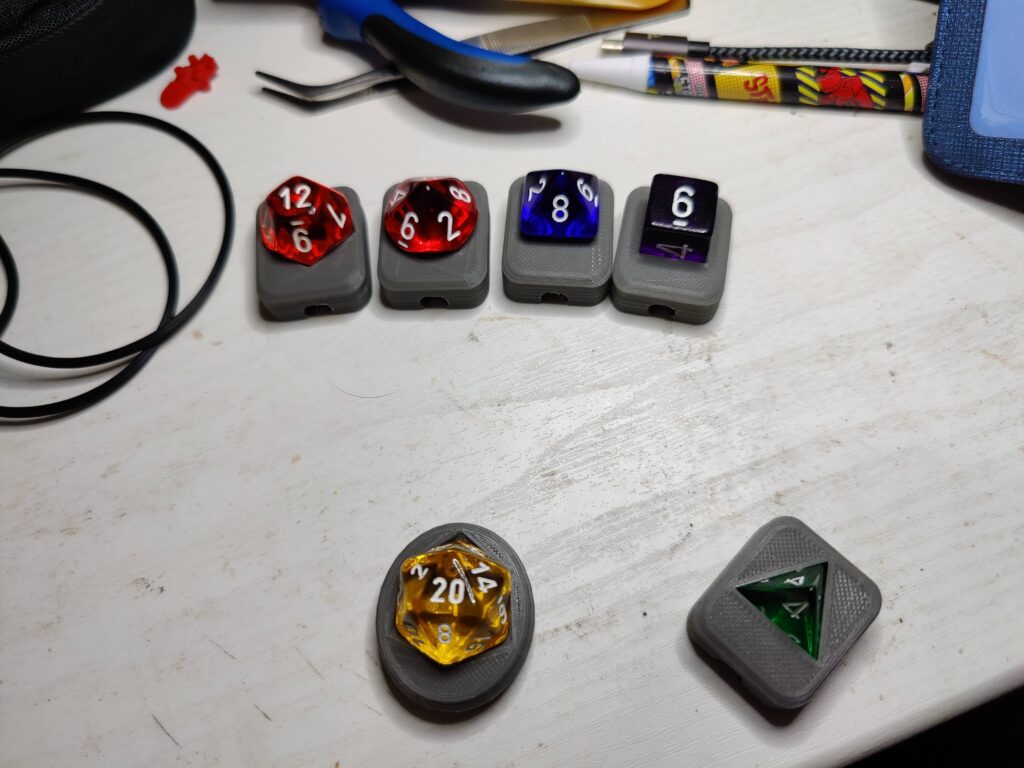
The d6 and d12 were the most straightforward, with the cube and dodecahedron being regular solids to use within Blender. A test-print of the d6 mount revealed the dimensions as measured were a bit tight, so I added around 10-15% to the measurements as I would eventually be gluing the dice in, and having them fit a little loose would be less of a problem than them being too tight.
The d20 was similar, with an icosahedron not difficult to produce within Blender. It was slightly more complicated due to being the physically largest dice, but being set in the larger oval mount on the back of the palm:
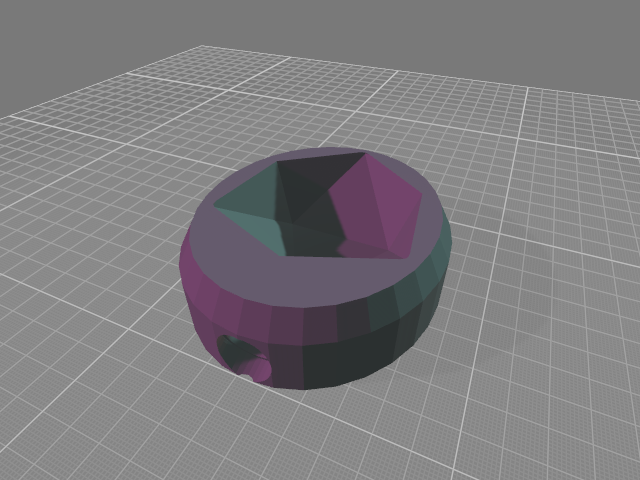
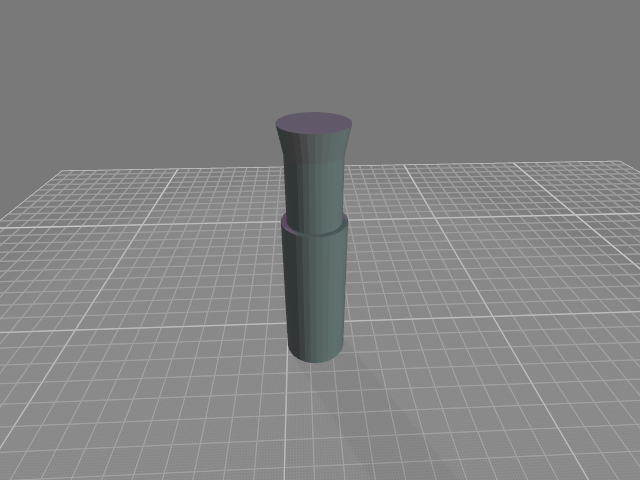
The d8 and d10 were slightly more complicated, but I reasoned they are both effectively two cones with their bases stuck together, each cone having half the total number of sides. So a 4-sided and 5-sided cone would fit each dice, and also hold them higher giving more room for the LED.
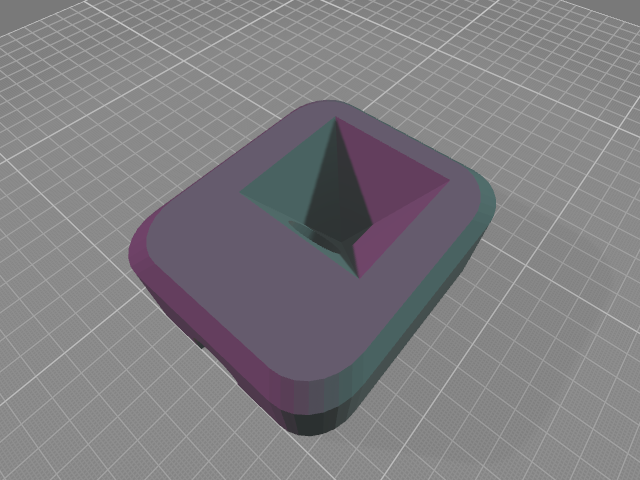

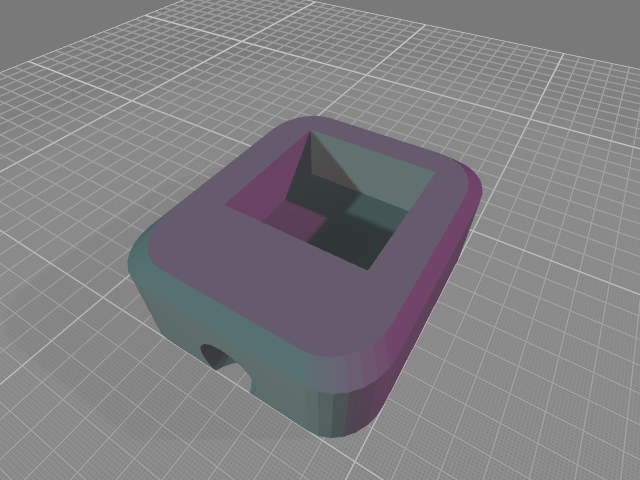
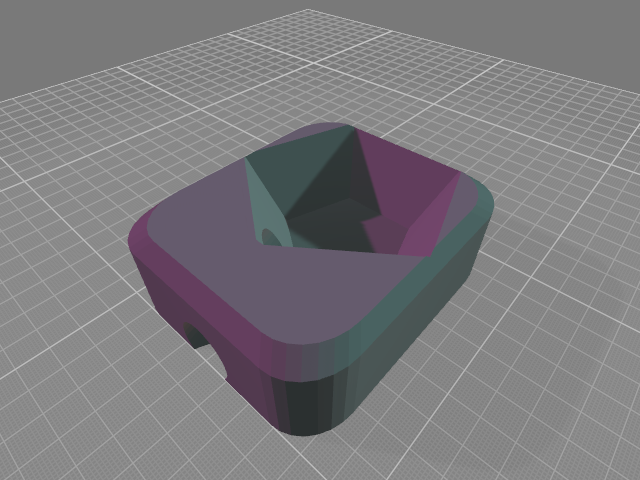
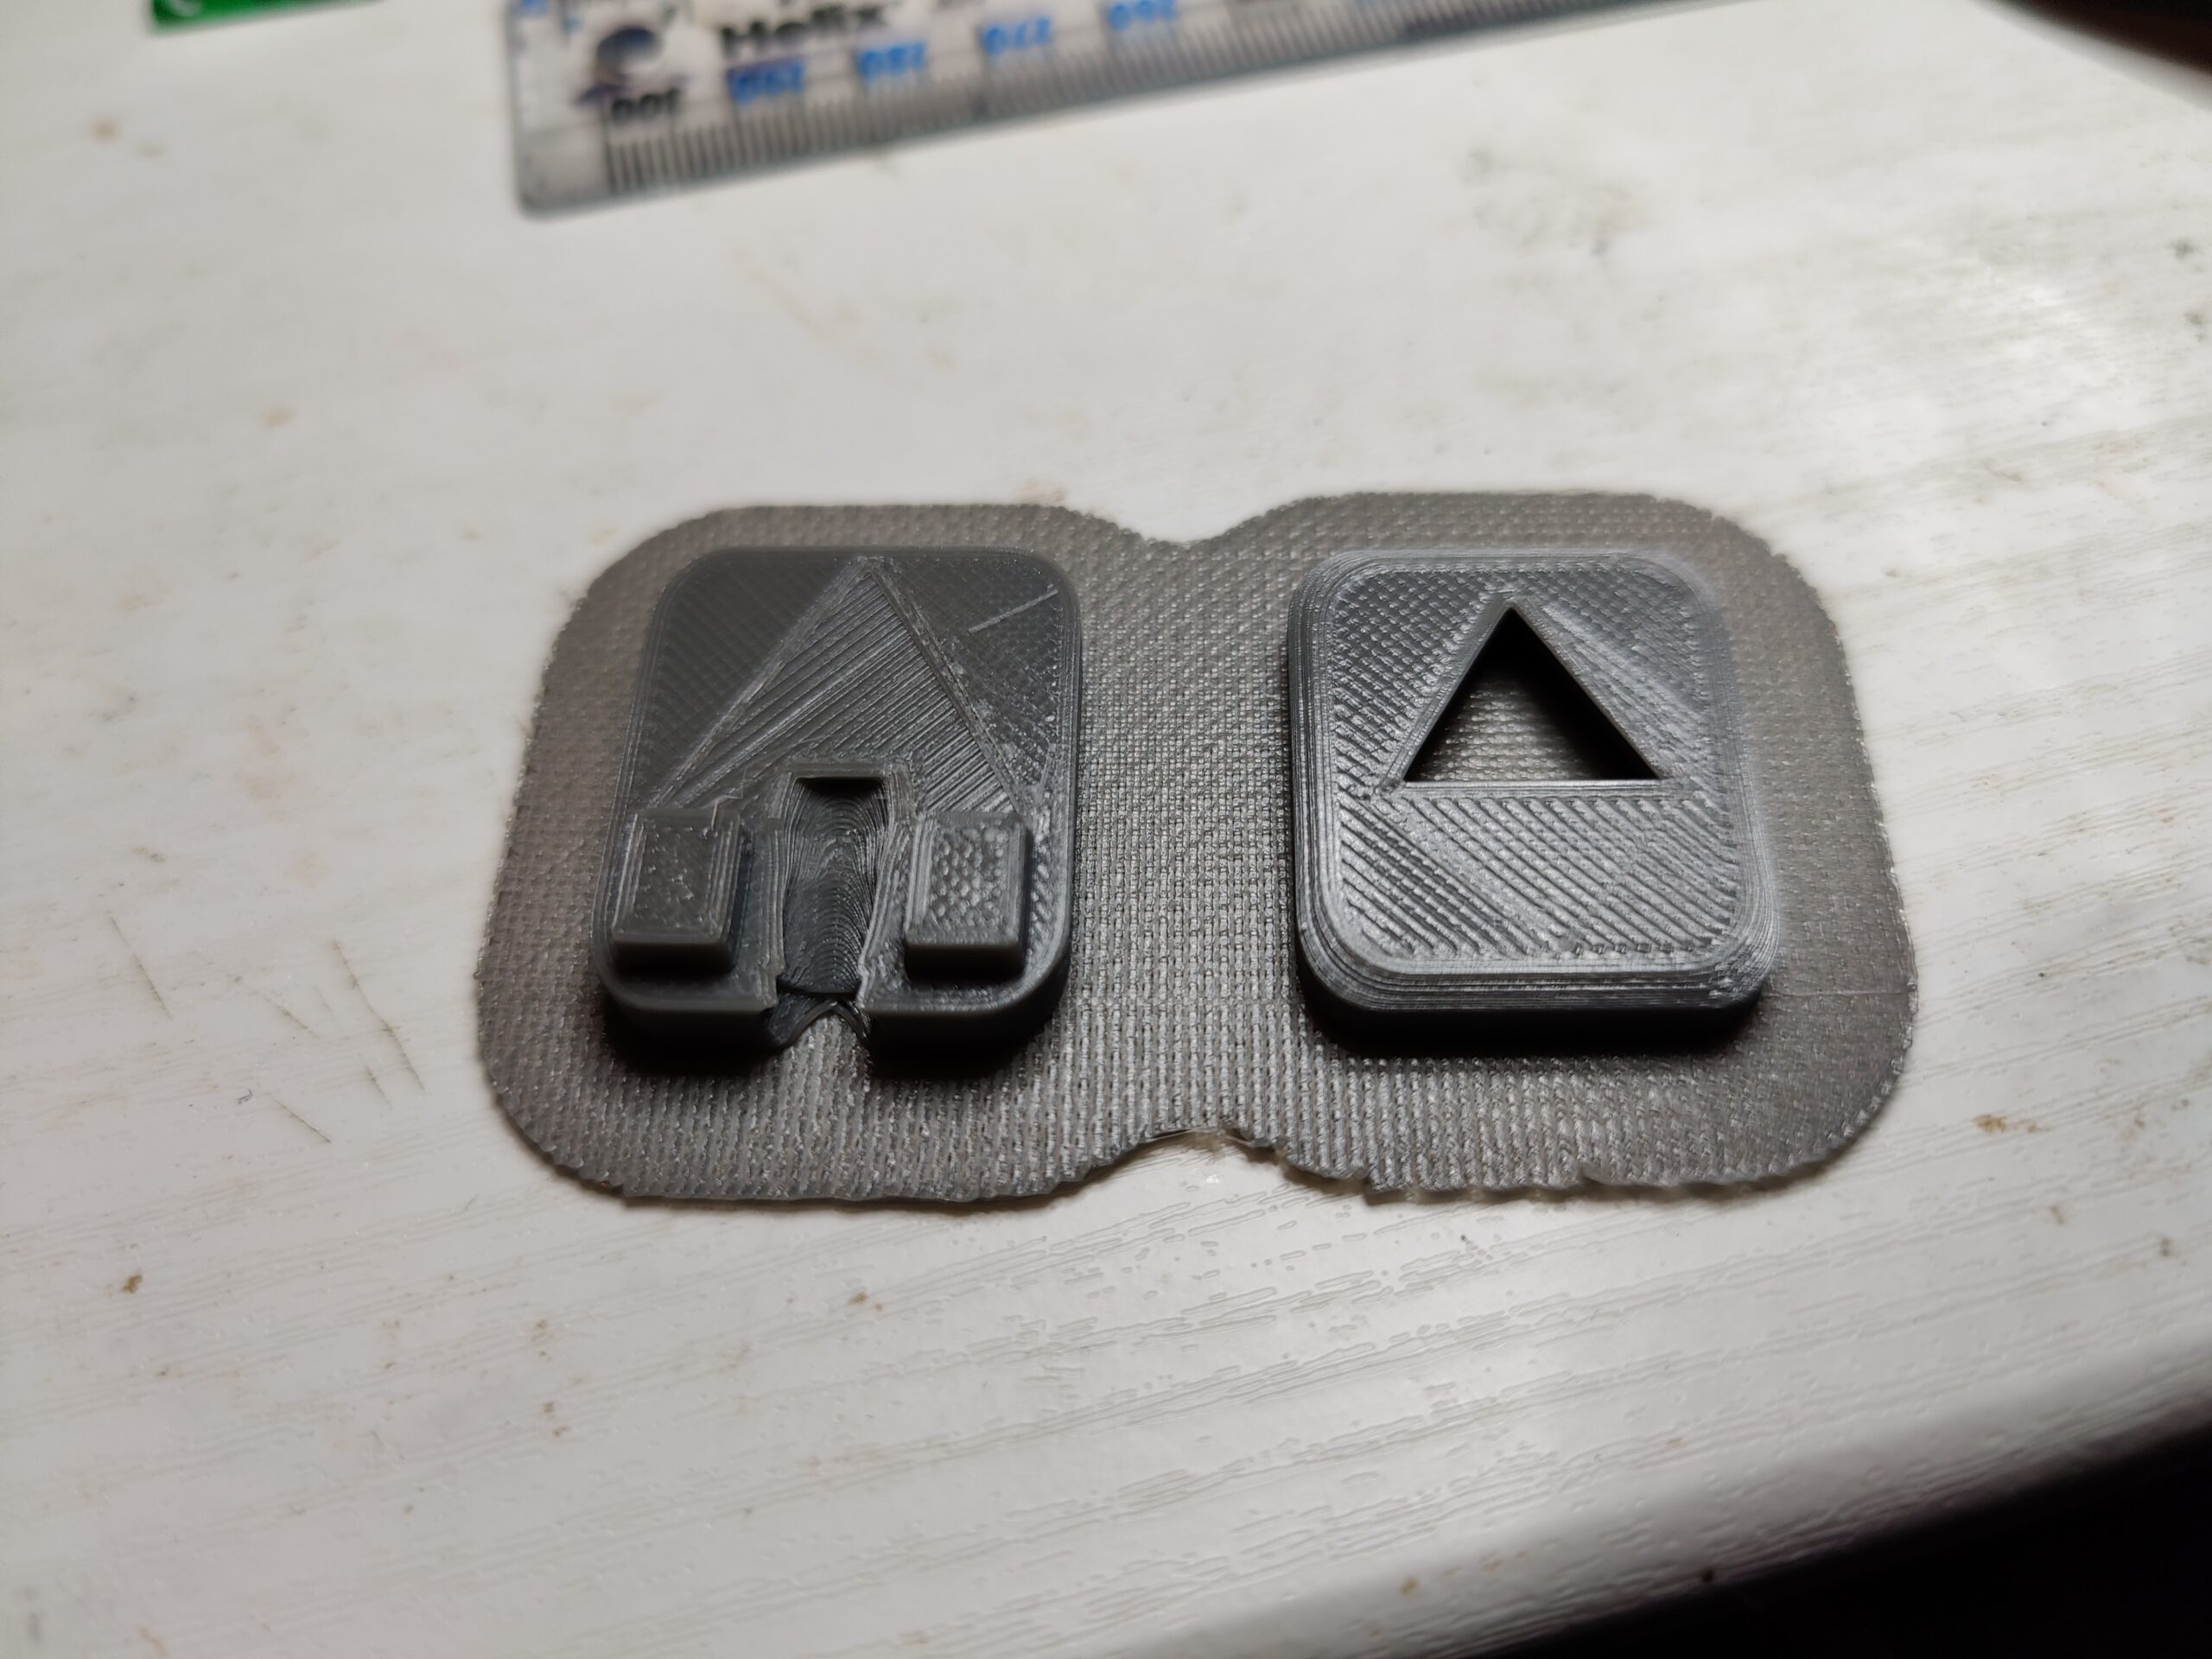
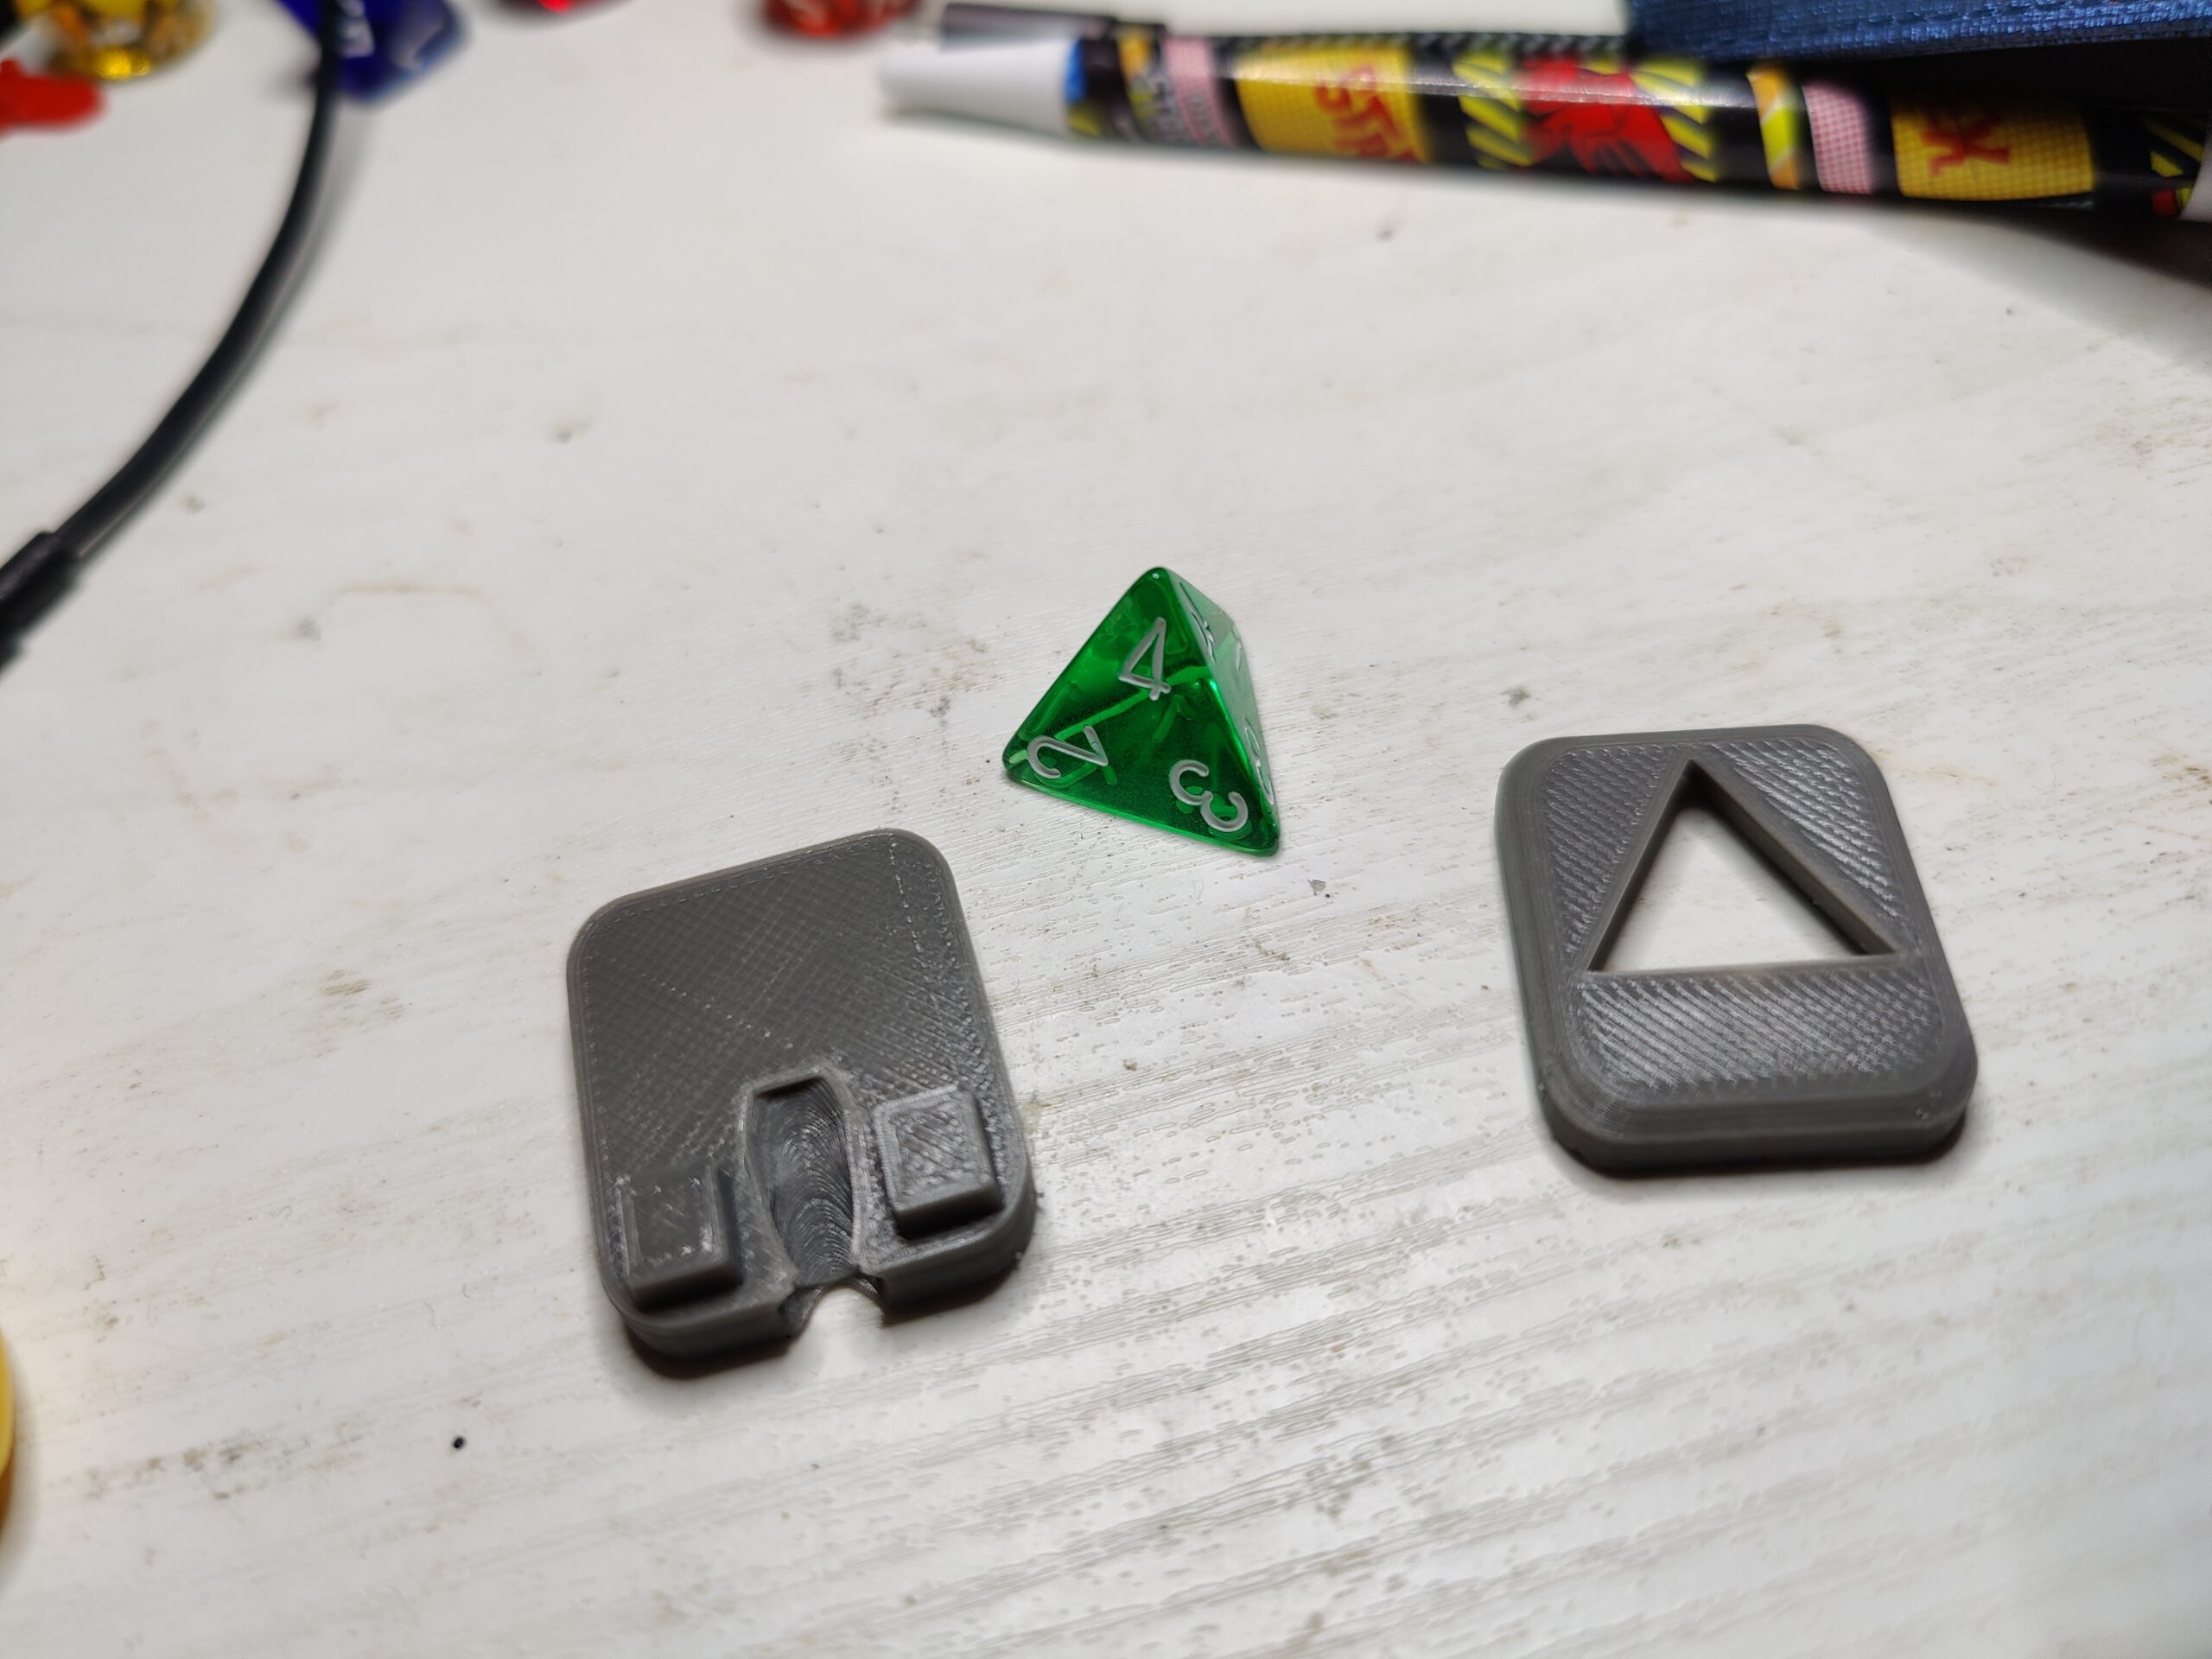
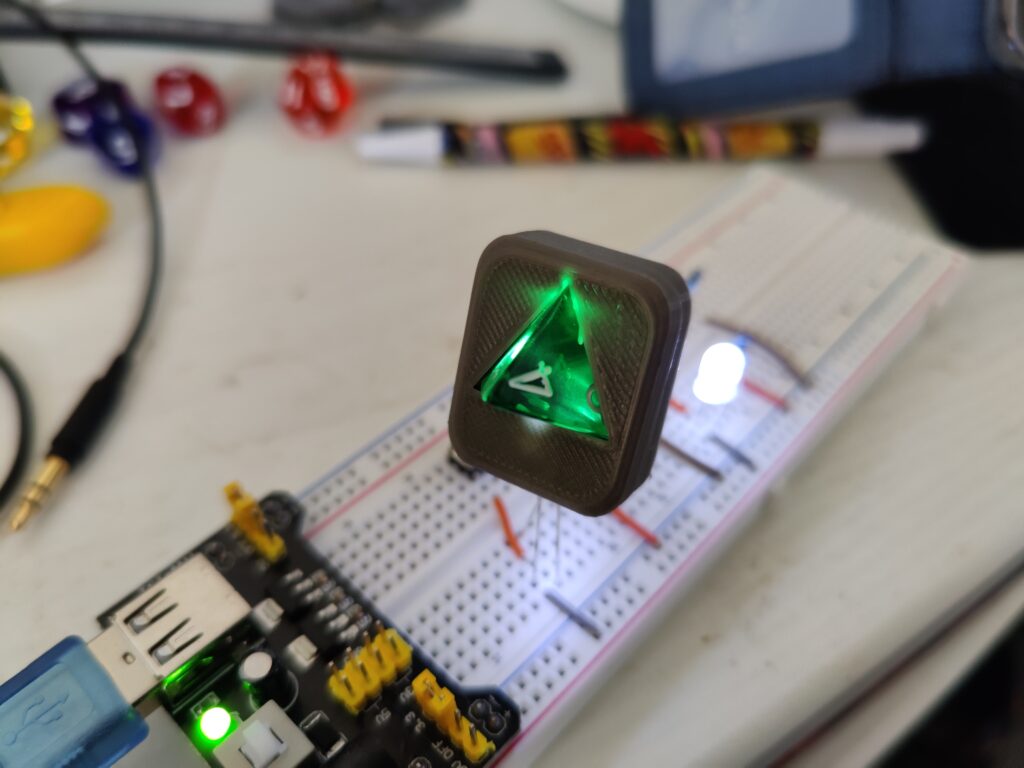
The d4, being a tetrahedron, was the most complex. I had originally thought of mounting it inverted, but that would mean the base of the dice sticking out as opposed to a given value. It would be possible to mount it in the “correct” orientation, but given its concave shape, it would require creating the mount in two halves, and gluing them around the dice:
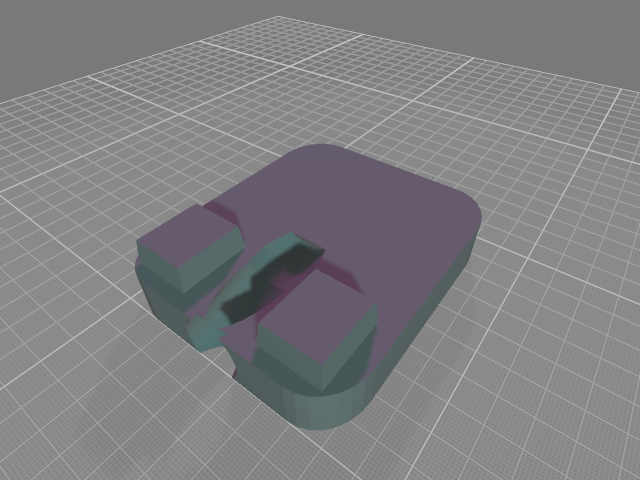
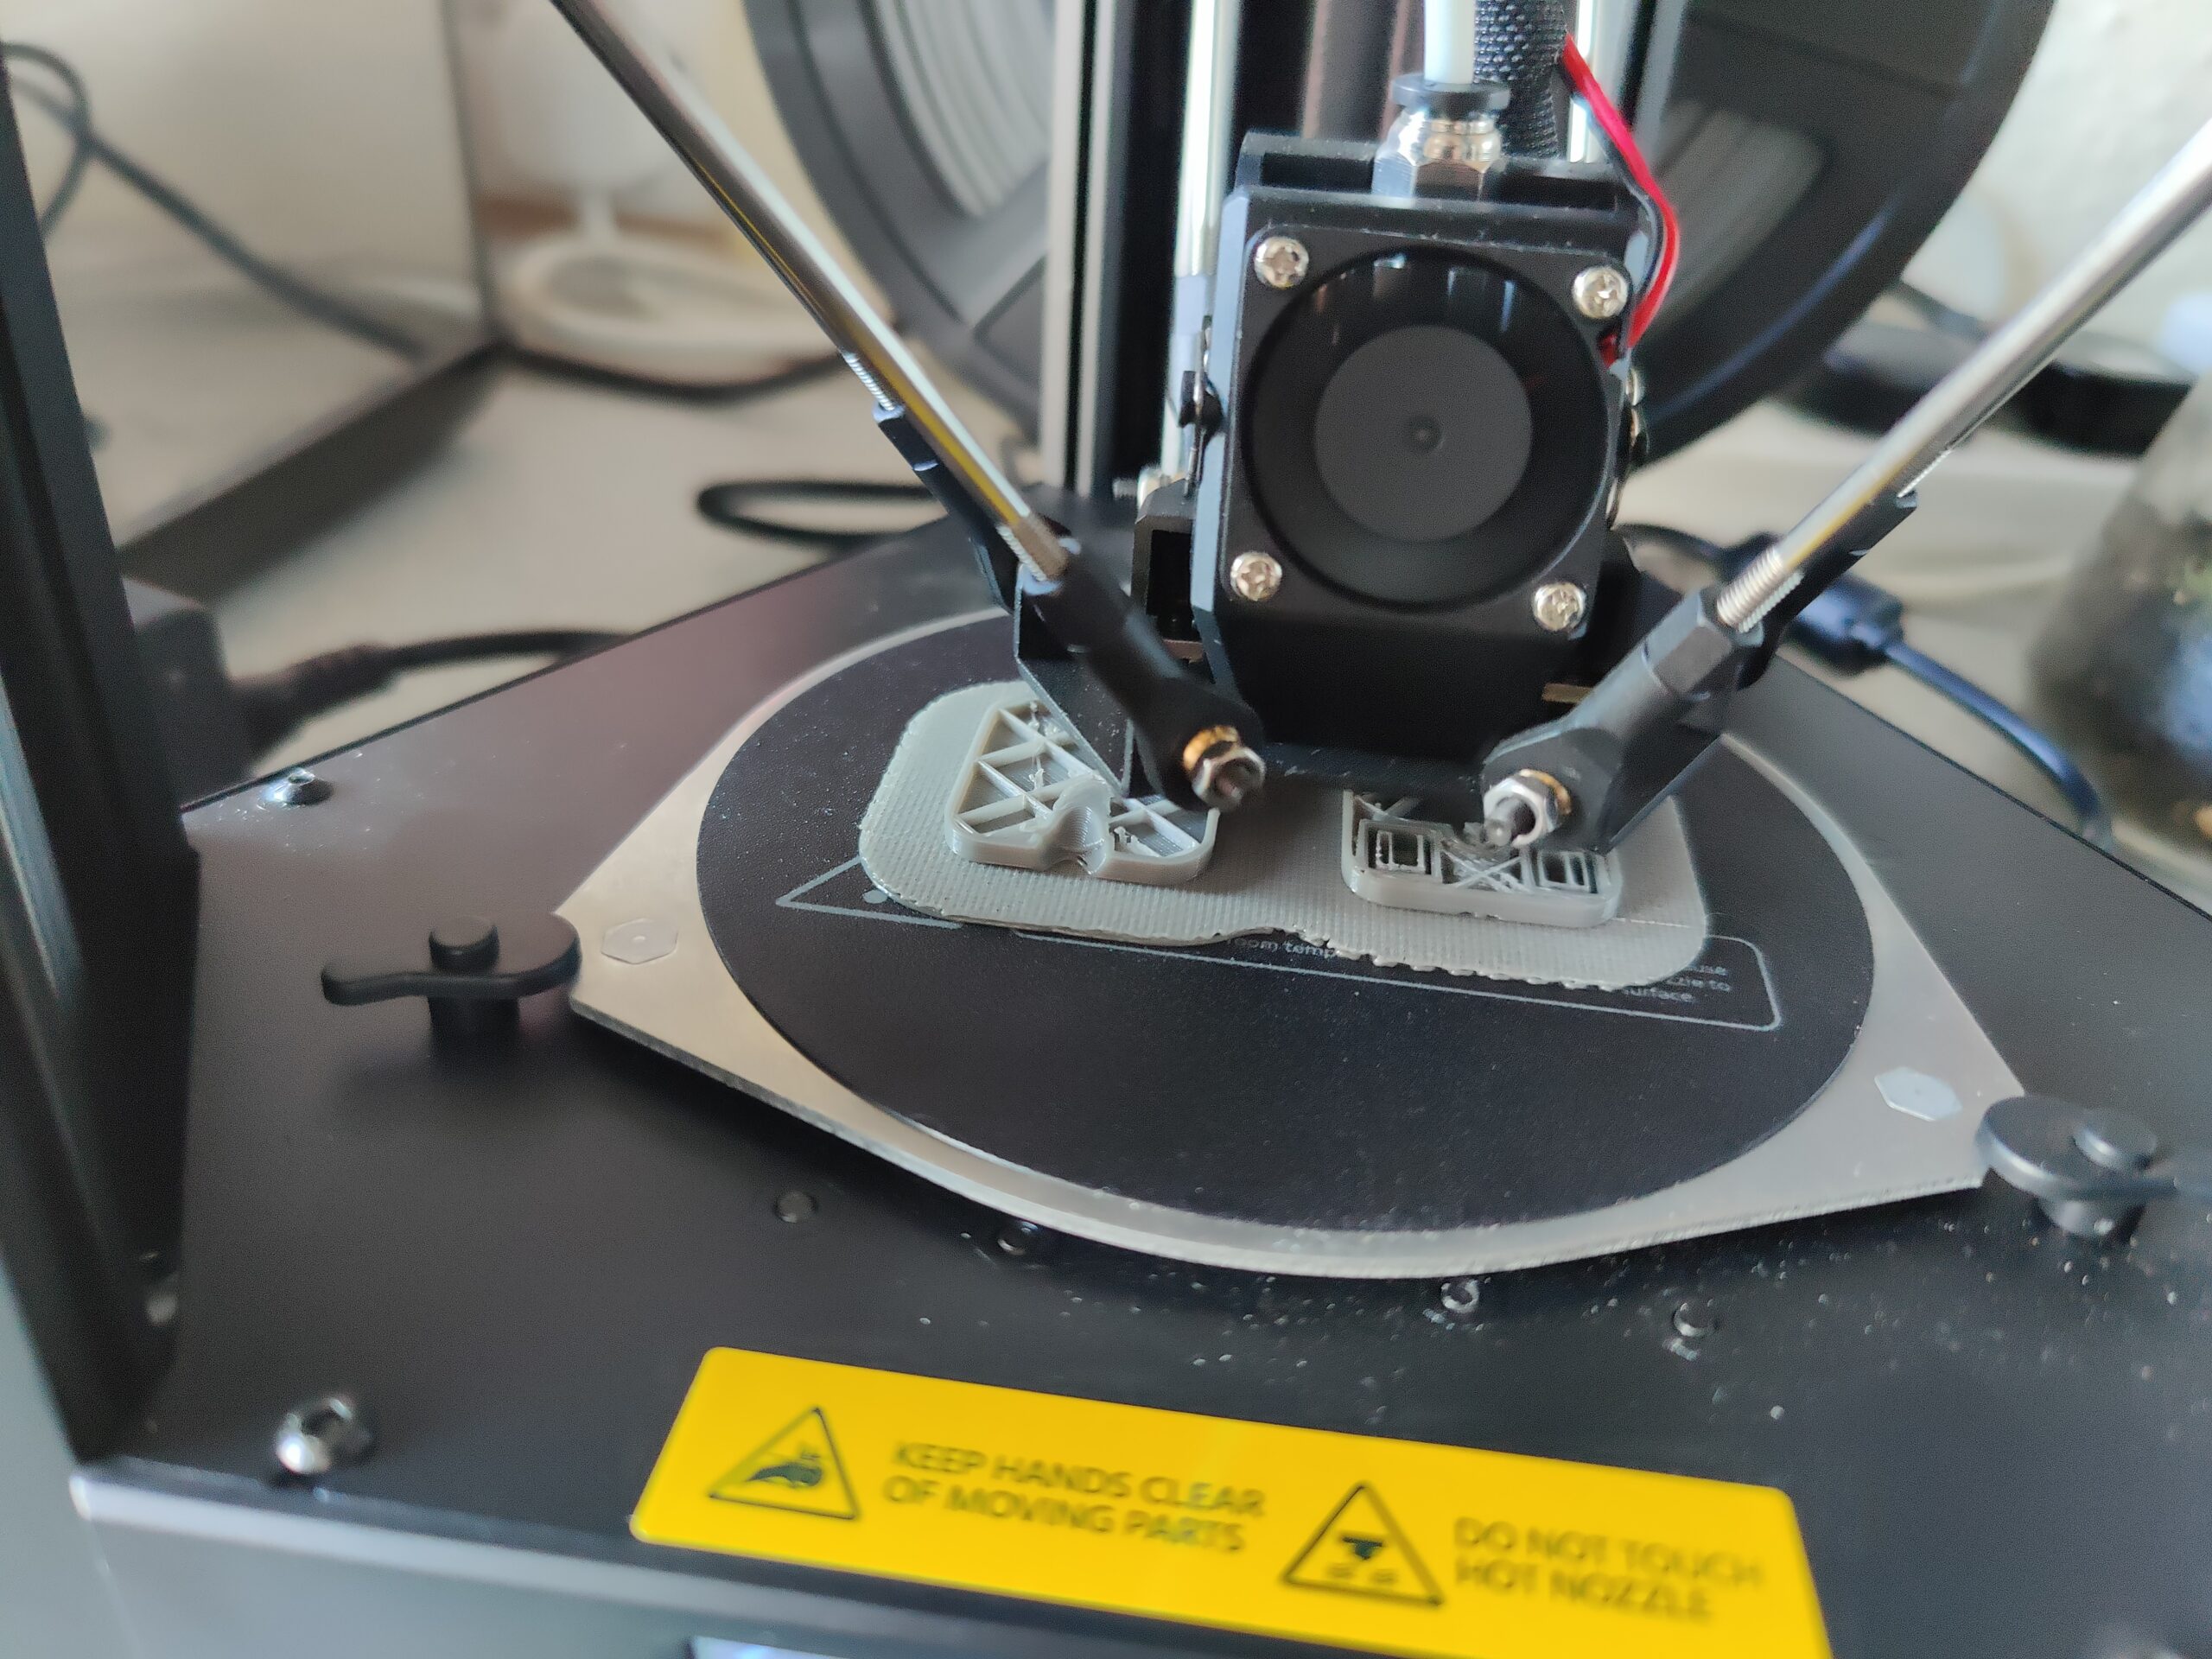
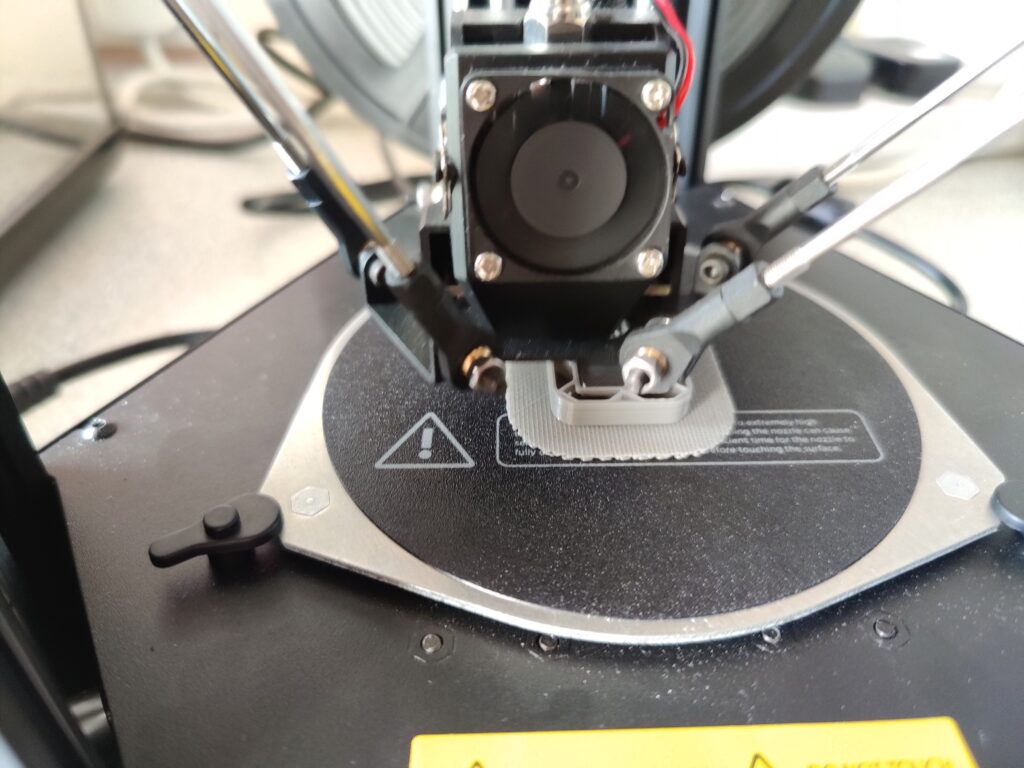
In reality, I went through the process of designing and printing these mounts one by one, adjusting and reprinting each as necessary. (The d4 required about 4 reprints to get the size right.) My 3D printer, a Monoprice Mini Delta V2, was able to print a mount in around an hour.
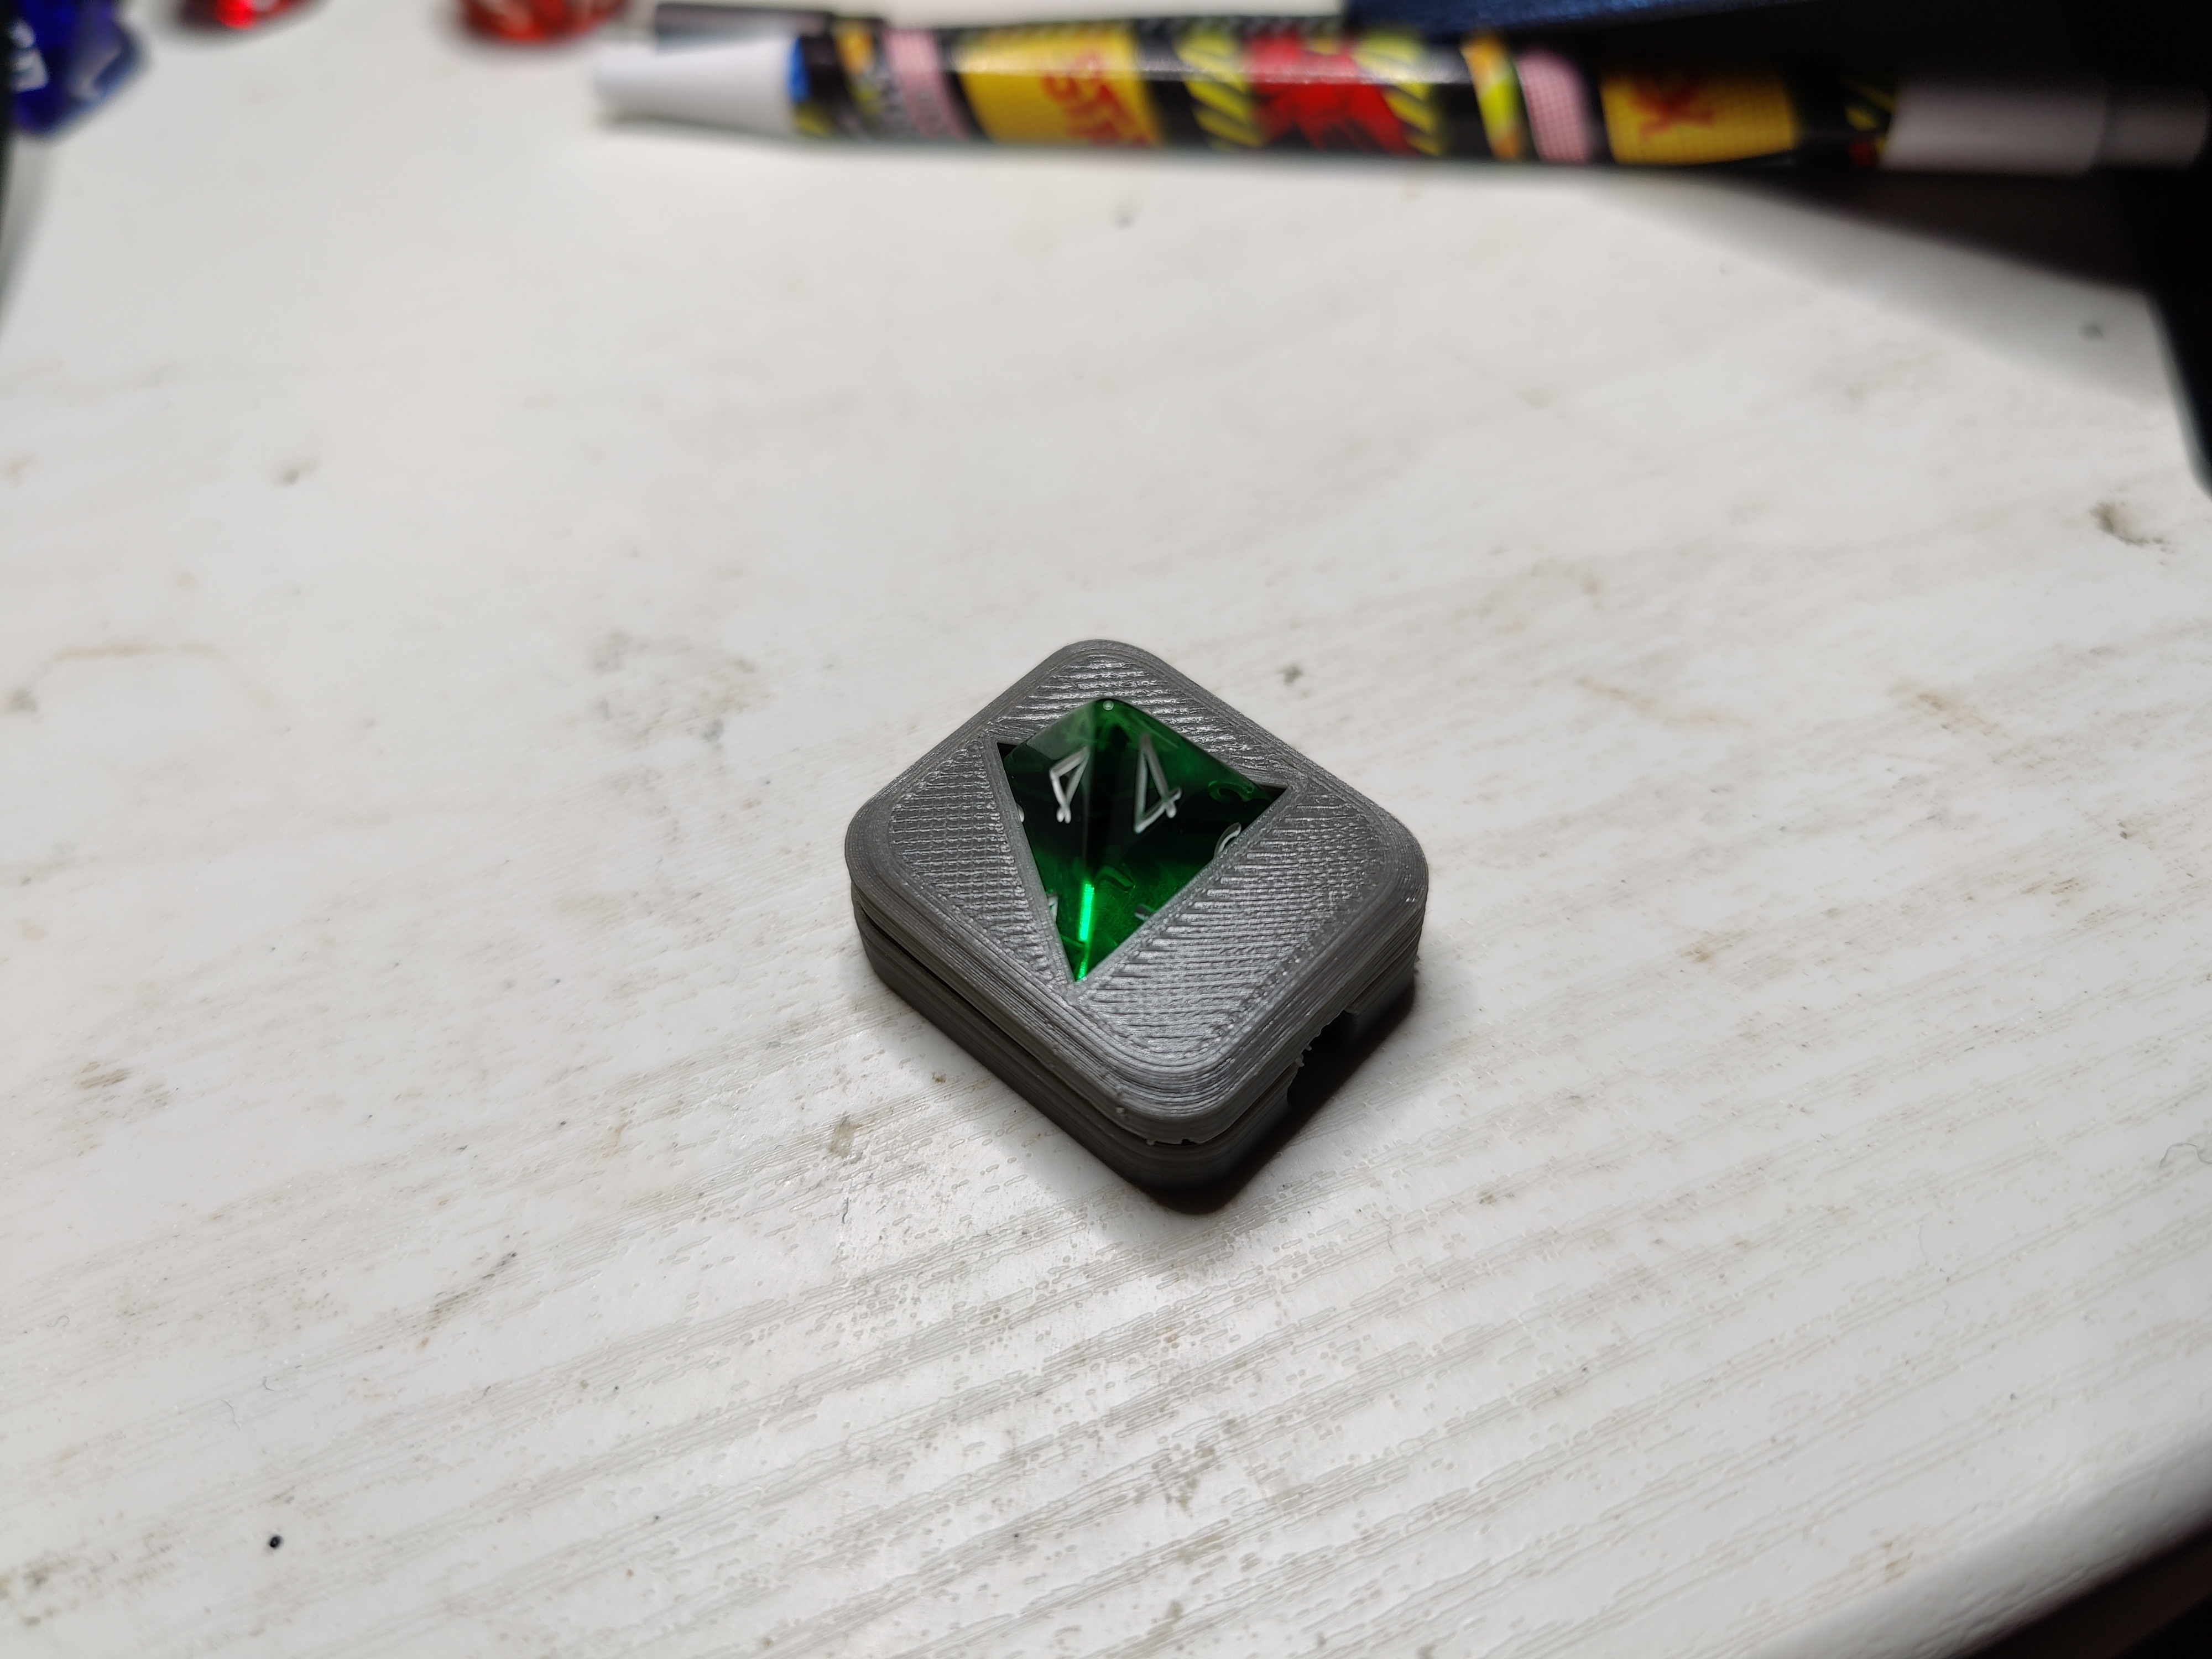
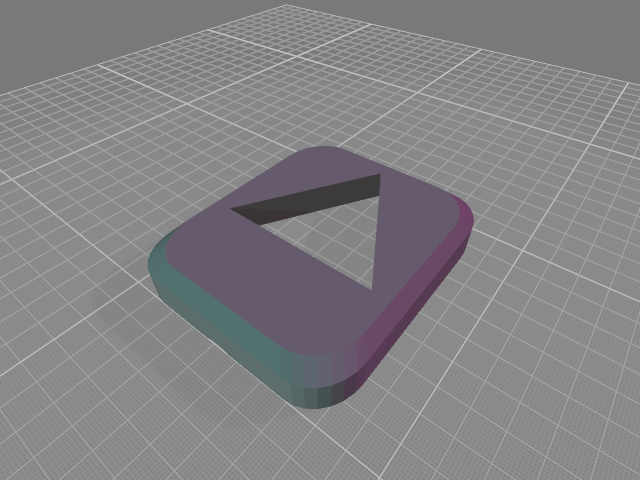
With the dice now fitting, I could test the fit for the LED. (The LED cutout seemed to work first time, given the manufacturing tolerances of a 5mm LED I suspect it was my measurements of the dice that were lacking.)
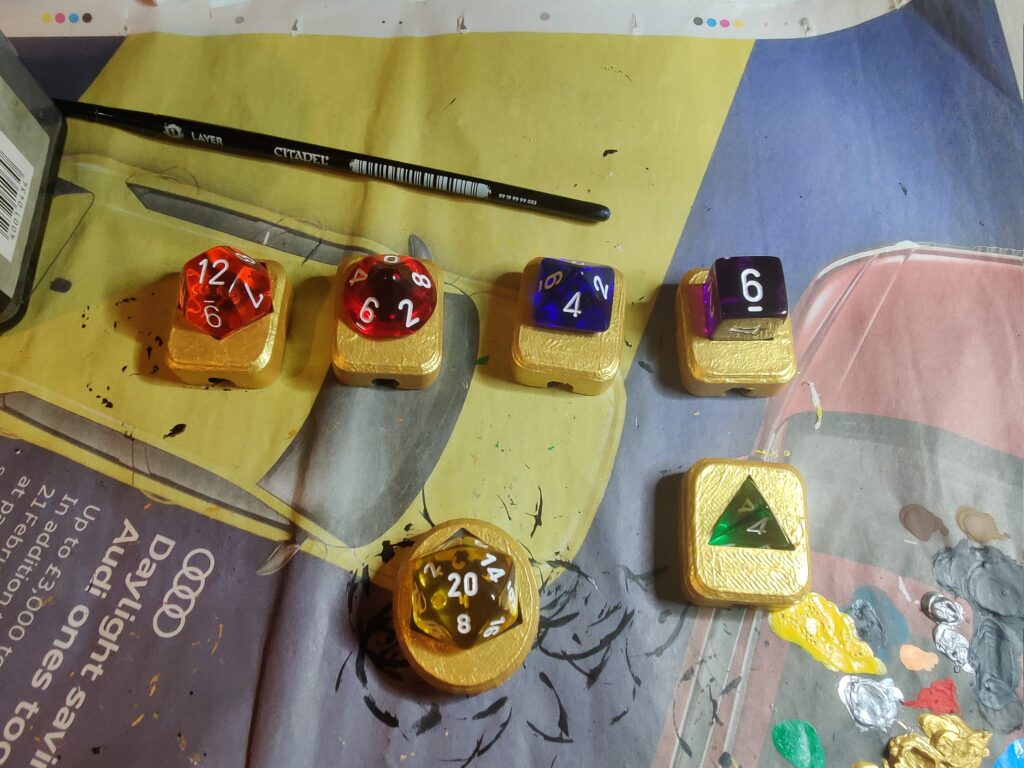
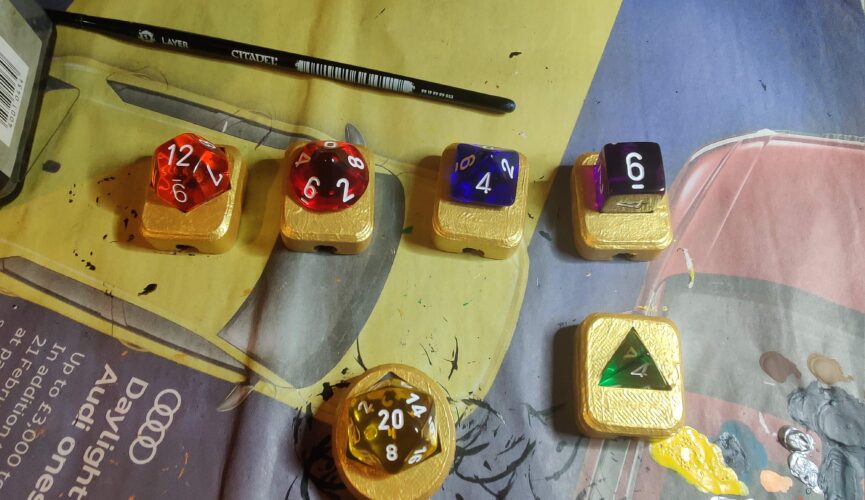
With the d4 mount complete, I focused on the rest:
Final thing to do was add a coat of gold paint, and a bit of silver inside in an attempt to act as a foil to reflect light back through the dice: